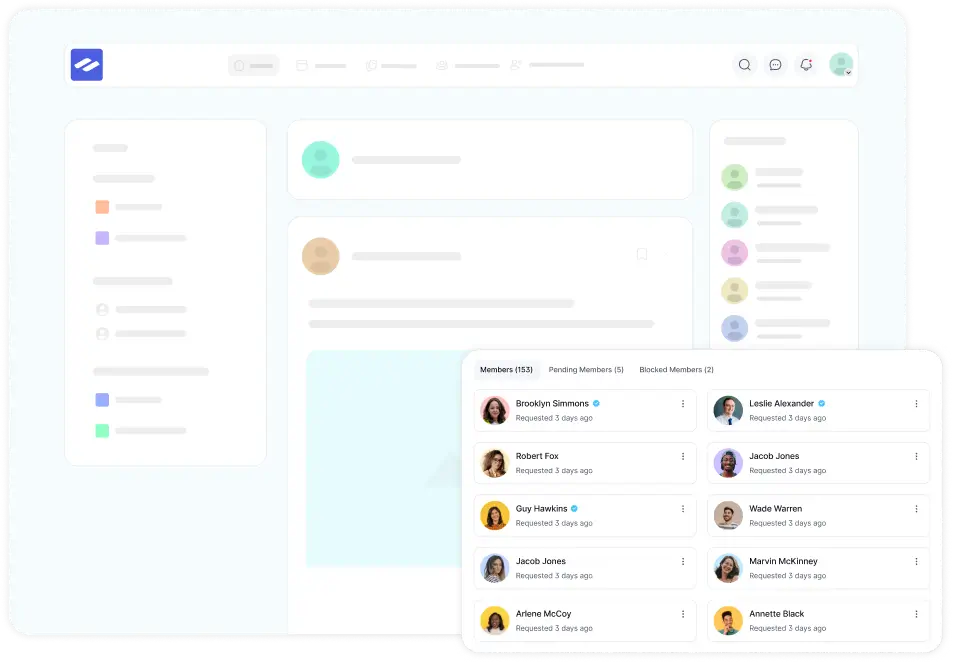
FluentCommunity lets you shape the look and feel of your community portal so it matches the experience you want to give your members. From switching on dark mode to fine-tuning how posts, feeds, and member lists appear, the Customizations panel puts all of these controls in one place.
To open these settings, go to your FluentCommunity dashboard, click Settings, and select Customizations from the left sidebar. This guide walks you through every option, section by section, so you can decide exactly how your portal behaves.
Customize the UI Features of the Portal #
This first group of settings controls the general interface and navigation of your portal. Most of them are simple on/off checkboxes — turn on what you need and leave the rest off.
Enable Dark Mode #
Turn this on to let members switch between dark and light themes. This is a great way to accommodate different lighting conditions and personal preferences, making the portal more comfortable to browse at any time of day.

Enable Sticky Page Headers Across Portal #
When enabled, the page header stays fixed at the top of the screen as members scroll down a page. This keeps important navigation always within reach, so users never have to scroll back up to move around.

Show Default Feed Link on Left Sidebar #
This option adds the default Feed link to the left sidebar, giving members an extra, convenient access point to the all-feeds page. It’s a handy shortcut for communities where the activity feed is a central hub.

Collapse Sidebar Groups by Default #
When this is enabled, all space groups in the left sidebar appear collapsed when a member first lands on the portal. This keeps the sidebar tidy and less overwhelming, especially for larger communities. Members can still expand any group manually whenever they want.
Enable Sidebar Collapse on Desktop #
Turning this on adds a toggle button to the sidebar that lets desktop users collapse or expand it. Collapsing the sidebar gives members more screen space and a more focused, distraction-free browsing experience.
Hide Header & Footer on Scroll (Mobile) #
This setting is designed for mobile users. When enabled, the header and footer automatically hide as members scroll down and reappear as soon as they scroll back up. The result is more room for content on smaller screens without losing quick access to navigation.

Show Powered by Text #
Enable this to display a “Powered by FluentCommunity” link on your portal. It’s a nice way to acknowledge the platform and help boost its visibility. You’ll also see a Click here link that lets you add your affiliate ID — a pop-up will appear where you can enter the ID and then click Save.

Show Icon on Header Menu Items #
When this is on, icons appear next to the text on your header menu items. This adds a bit of visual polish and makes it easier for members to recognize and navigate between menu items at a glance.

Use Modal UI for Quick Post View #
Enable this option to have posts open in a modal (pop-up) window when members interact with them, instead of loading a full new page. This creates a smoother, more engaging reading experience and keeps members in the flow of the feed.

Layout Options #
The next set of options let you control how content is laid out across the portal — from individual posts to feeds and member lists.
Rich Media Post Layout #
Choose how images and videos are arranged within a post:
• Classic — the image or video appears after the post content.
• Modern — the image or video is displayed first, before the content.
Pick the style that best matches the look you want for your feed.

Members List Layout #
Decide how member profiles are displayed on your portal:
• List View — member profiles are shown as a simple, stacked list.
• Grid View — member profiles are shown as cards in a grid layout.
Grid View gives a more visual, card-based directory, while List View keeps things compact and easy to scan.

Post Title Requirements #
This setting controls whether a title is needed when someone creates a new post. You have three choices:
• Optional — members can add a title if they want, but it isn’t required.
• Required — members must add a title before they can publish a post.
• Disabled — the title field is removed entirely from the post editor.
Simply select the option that fits how you’d like your community to post.

Default Feed Layout #
Set the default way posts appear in the feed. You can choose from:
• Timeline View — a classic, vertical stream of posts.
• List View — a more condensed, list-style layout.
• Card View — posts displayed as individual cards.
Disable Layout Style Change Option #
By default, members can switch the feed layout to their own preference. If you’d rather keep a consistent look across your community, enable this option to lock the layout and prevent members from changing it.
Max Media Per Post #
Use this field to set the maximum number of media files (images or videos) a member can attach to a single post. Enter a number that suits your community — for example, 4 — to keep posts balanced and consistent.
Default Feed Sort By #
Choose how posts are sorted in the feed by default, such as Latest Posts Sort. This determines the order members see content in when they first open a feed.
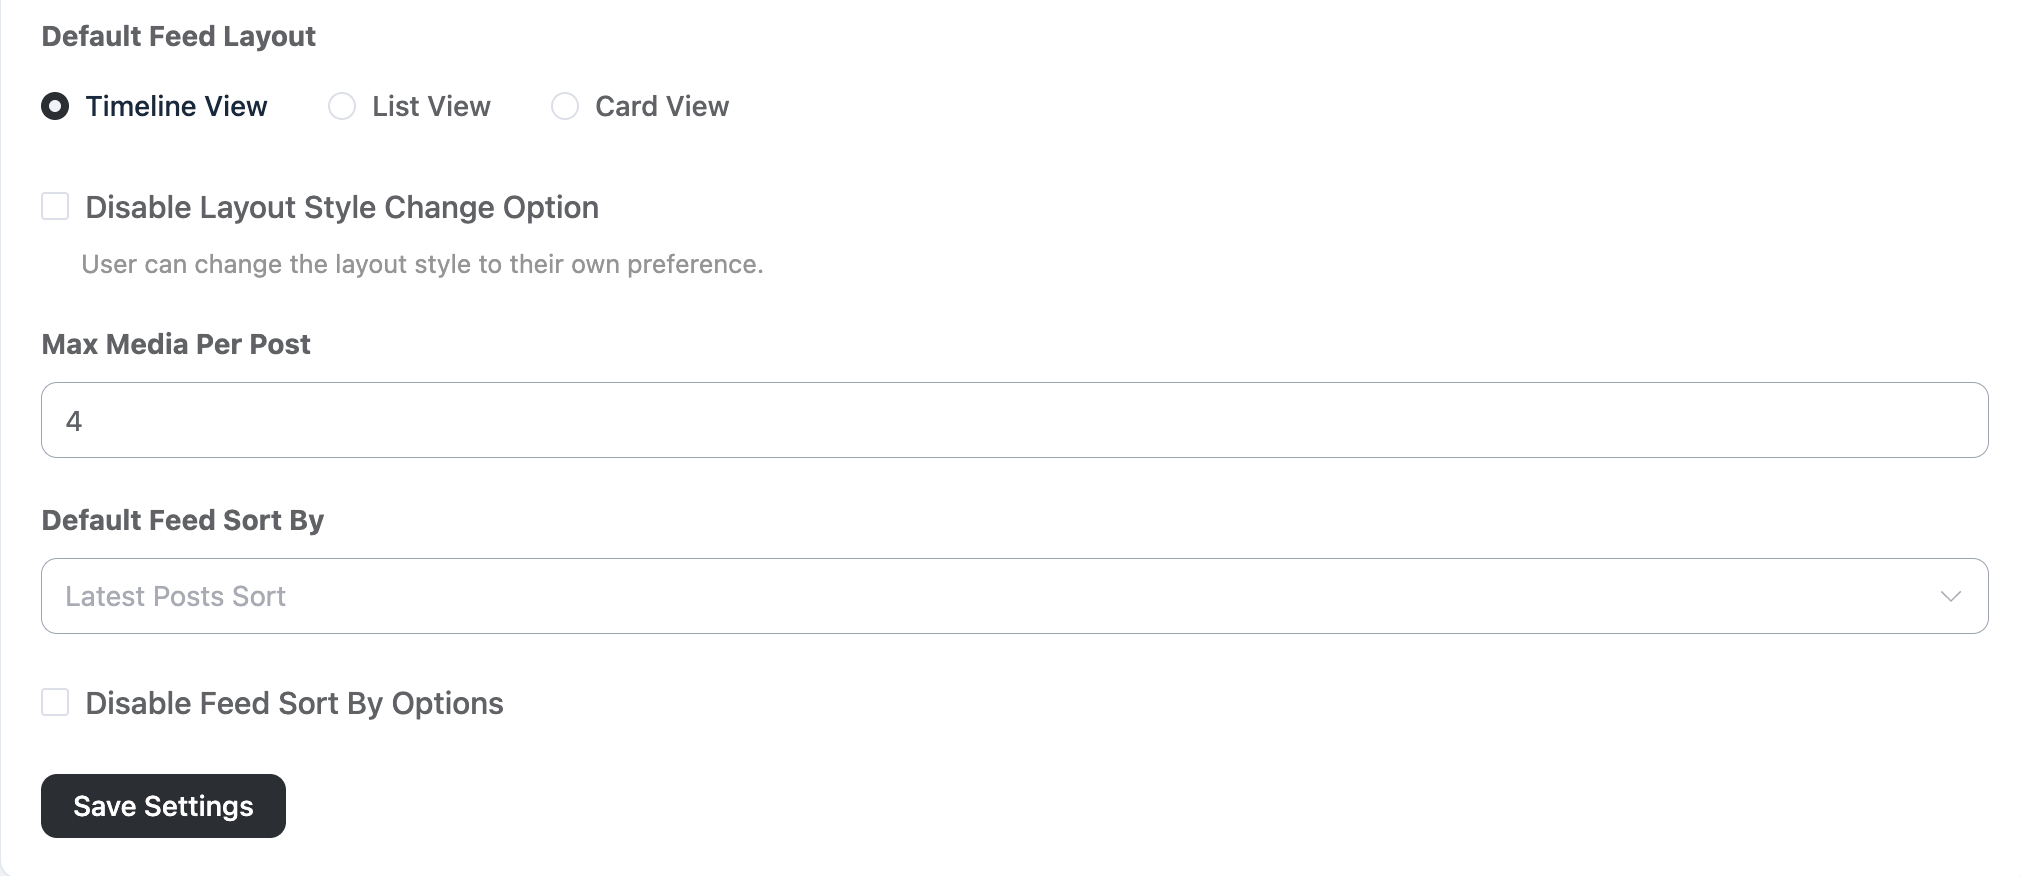
Disable Feed Sort By Options #
Enable this option if you don’t want members to change the feed sorting themselves. The feed will then always use the default sort order you selected above.
💡 Note: After adjusting any of the options above, always click the Save Settings button to make sure your changes are applied.
Custom Snippets #
For those who want to go a step further, the Custom Snippets section lets you add your own code to fine-tune the portal beyond the built-in settings. This is optional and intended for users comfortable with CSS and JavaScript.
Custom CSS #
Use this field to write your own custom CSS and adjust the styling of your portal — colors, spacing, fonts, and more. Just enter your CSS code directly; there’s no need to include the <style> and </style> tags.
Custom JavaScript #
Here you can add custom JavaScript, analytics code, tracking scripts, and other enhancements for your portal. When adding JavaScript, remember to include the appropriate <script> tag around your code.
💡 Note: Once you’ve added your CSS or JavaScript, click the Save Custom CSS & JS button to save these snippets separately from the other settings.
Wrapping Up #
The Customizations panel gives you a flexible, easy way to tailor your FluentCommunity portal to your brand and your members’ needs — without touching complicated code (unless you want to). Take a moment to explore each option and create a community experience that feels truly yours.
If you have any further questions about this guide, please don’t hesitate to contact our support team.