
The FluentPlayer integration allows you to transform your FluentCommunity portal into a fully branded, video-enabled experience. Instead of relying on the default look of YouTube or Vimeo embeds, Fluent Player ensures all your video content looks professional, consistent, and perfectly matches your community’s style.
With this integration, you can customize player controls, apply your brand colors, and even allow your members to upload videos directly to your Spaces. Also, members can upload videos in popular formats like MP4, M3U8, MPD, WebM, and MOV, and you can play embedded videos from platforms like YouTube, Vimeo, HLS, and DASH.
If a format is not supported, the native player will automatically handle playback to ensure a smooth experience.
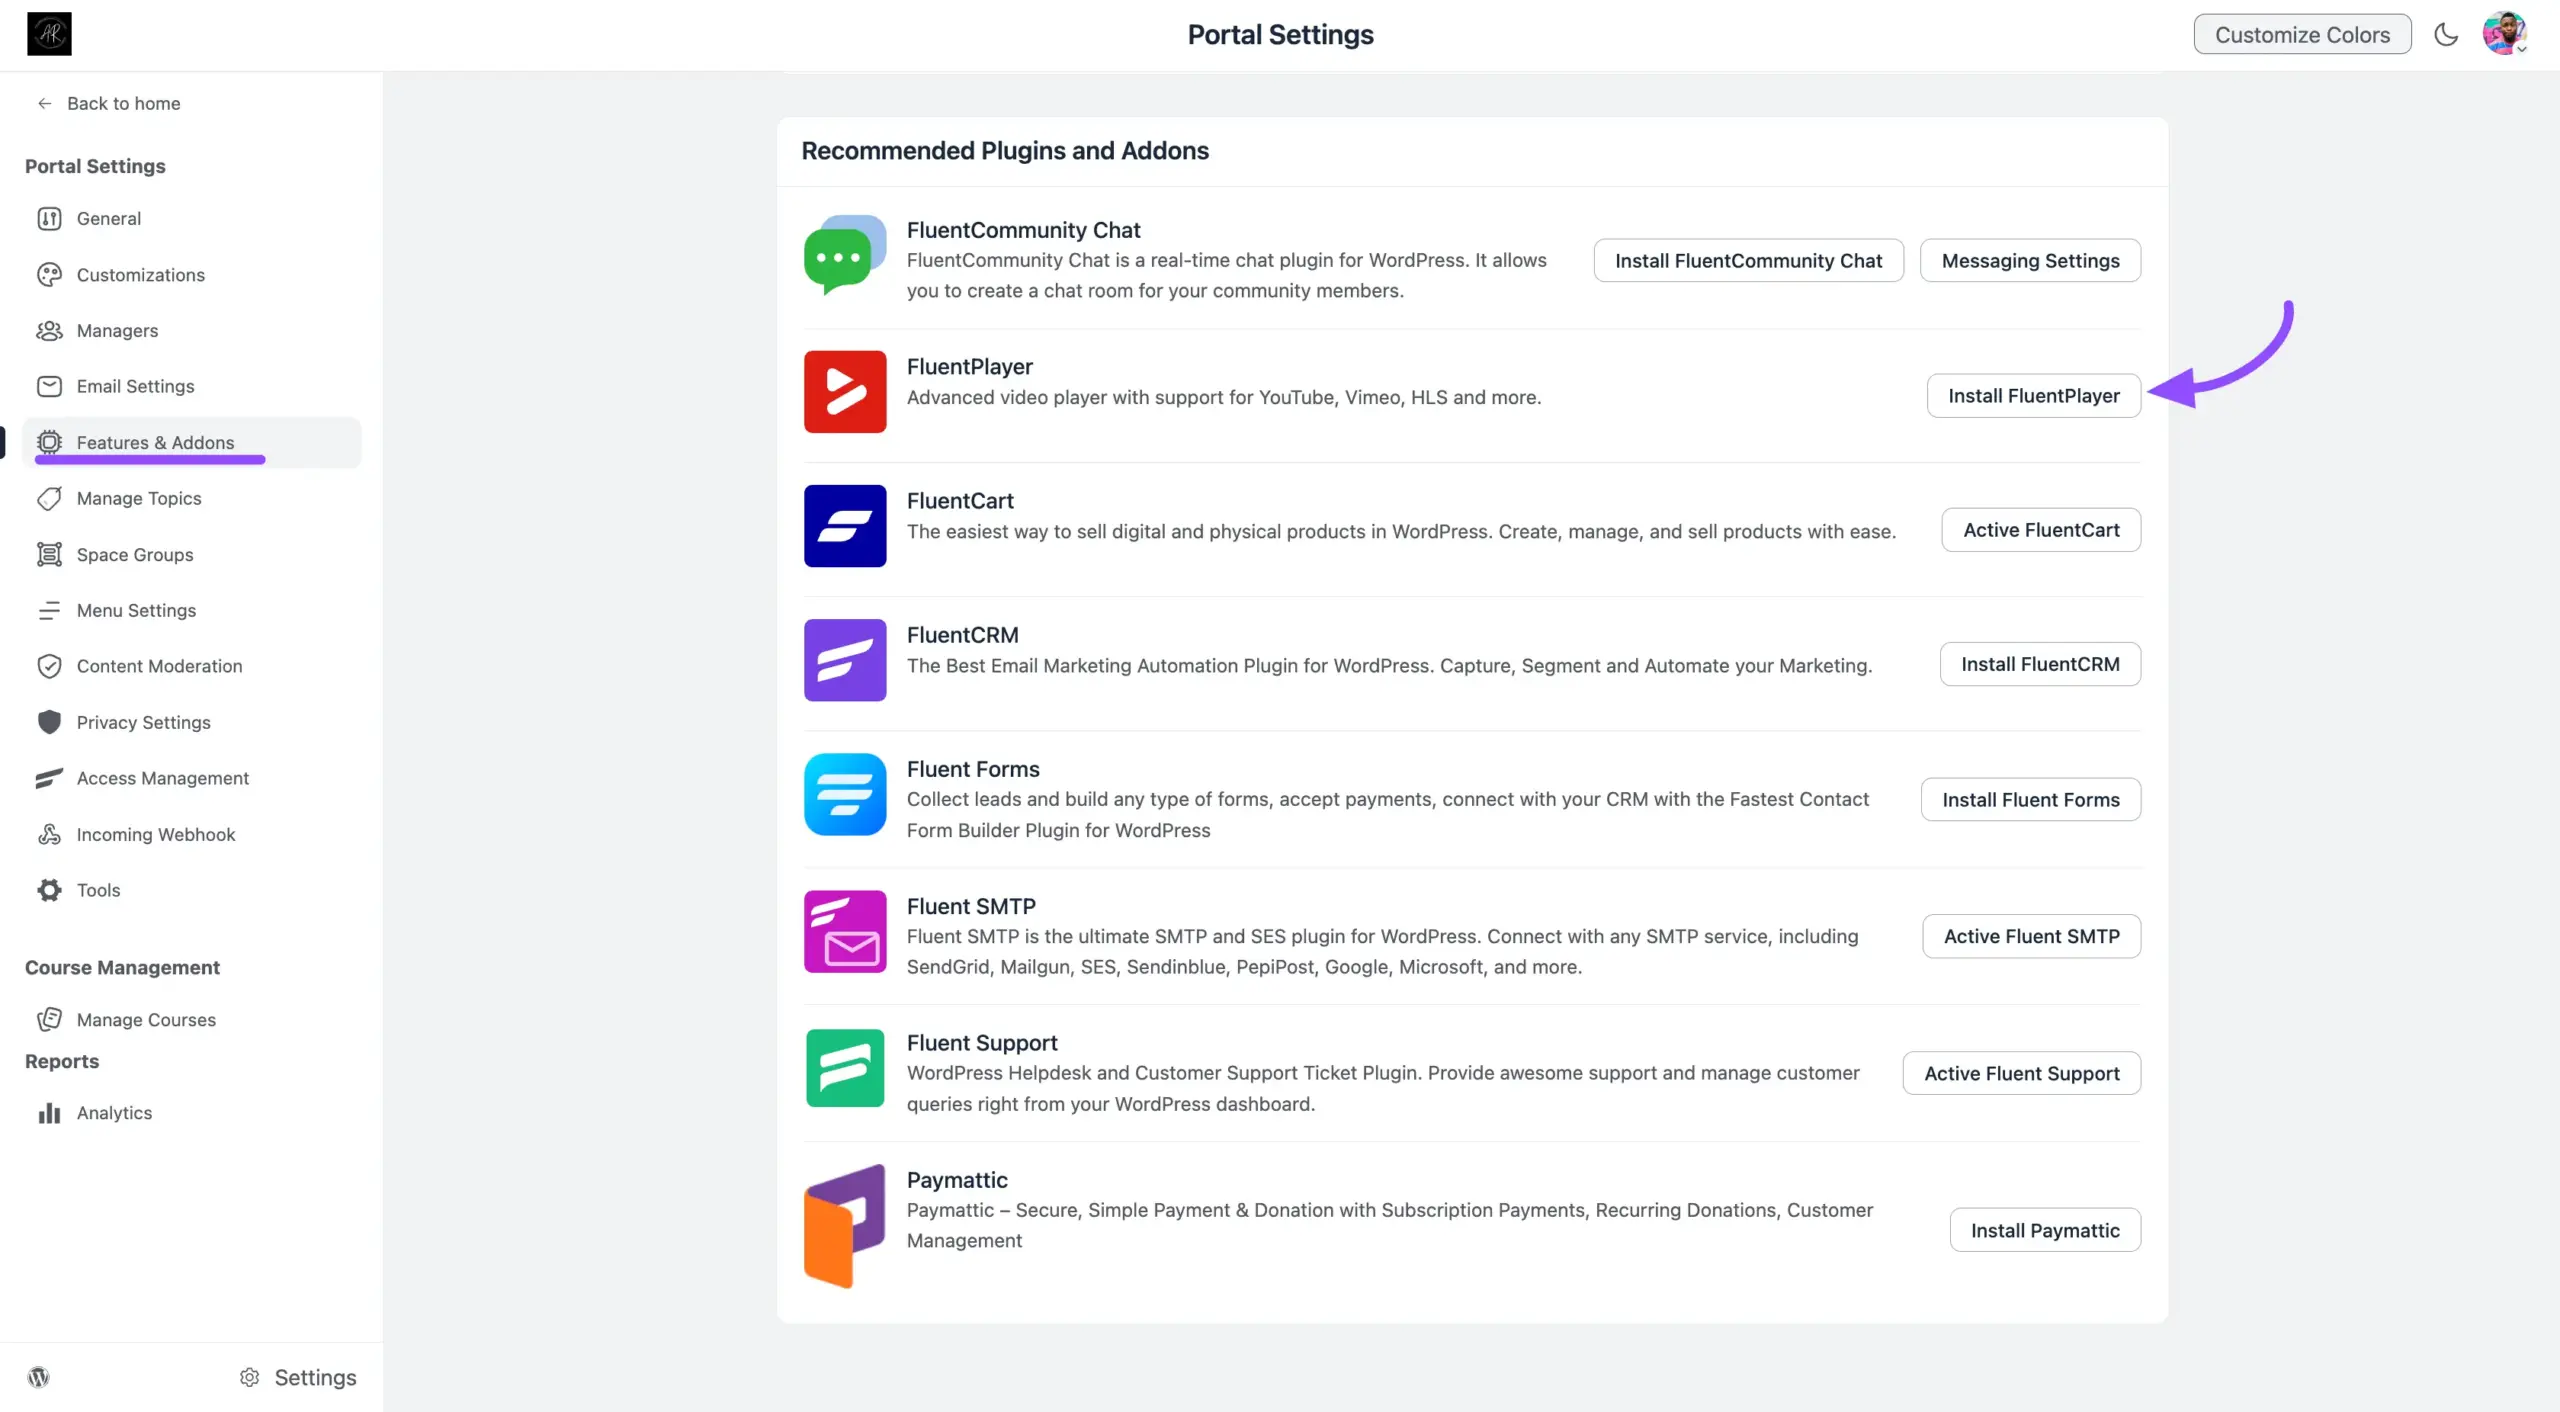
Note: If you do not have Fluent Player installed yet, you can easily install it directly from the community settings. Go to FluentCommunity > Settings > Features & Addons, find the Fluent Player module under Recommended Plugins, and click Install FluentPlayer.
Step 1: Enabling the Integration #
Once Fluent Player is installed on your site, you need to activate the connection.
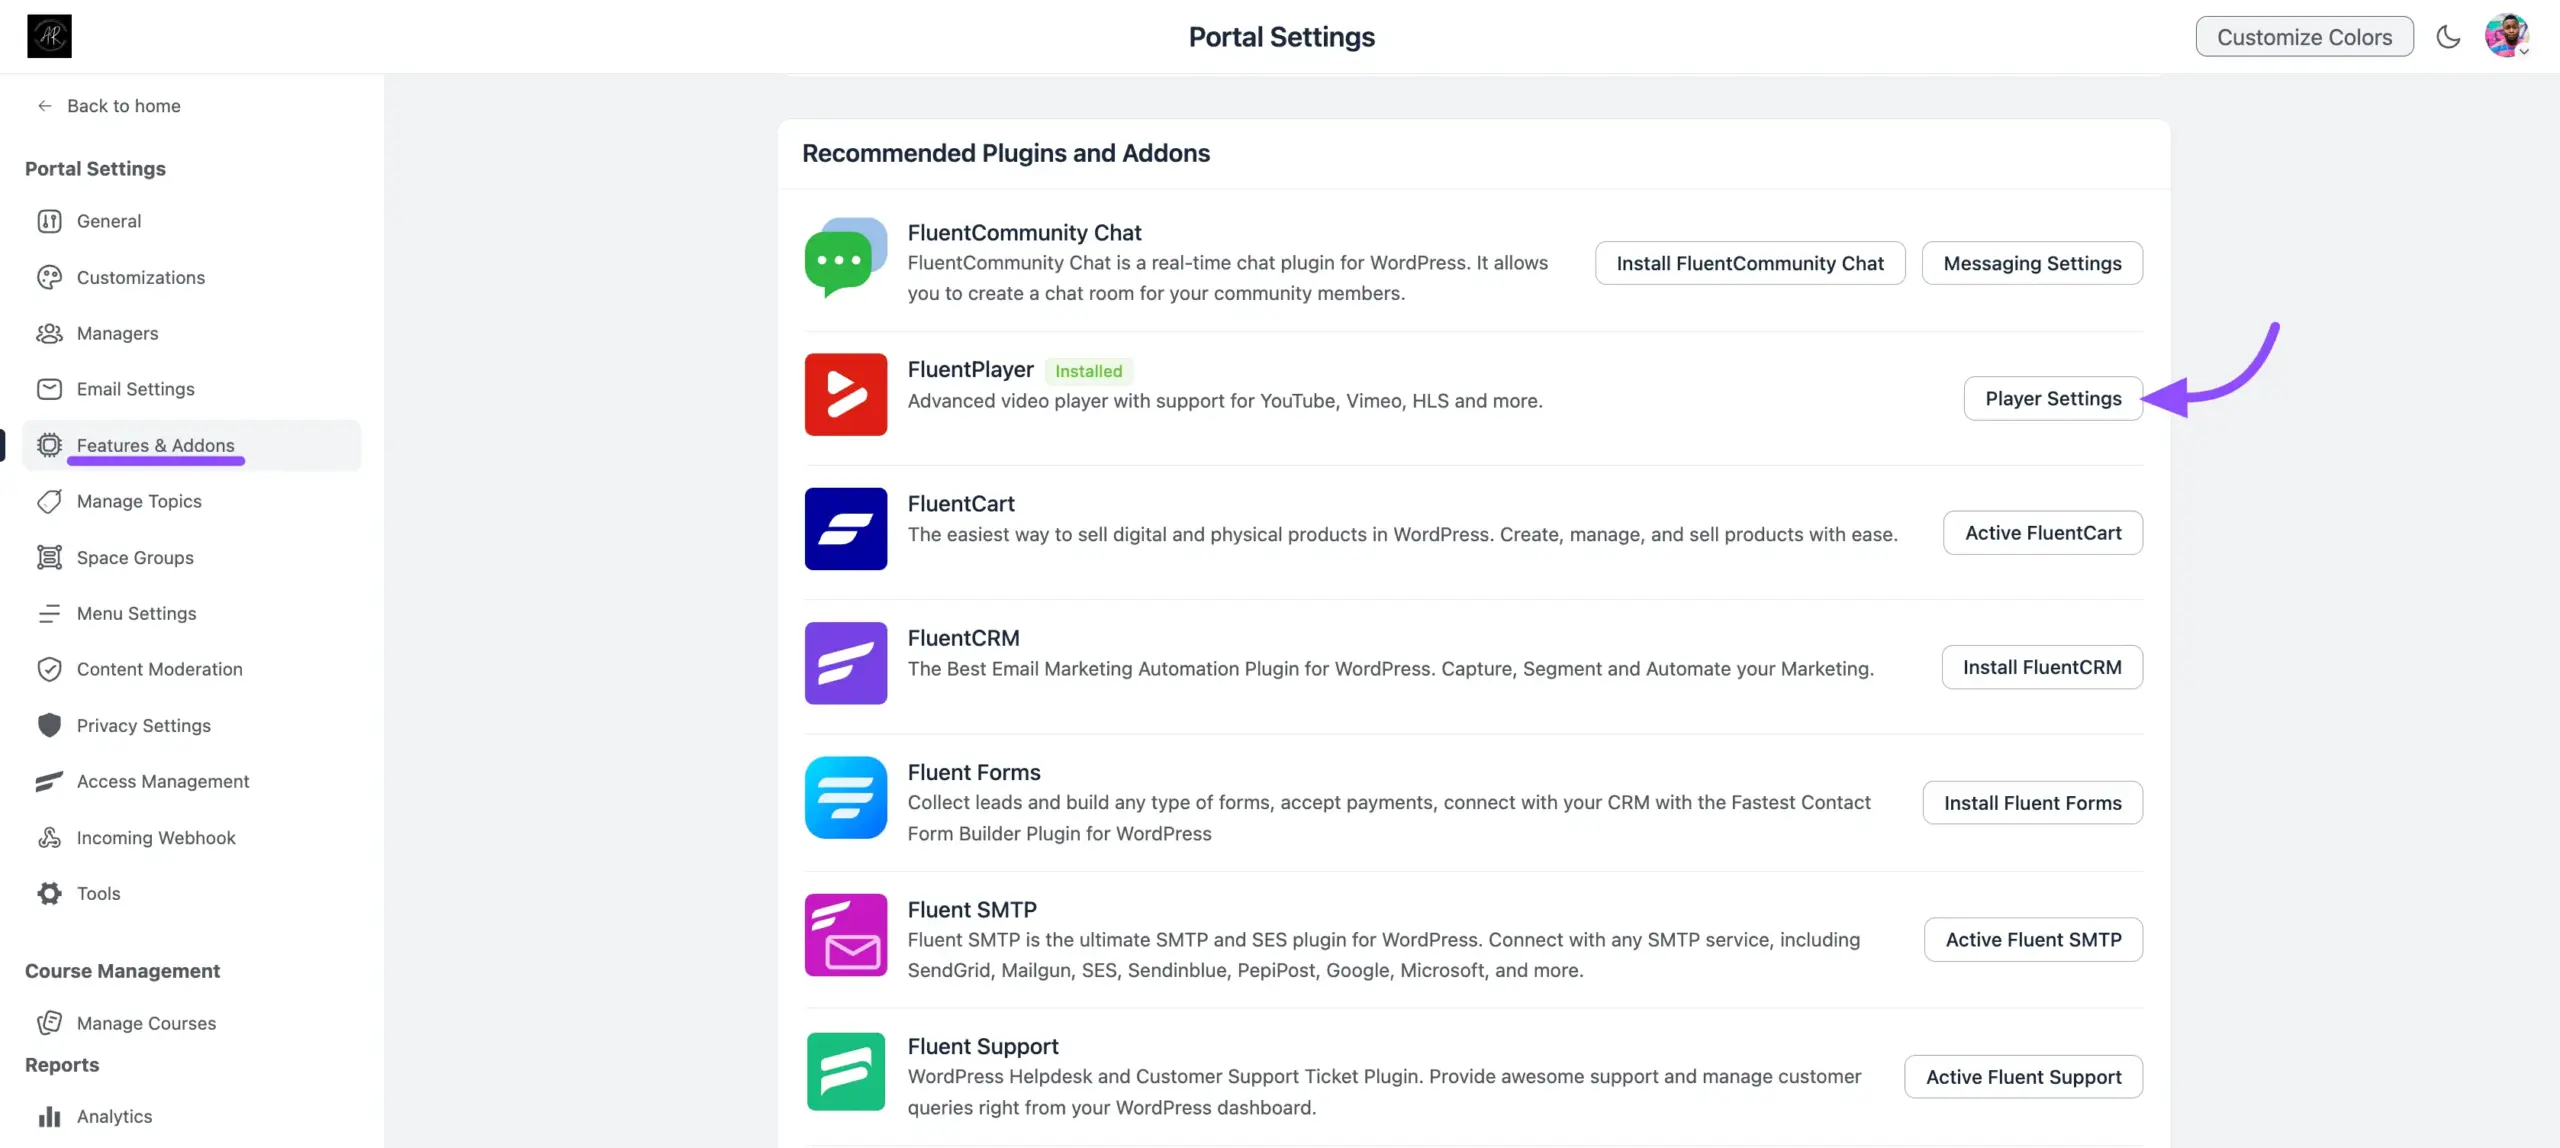
- Navigate to your WordPress dashboard and go to FluentCommunity > Settings.
- Click on the Features & Addons tab from the left-hand menu.
- Locate the FluentPlayer module.
- Click the Player Settings button to open the configuration panel.
- At the top of the slide-in panel, toggle Enable FluentPlayer to ON.
Once enabled, your community posts will start using Fluent Player, and you will unlock access to appearance, control, and upload settings.
Step 2: Customizing Player Appearance #
You can ensure your videos perfectly match your community’s aesthetic by adjusting the player’s look and feel.
- Select a Player Skin: Choose from multiple layouts (Modern, Classic, Simple, Floating, or Minimal).
- Tip: Use ‘Modern’ for a feature-rich look, or ‘Minimal’ for a distraction-free learning environment.
- Set Brand Color: Define your community’s primary hex color. This will instantly apply to the player’s progress bar, button highlights, and active controls.
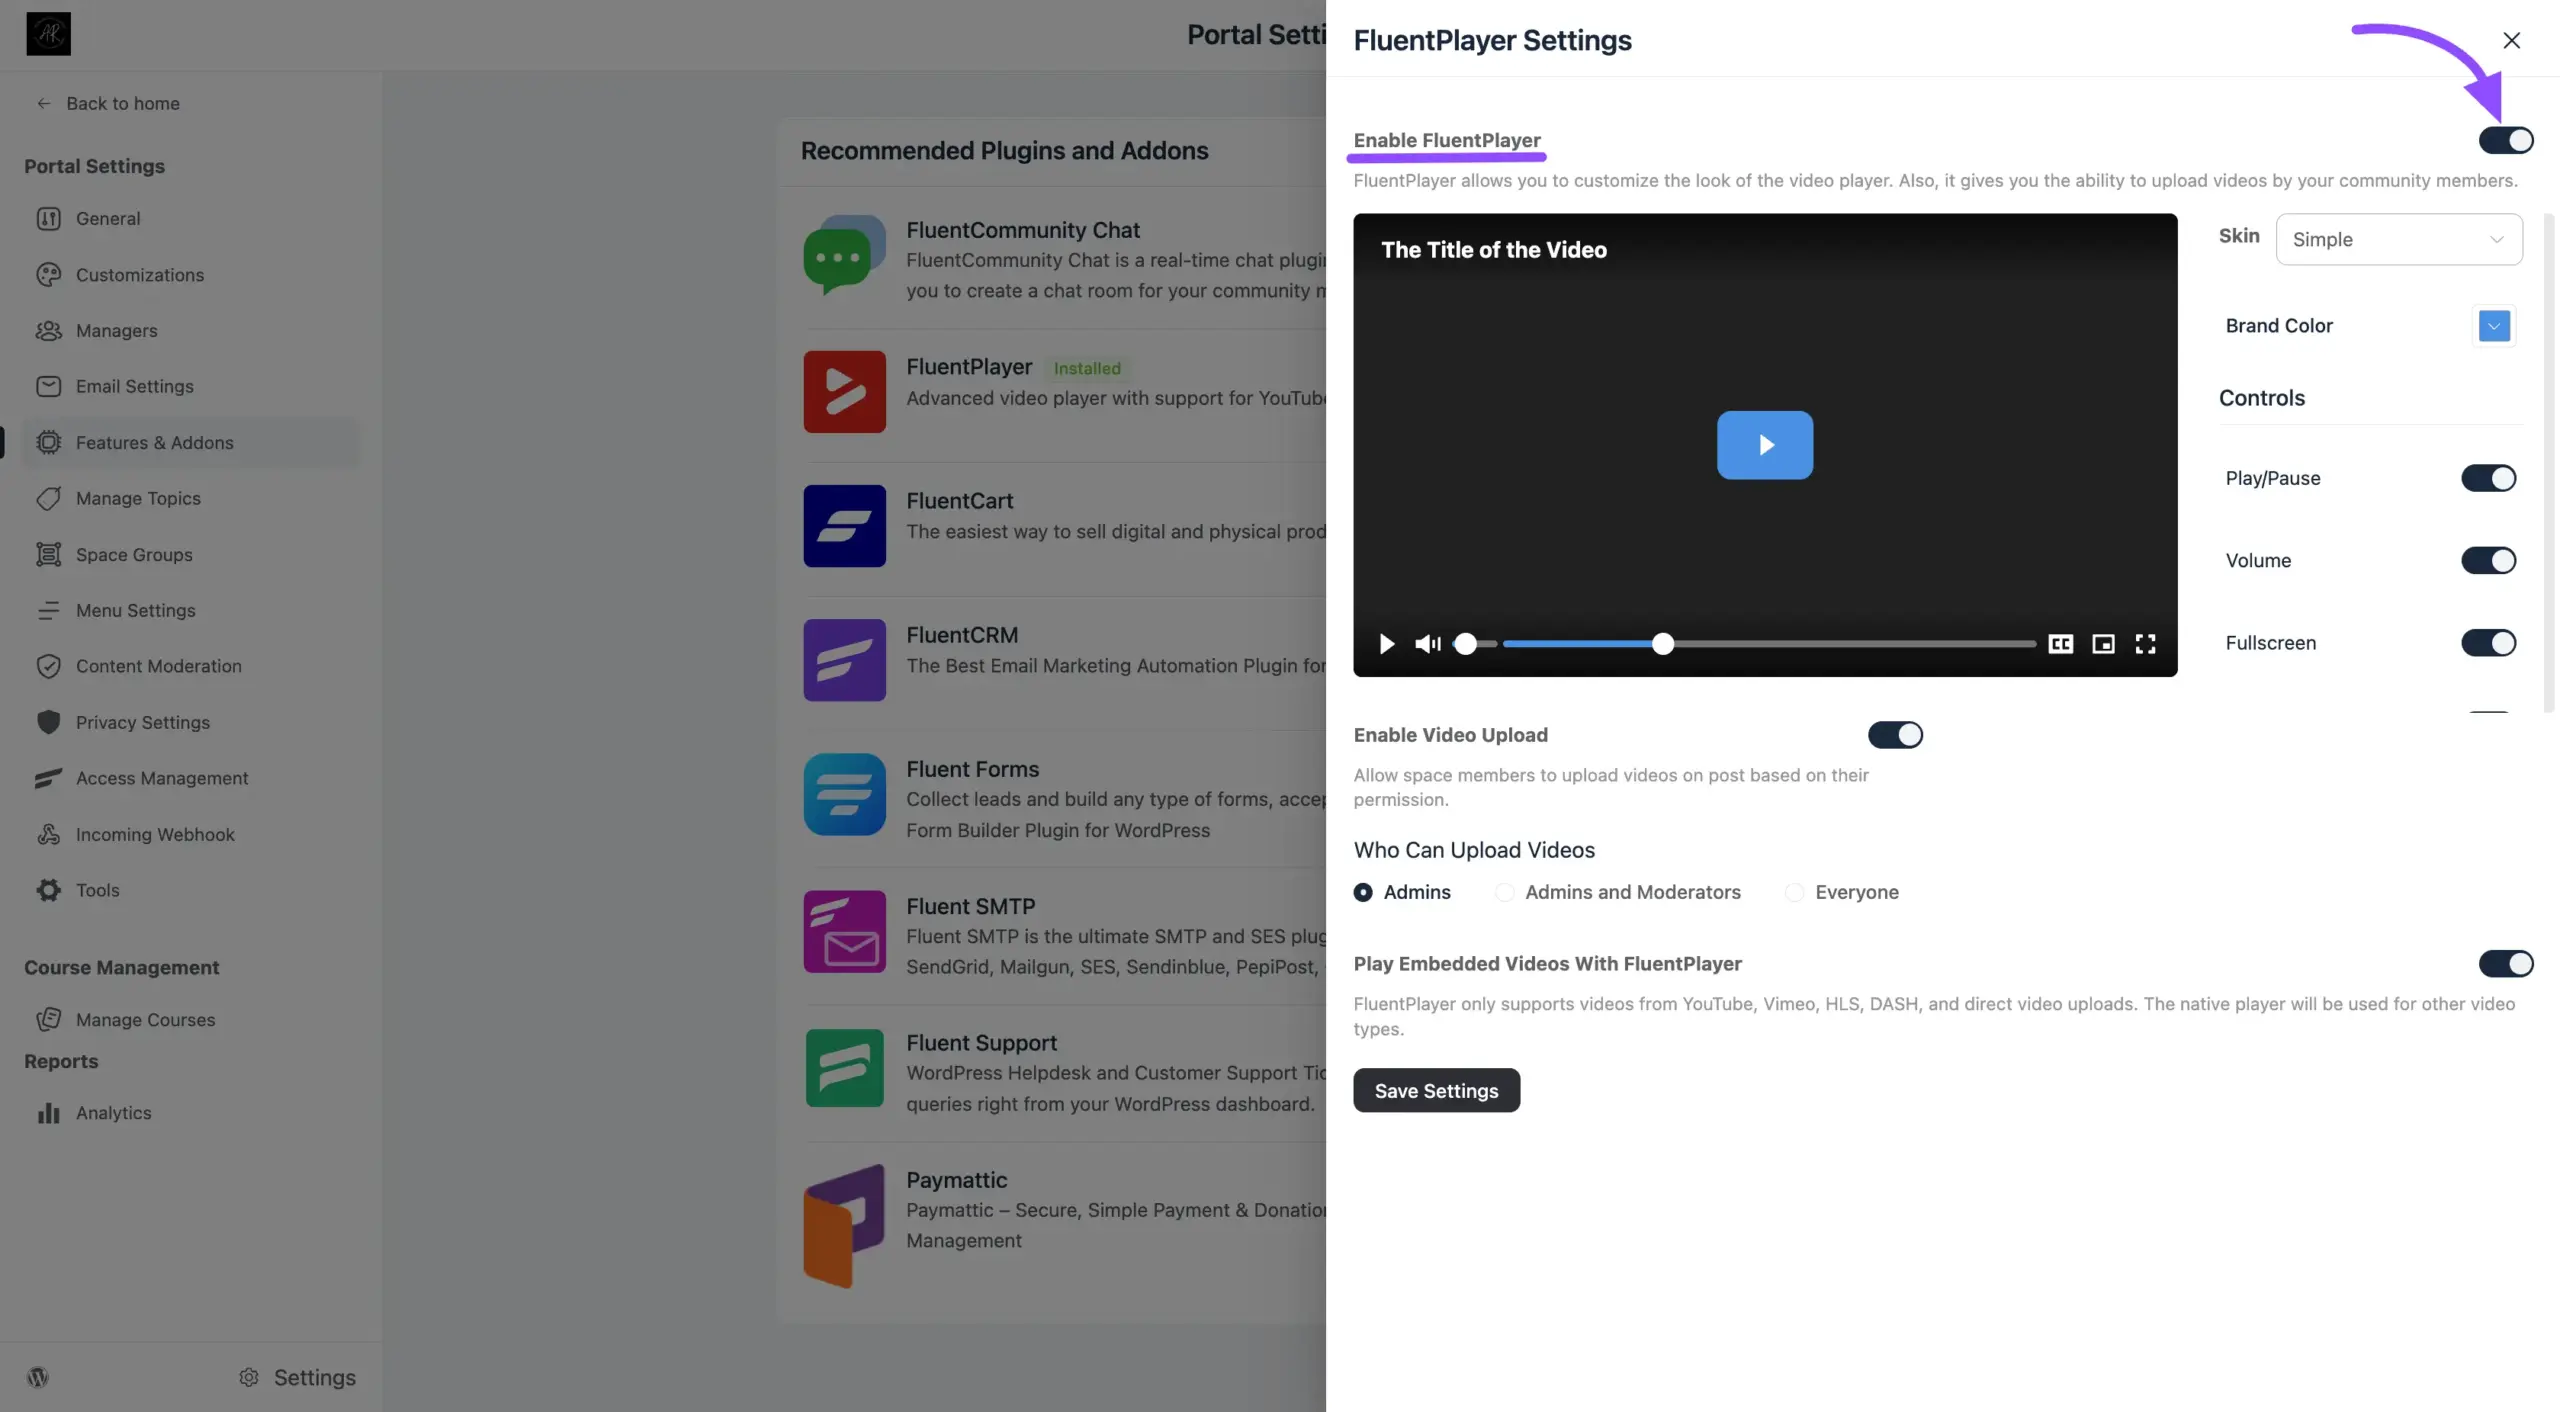
Configuring Player Controls #
This section gives you complete power over how members interact with your videos. You can toggle these specific settings on or off based on your needs:
Player Controls
- Play/Pause: The standard button allowing members to start or stop the video.
- Volume: Allow members to adjust or mute the sound.
- Fullscreen: Let members expand the video to fill their entire screen for immersive viewing.
- Picture in Picture: Allow the video to pop out into a small floating window so members can keep watching while browsing other areas of your community.
- Captions Toggle: Let users turn subtitles on or off (if your video includes caption files).
Playback Behaviors
- Muted Autoplay: Automatically start playing the video as soon as it loads, but with the sound muted (a great feature for social feed environments!).
- Save Play Position: Remember exactly where a member left off, so if they close the page and come back, the video resumes right from that spot.
- Hide Top Controls: Remove the top bar of the player interface for a cleaner look.
- Hide Center Controls: Hide the large play/pause buttons that appear in the middle of the screen.
- Hide Bottom Controls: Remove the timeline and bottom bar completely (useful for background videos or restrictive course environments).
Managing Video Uploads & Embeds #
The most powerful part of this integration is controlling how videos are added to your community.
1. Enable Video Uploads: Turn on the Enable Video Upload toggle to allow video files to be uploaded directly into community posts.
- Who Can Upload? You can restrict this feature to Admins only, Admins and Moderators, or allow Everyone.
- Important: If you have a large community, we highly recommend restricting uploads to Admins or Moderators to save your server’s storage space!
2. Play Embedded Videos With Fluent Player:
Turn this setting ON to force external links (like YouTube or Vimeo) to render using your custom Fluent Player design.
- Why enable this? It hides external branding and keeps your community interface looking clean and uniform!
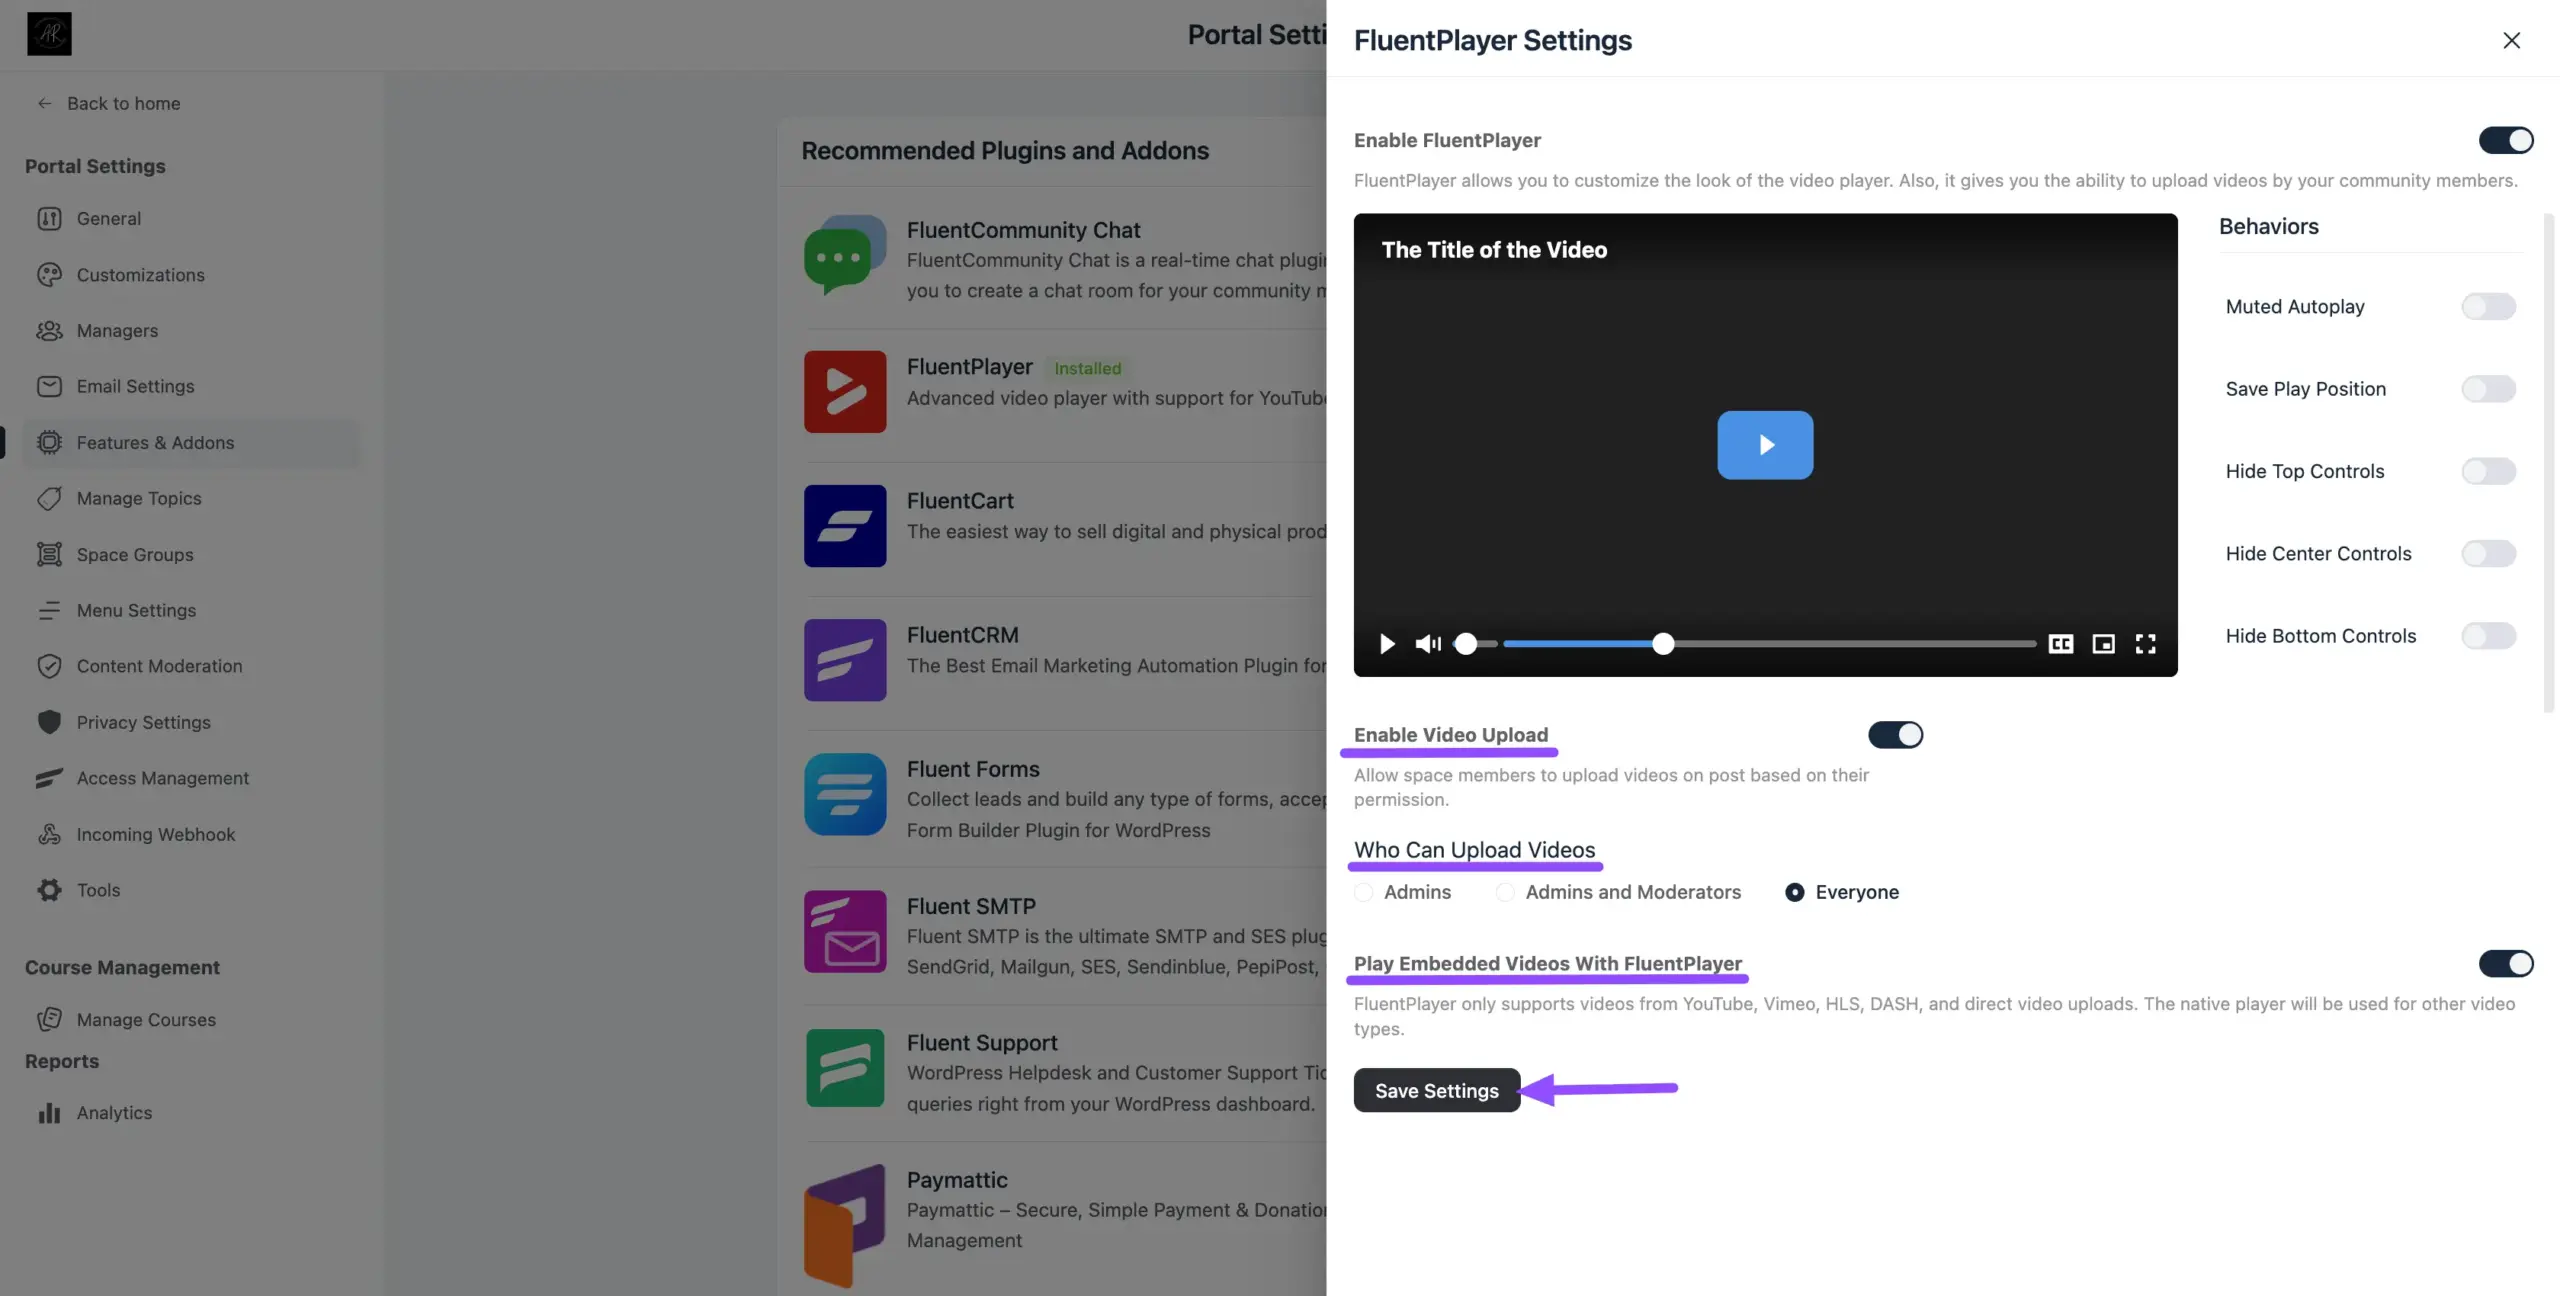
Once you have configured all your preferences, don’t forget to click the Save Settings button at the bottom of the panel!


