

FluentCommunity’s Custom Links feature allows you to add personalized links to your community spaces for easier navigation and improved user experience.
Custom Links is a Pro feature. You’ll need the FluentCommunity Pro plugin to use this option.
Adding a Custom Link #
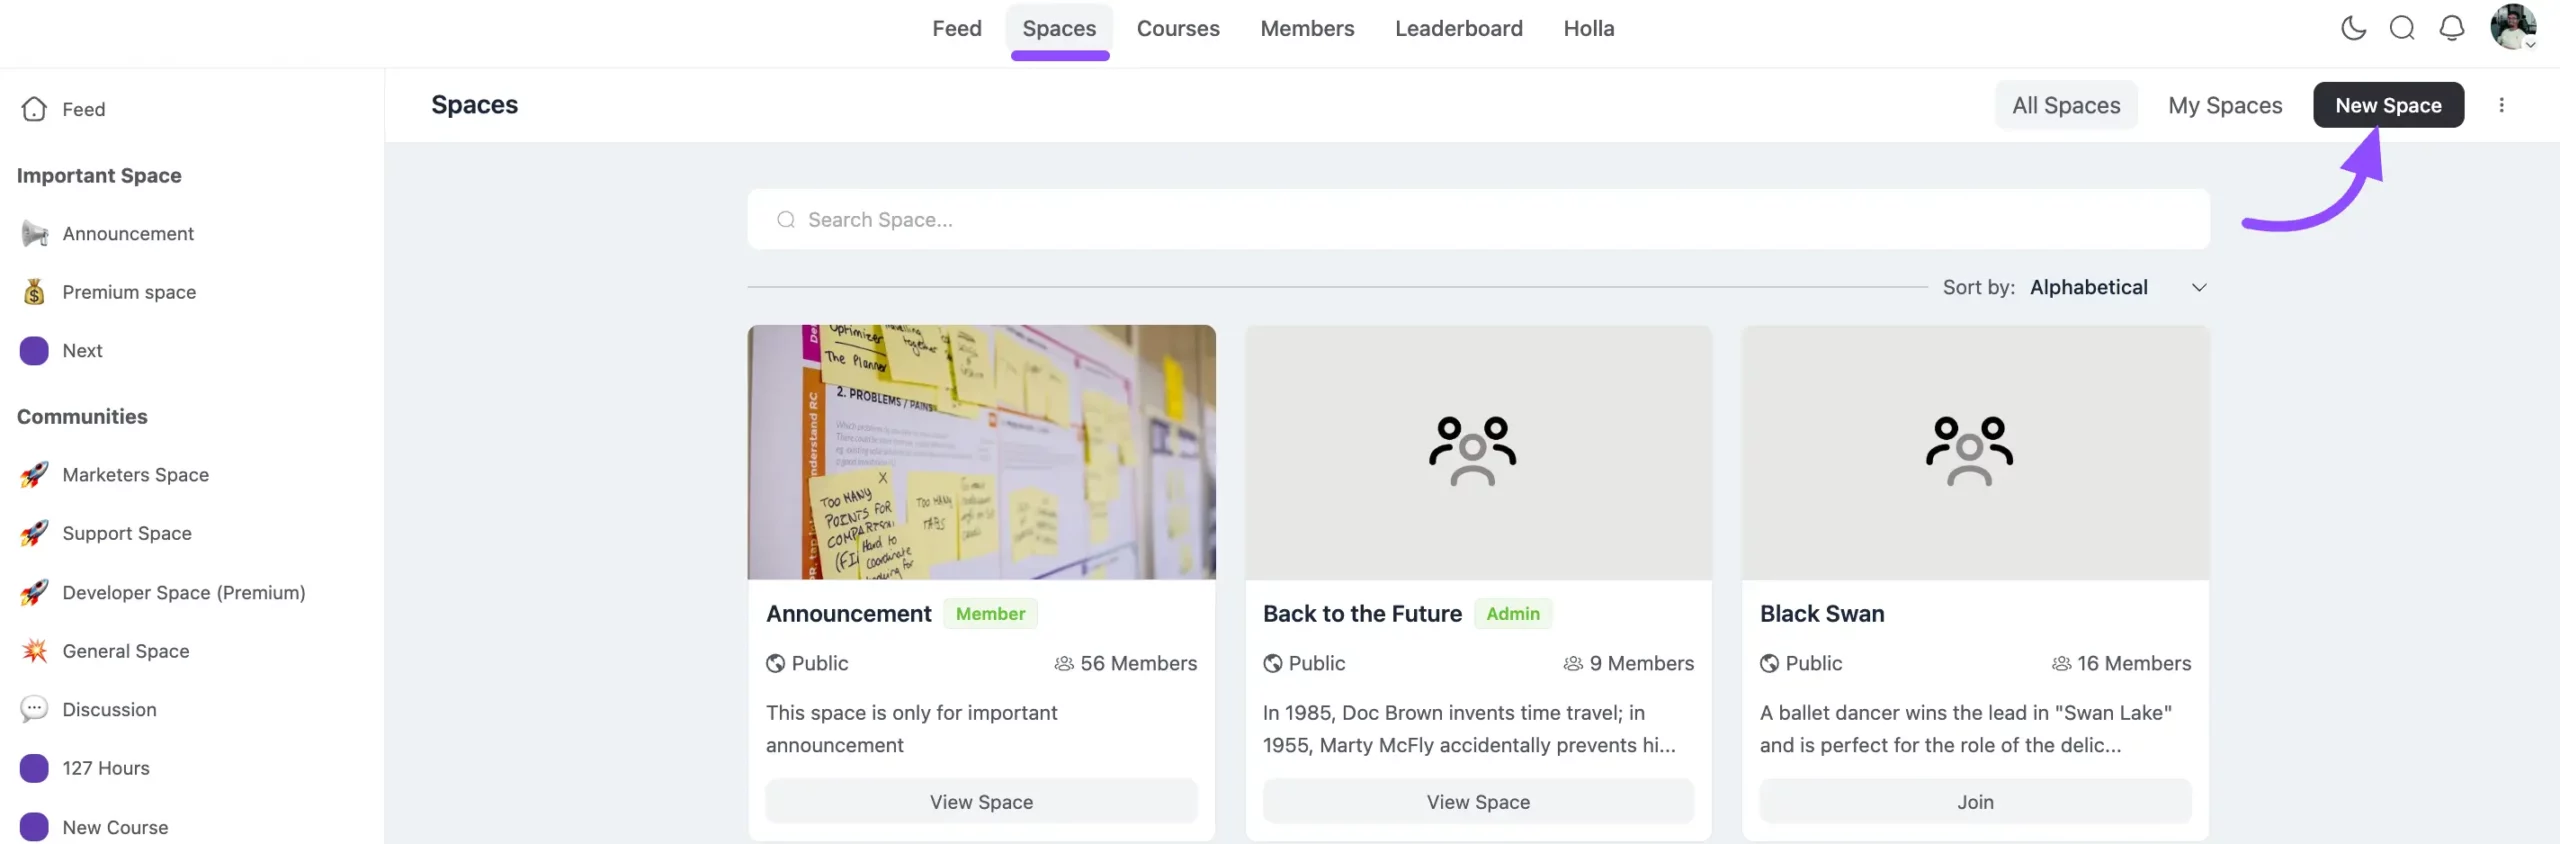
Go to your FluentCommunity Dashboard and click on Spaces in the left sidebar. Click the New Space button at the top right corner.
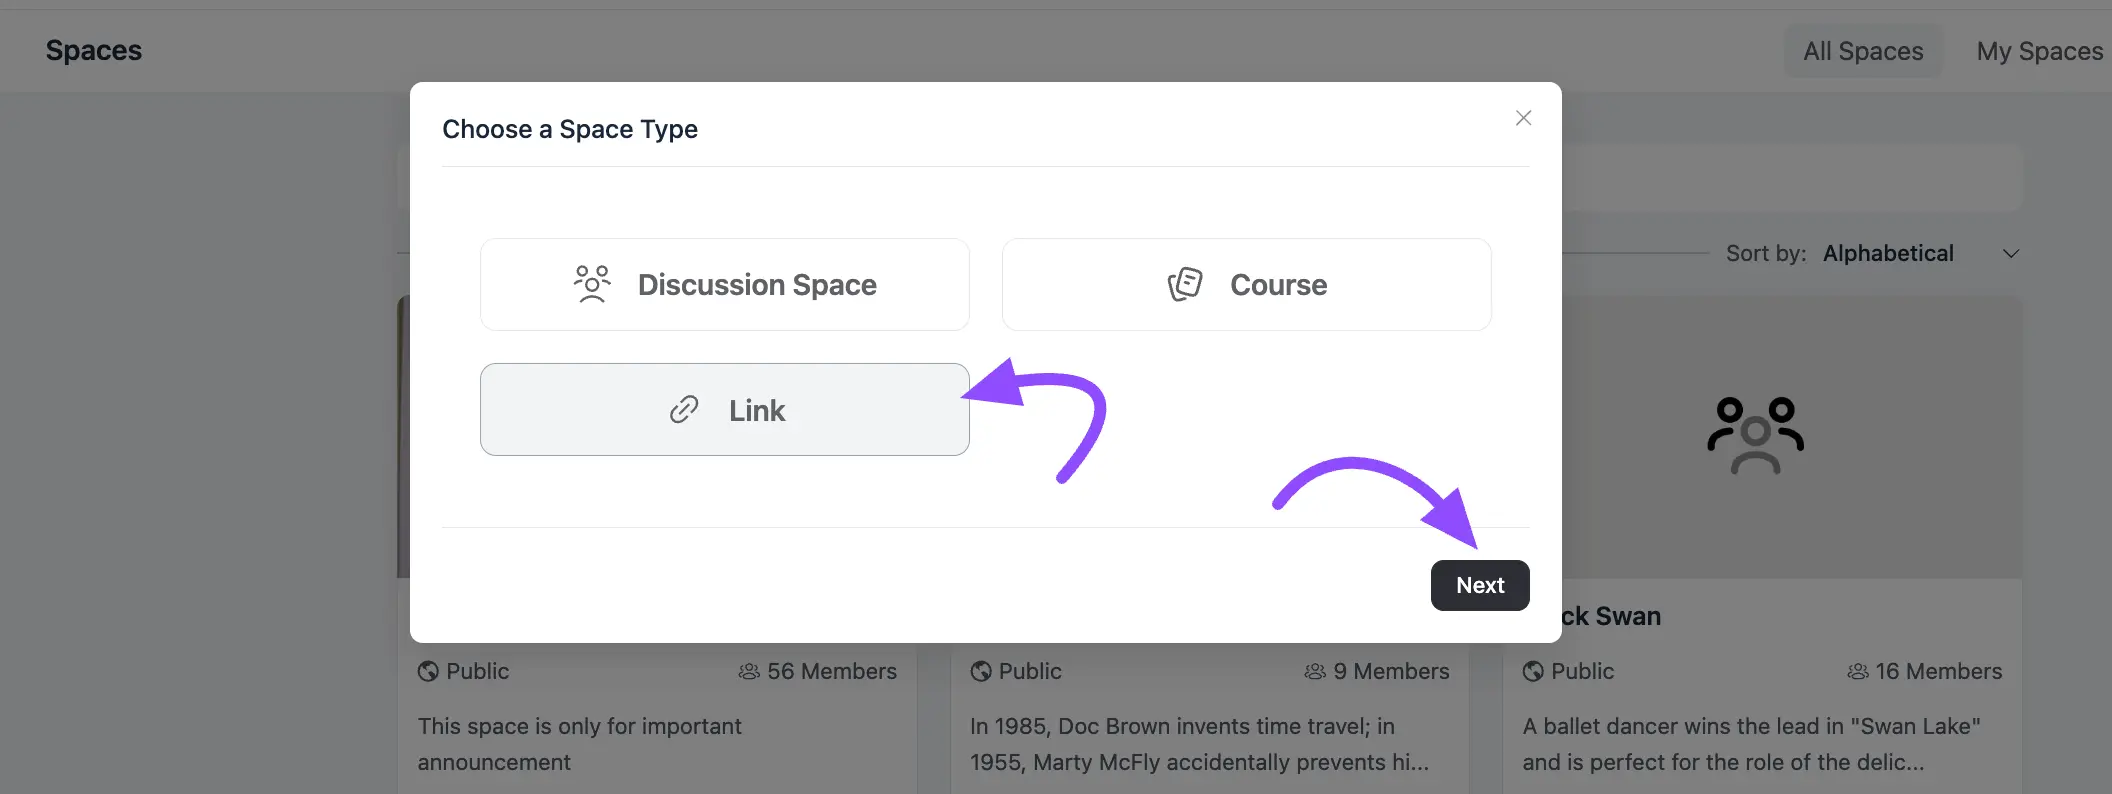
Here, appears a new Popup. Now select Links and click the Next button.
Create a Custom Link #
Now, fill in the details for your custom link:
A. Link Title: Enter a clear and descriptive title that will appear to your users.
B. Permalink: Add the full URL you want the link to direct to.
C. Open this link in new tab: Check this option if you want the link to open in a new browser tab when clicked.
D. Menu Group: Select the menu group where you want this link to appear in the sidebar.
E. Visibility: Choose Who Can See the Link-
- Everyone: The link will be visible to all users.
- Logged-in Users Only: Only users who are logged into the platform will be able to see the link.
- By Space/Course Memberships: Only users who are members of selected courses or spaces will see the link.
After you’ve entered all the details, click the Create Link button to save and add your custom link.

You’ll see a confirmation message once the link is successfully created. The link will now appear in the menu group you selected and follow the visibility settings you set during creation.

If you have further questions or need assistance, please contact us.


