
Space is a dedicated area where members can connect, share posts, create polls, and engage in discussions. It functions like a community hub, allowing admins to manage privacy settings, control access, and organize content efficiently. Spaces can be public, private, and secret depending on the community’s needs.
This guide will walk you through creating a Space and customizing its settings.
Access the Space Panel #
First, log in to your WordPress site, and in the left sidebar of your WordPress dashboard, you will see FluentCommunity select it. Now click on Spaces from the main navigation menu.
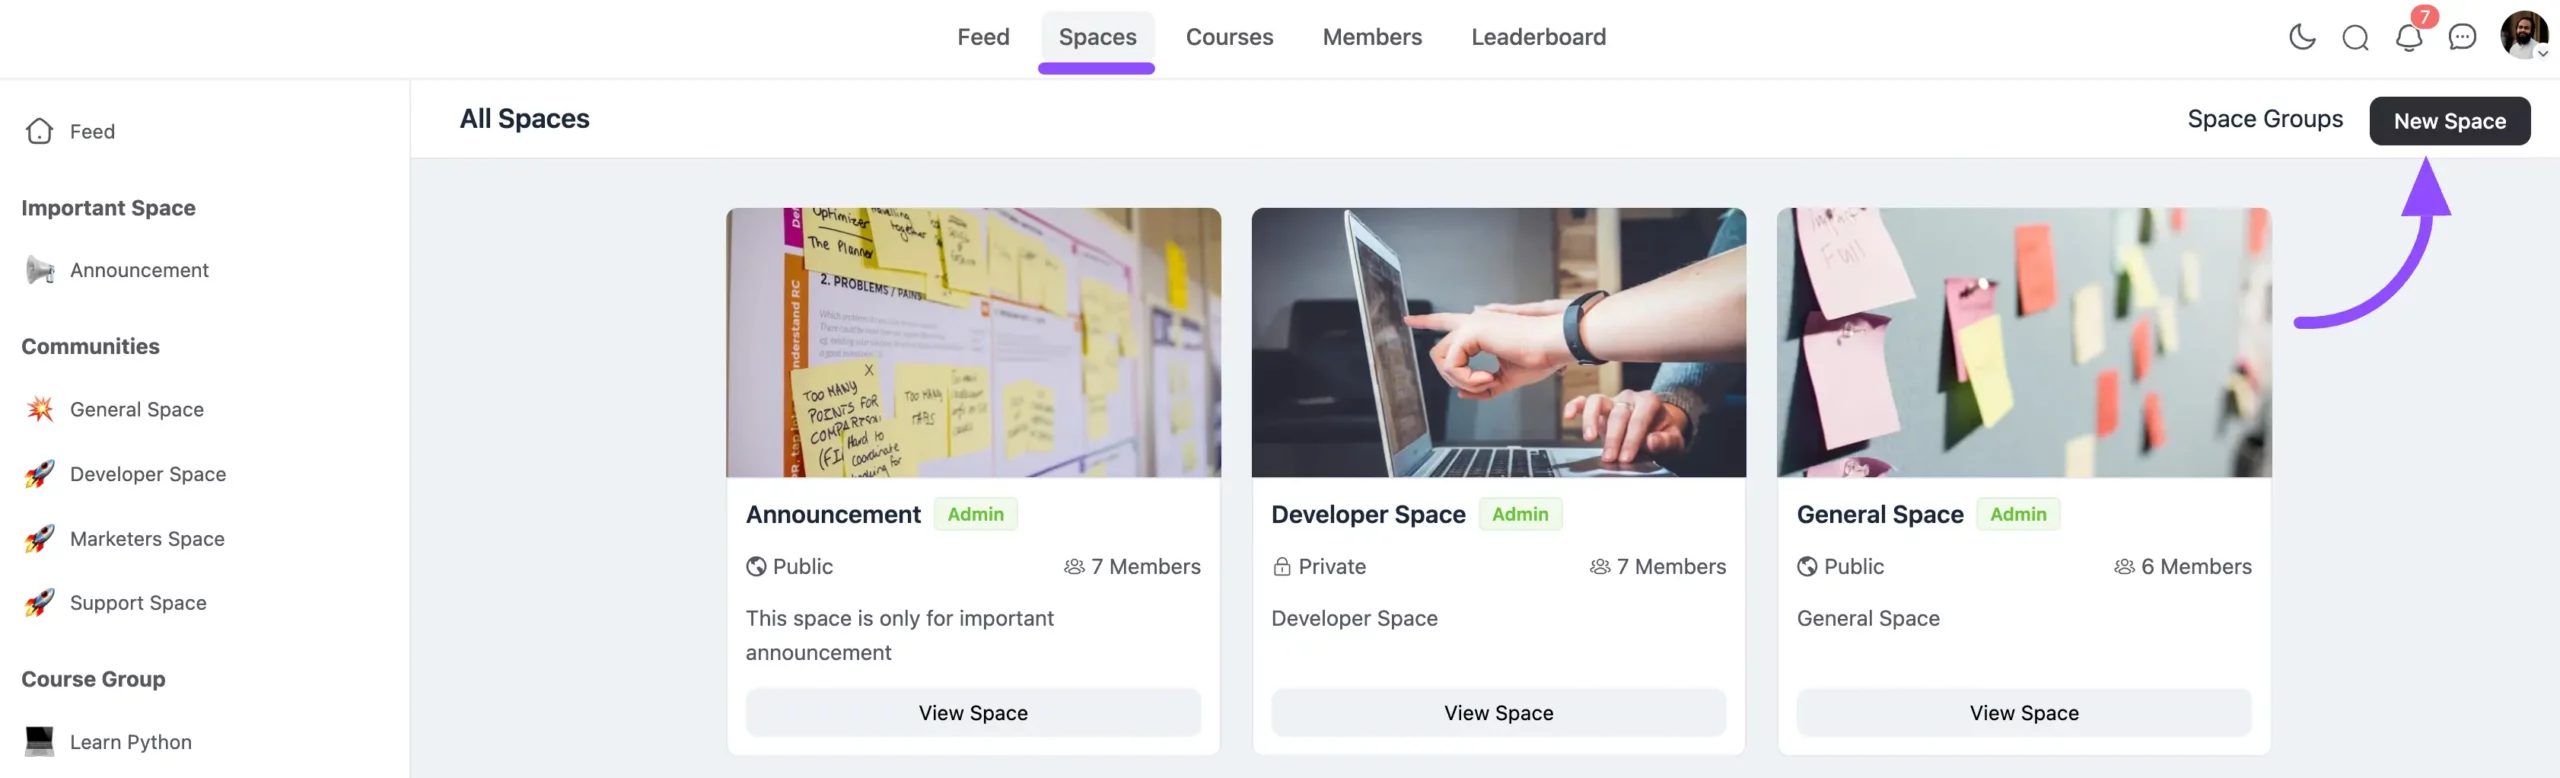
Once you’re in the Spaces panel, you’ll see a list of existing spaces (if any). To create a new one, simply click the New Space button at the top.
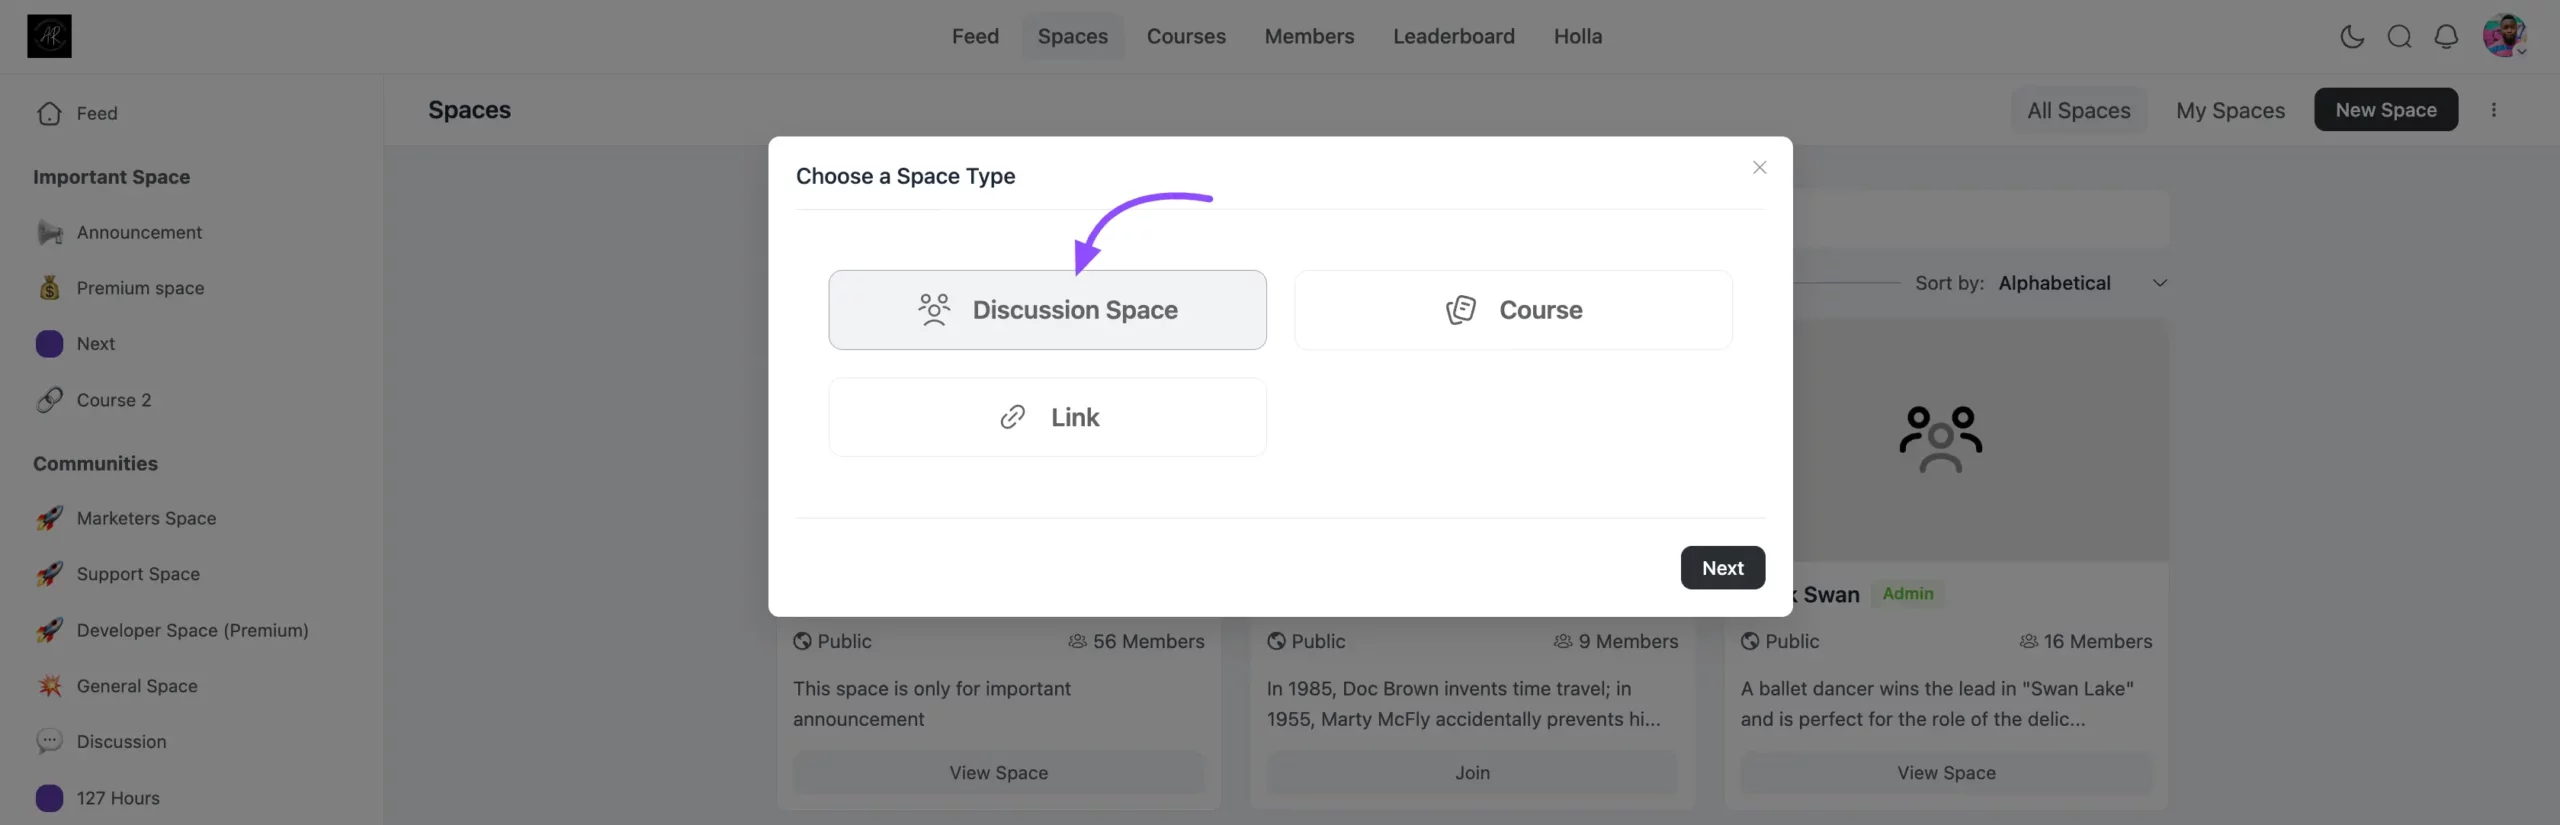
A pop-up will appear to choose what you want to create: Space, Course, and Link. Choose Space from here.
Space Details #
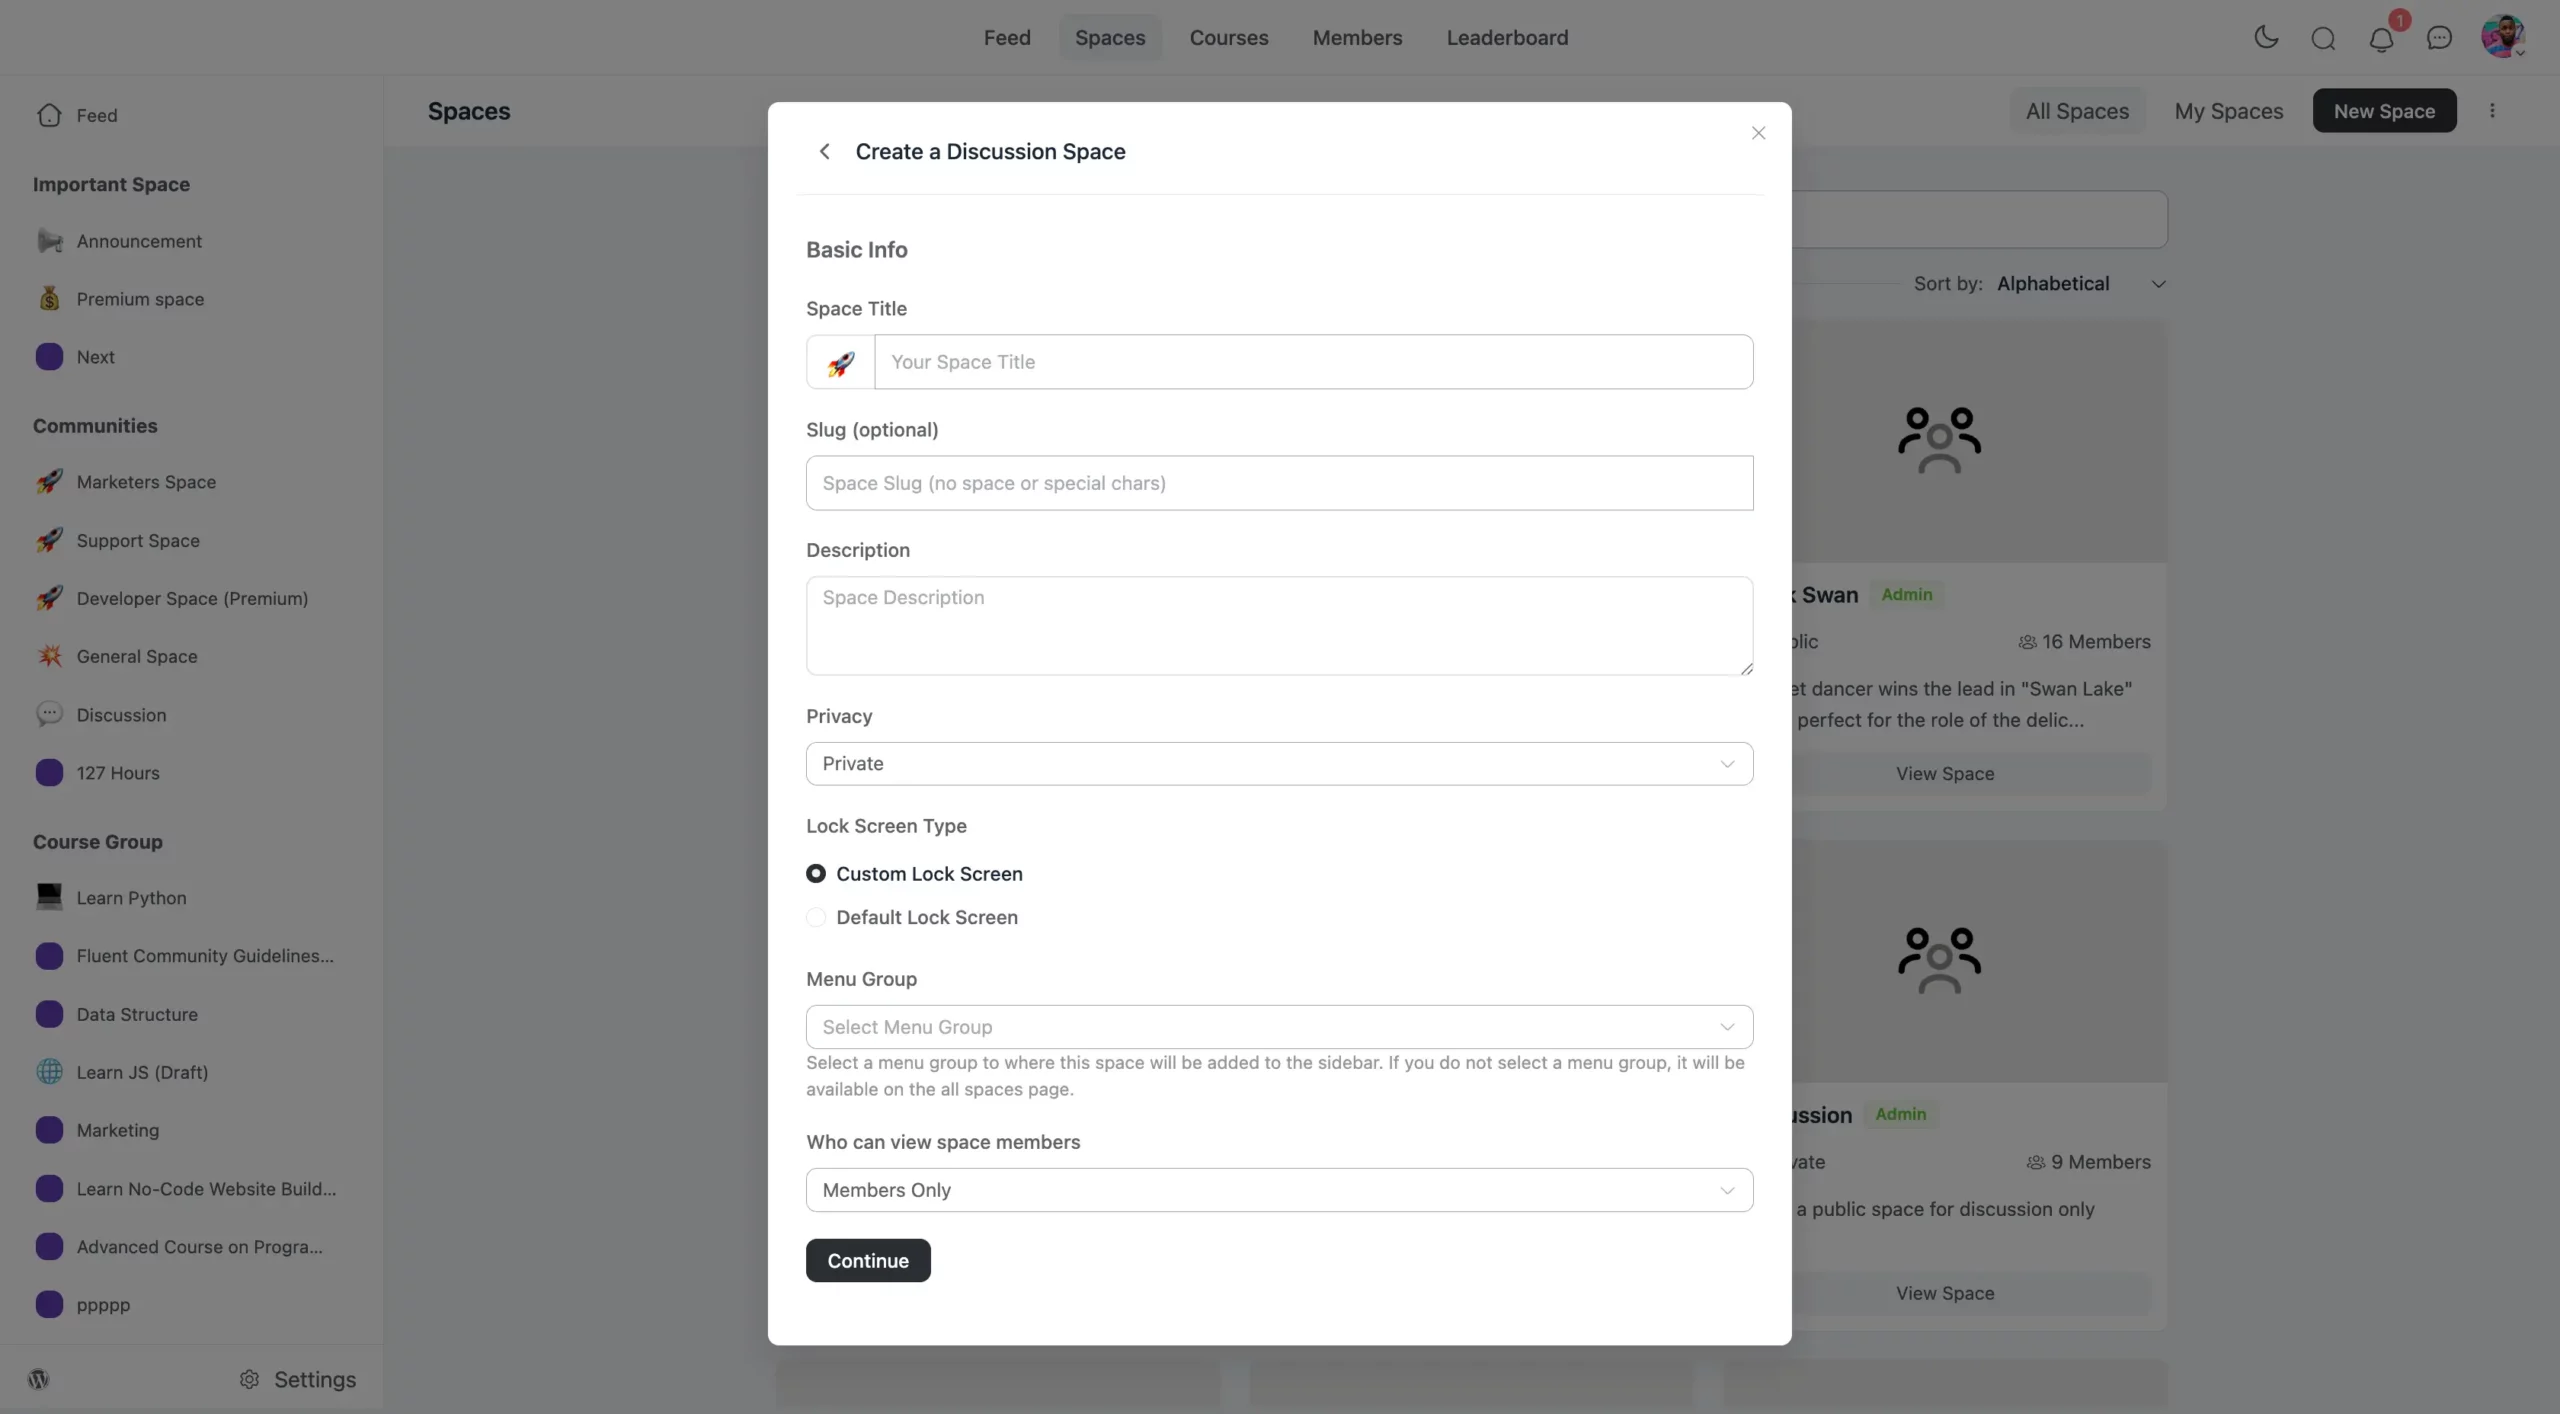
Another pop-up window will appear. Here, you’ll need to provide some basic information about your Space:
- Space Title: Give your Space a unique and descriptive name.
- Space Slug: A space slug is a unique URL identifier for each Space, making it easy to access and share specific Spaces.
- Space Description: Write a description explaining the purpose of the space.
- Privacy Settings: Choose whether the space will be Public, Private, or Secret. To know more about Privacy Settings you can read this documentation.
- Lock Screen Type: The Lock Screen Type controls access to content within a Space. Admins can restrict visibility based on privacy settings, ensuring only authorized users can view or participate.
- Main Group: From here you can choose the group for your Space.
- Who Can View Space Members: From here, you can select who can view your space using the dropdown field. You’ll have four options:
- Member Only
- Admin/Moderator Only
- Any Logged-in User
- Anyone
Now click on the Continue button to proceed to the next window.
Customization #
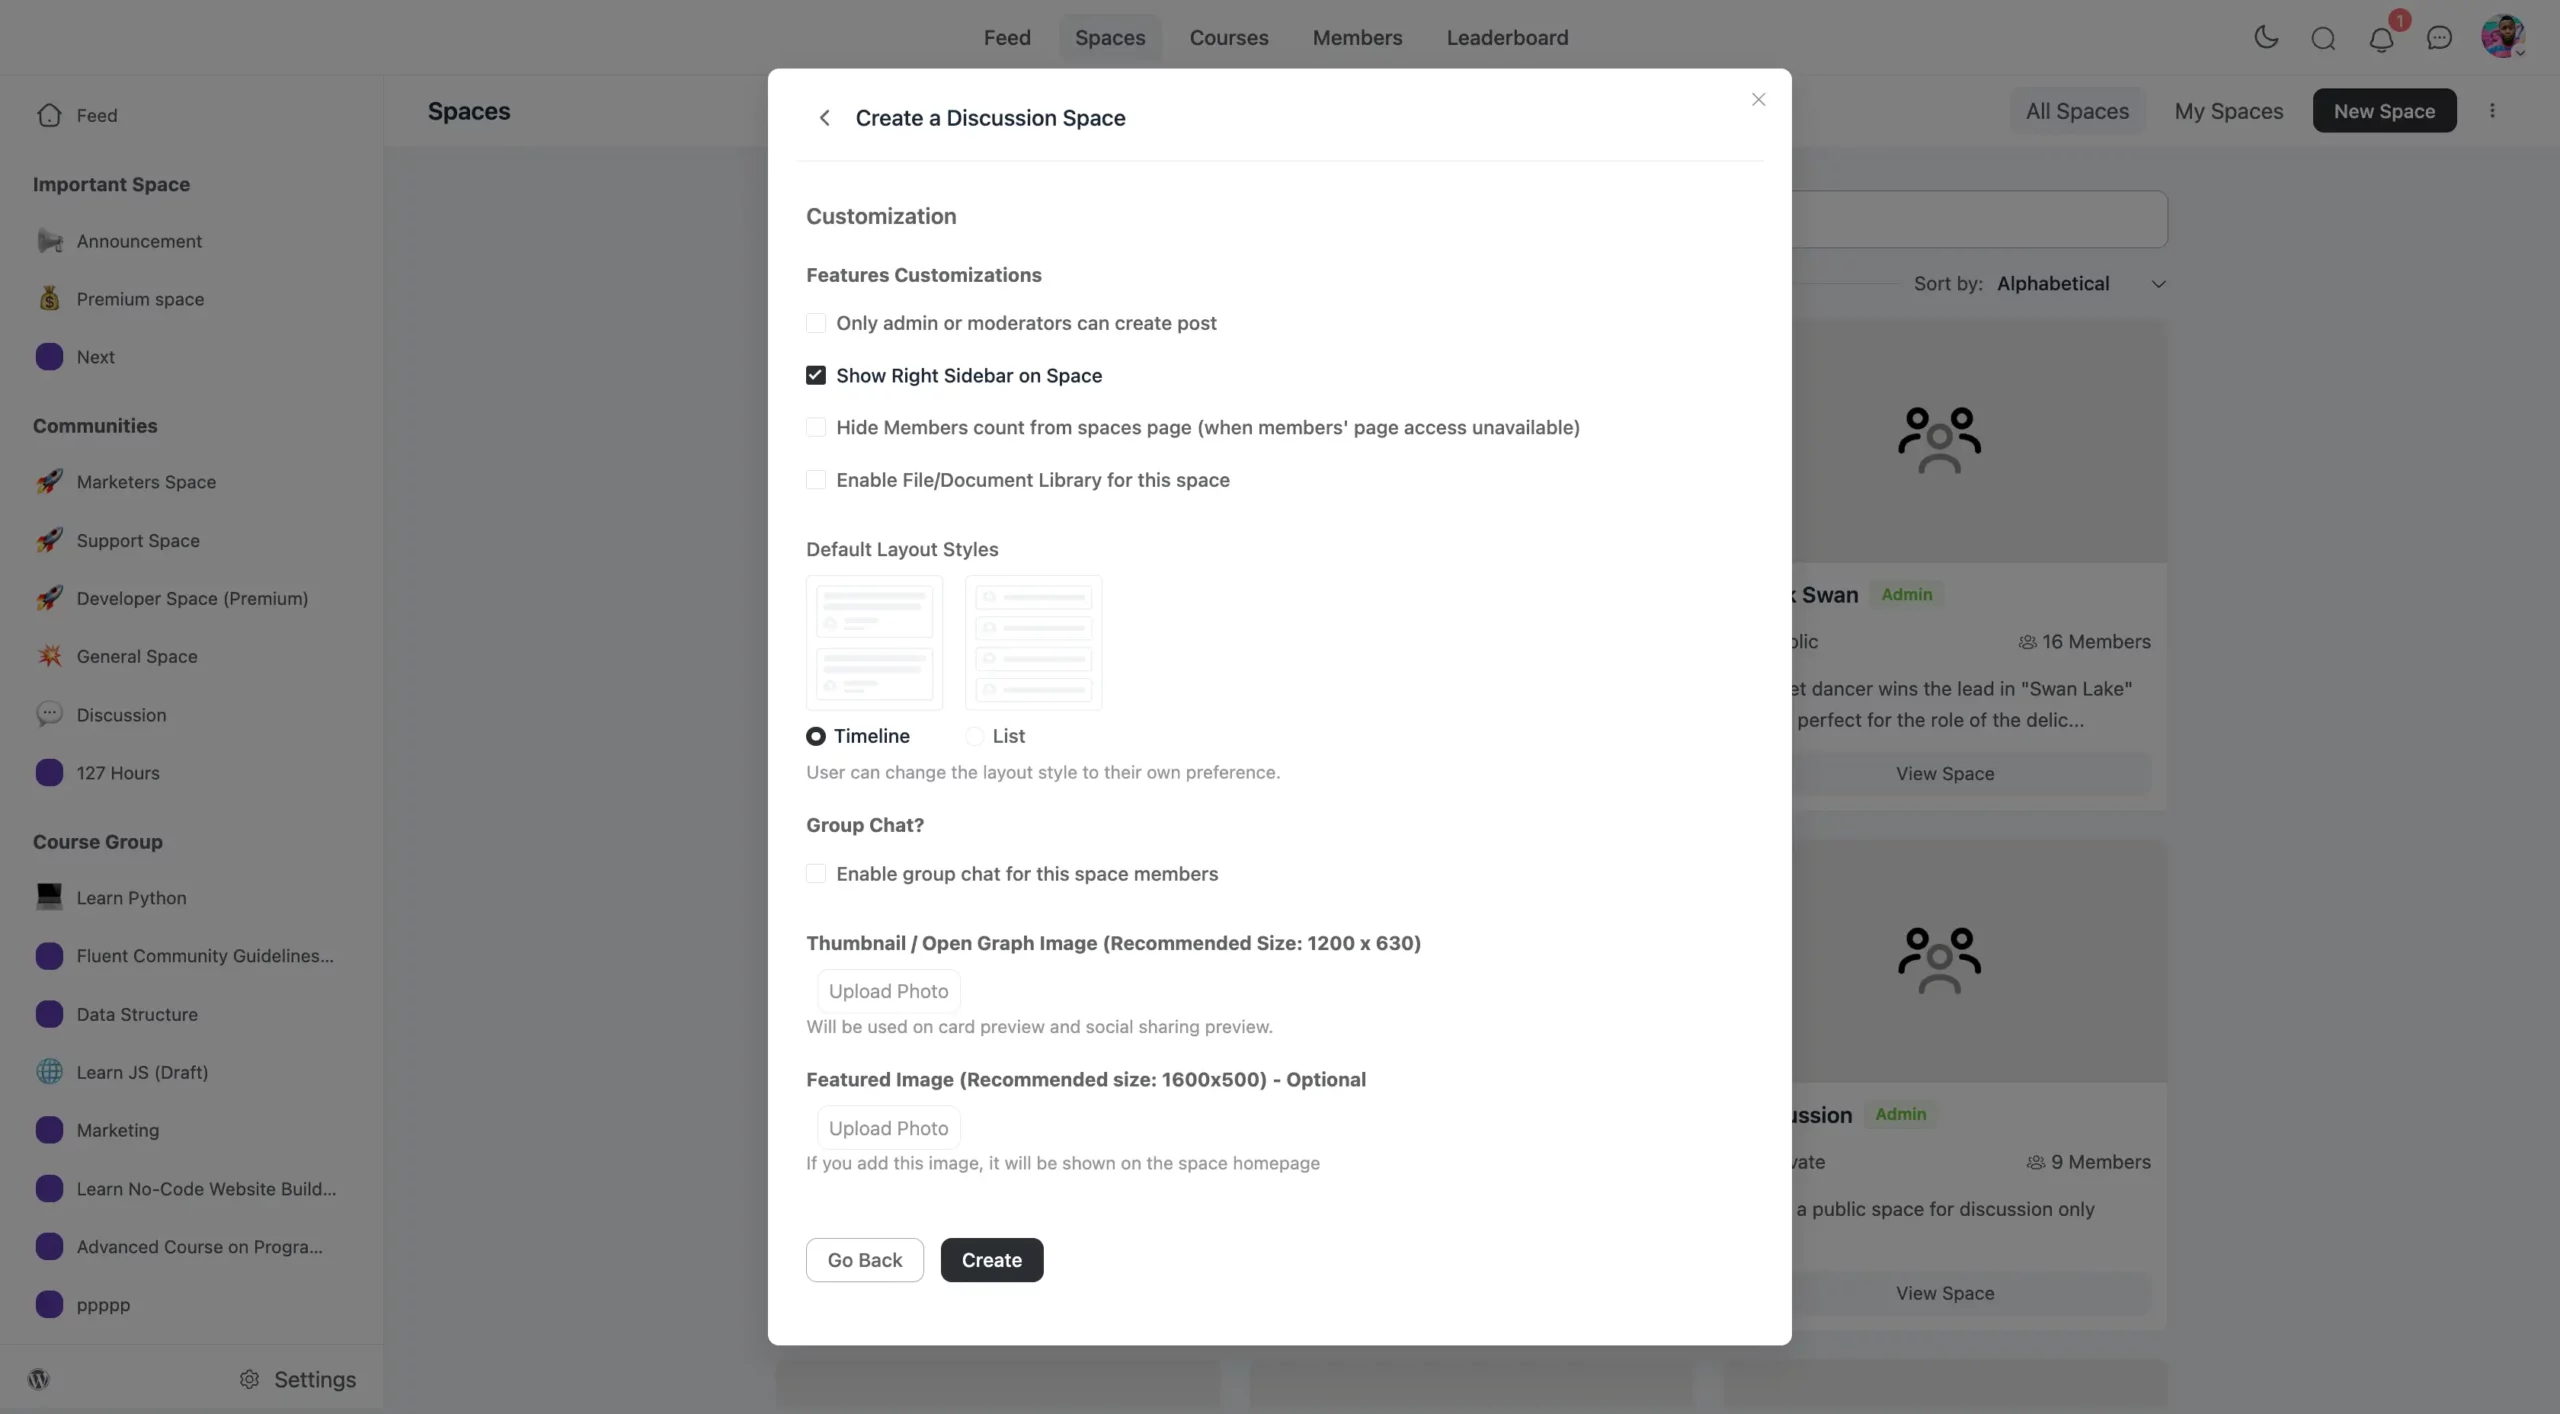
From this pop-up, you can customize some settings for your community space. Those are explained below:
- Only Admin or Moderator can create the Post: Enable this option if you want to give Post permission only to the Admin and Moderator of the Community.
- Show Right Sidebar in the Space: If you want to show the Right sidebar in the Space enable this.
- Hide Member Count From Spaces Page: You can choose to Hide the Member Count from the Spaces page when access to the member page is unavailable.
- Enable File and Document Library for this Space: You can enable the File and Document Library for this Space, allowing members to upload, share, and access files and documents within the Space. This feature helps organize resources and makes collaboration easier.
- Default Layout Style: The Default Layout Style in FluentCommunity determines how the content within a Space or Course is displayed. You can choose from various layout options, such as Grid View or List View, to customize the look and feel based on your preferences or community needs.
- Group Chat: Enable this Group Chat option if you want to create any chat group against this space with the Members of this Space. To learn more about Chat read this article.
- Thumbnail Image: The thumbnail image is a small, often square image that visually represents a Space in compact views, like lists or sidebars. If you want to set one then click on the Upload Photo button and upload an image according to the given image size.
- Featured Image: The featured image is typically larger and appears at the top of the Space page, giving a more prominent, full-sized visual that sets the theme or mood for the Space. If you want to set the featured image then click on the Upload Photo button and upload an image according to the given image size.
Once all the details are set, click Create to finalize the creation of your space. Your new space will now be listed in the Spaces panel.
And that’s it! You’ve successfully created a new space in FluentCommunity. Members can now join, share posts, and engage with others based on the permissions you’ve set.
If you have any further questions about this guide, please don’t hesitate to contact us.


