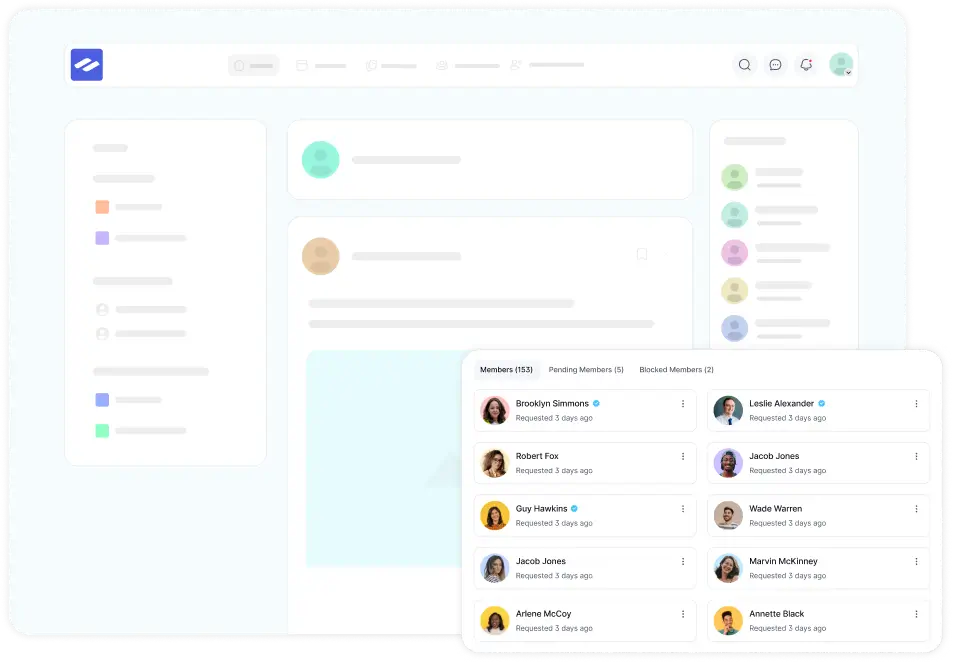
The General Settings of FluentCommunity allow you to configure essential features, manage site logos, and set access preferences for your community. Customize these settings to create an environment that enhances engagement and meets your community’s needs.
Community Title #
The FluentCommunity Title is the name of your community, which appears in different areas like the meta title and email notifications. It helps users recognize your community and should match your site title for consistency.
To update it, go to FluentCommunity Settings, you will see the Community Title option, enter your preferred name, and save the changes.

Site Logo #
Go to Settings then choose General from the left sidebar, you will see the option to upload your site logo.
Site Logo( For Light Background): This site logo will shown when someone is using the FluentCommunity in light mode. To set up the Logo for the Light Mode of the Community click on the Set Logo button and upload the logo from your storage.

Site Logo (For Dark Mode): This site logo option is for the Dark Mode of the FluentCommunity. To set up the Logo for the Dark Mode of the Community click on the Set Logo button and upload the logo from your storage.

Default Open Graph #
The Default Open Graph refers to metadata that automatically defines how your webpage content appears when shared on social platforms like Facebook or LinkedIn. It includes elements like title, description, and image, helping ensure that links look visually appealing and informative when shared.
If you want to set this Default Open Graph image then click on the Set Featured Image button and upload the image you want to set from your storage.

Global Post Status #
The Global Post Status in Fluent Community lets you display a post on the main portal for all members. You can Disable it from here by checking on the checkbox if not needed.

Portal Access Settings #
Portal Access Settings in FluentCommunity lets you control who can join and participate in your community. In Portal Access Settings, you have three audience control options for your community. To learn more about Portal Access Settings, check out this documentation.

Always remember to click the Save Settings button after making changes to your General Settings to ensure they are applied.
If you have any further questions about this guide, please don’t hesitate to contact us.


