
Getting started with FluentCommunity is simple and intuitive. Once installed, you’ll be guided through the onboarding process to create and customize your community. Follow this step-by-step guide to set up your FluentCommunity.
Set Up Your Community #
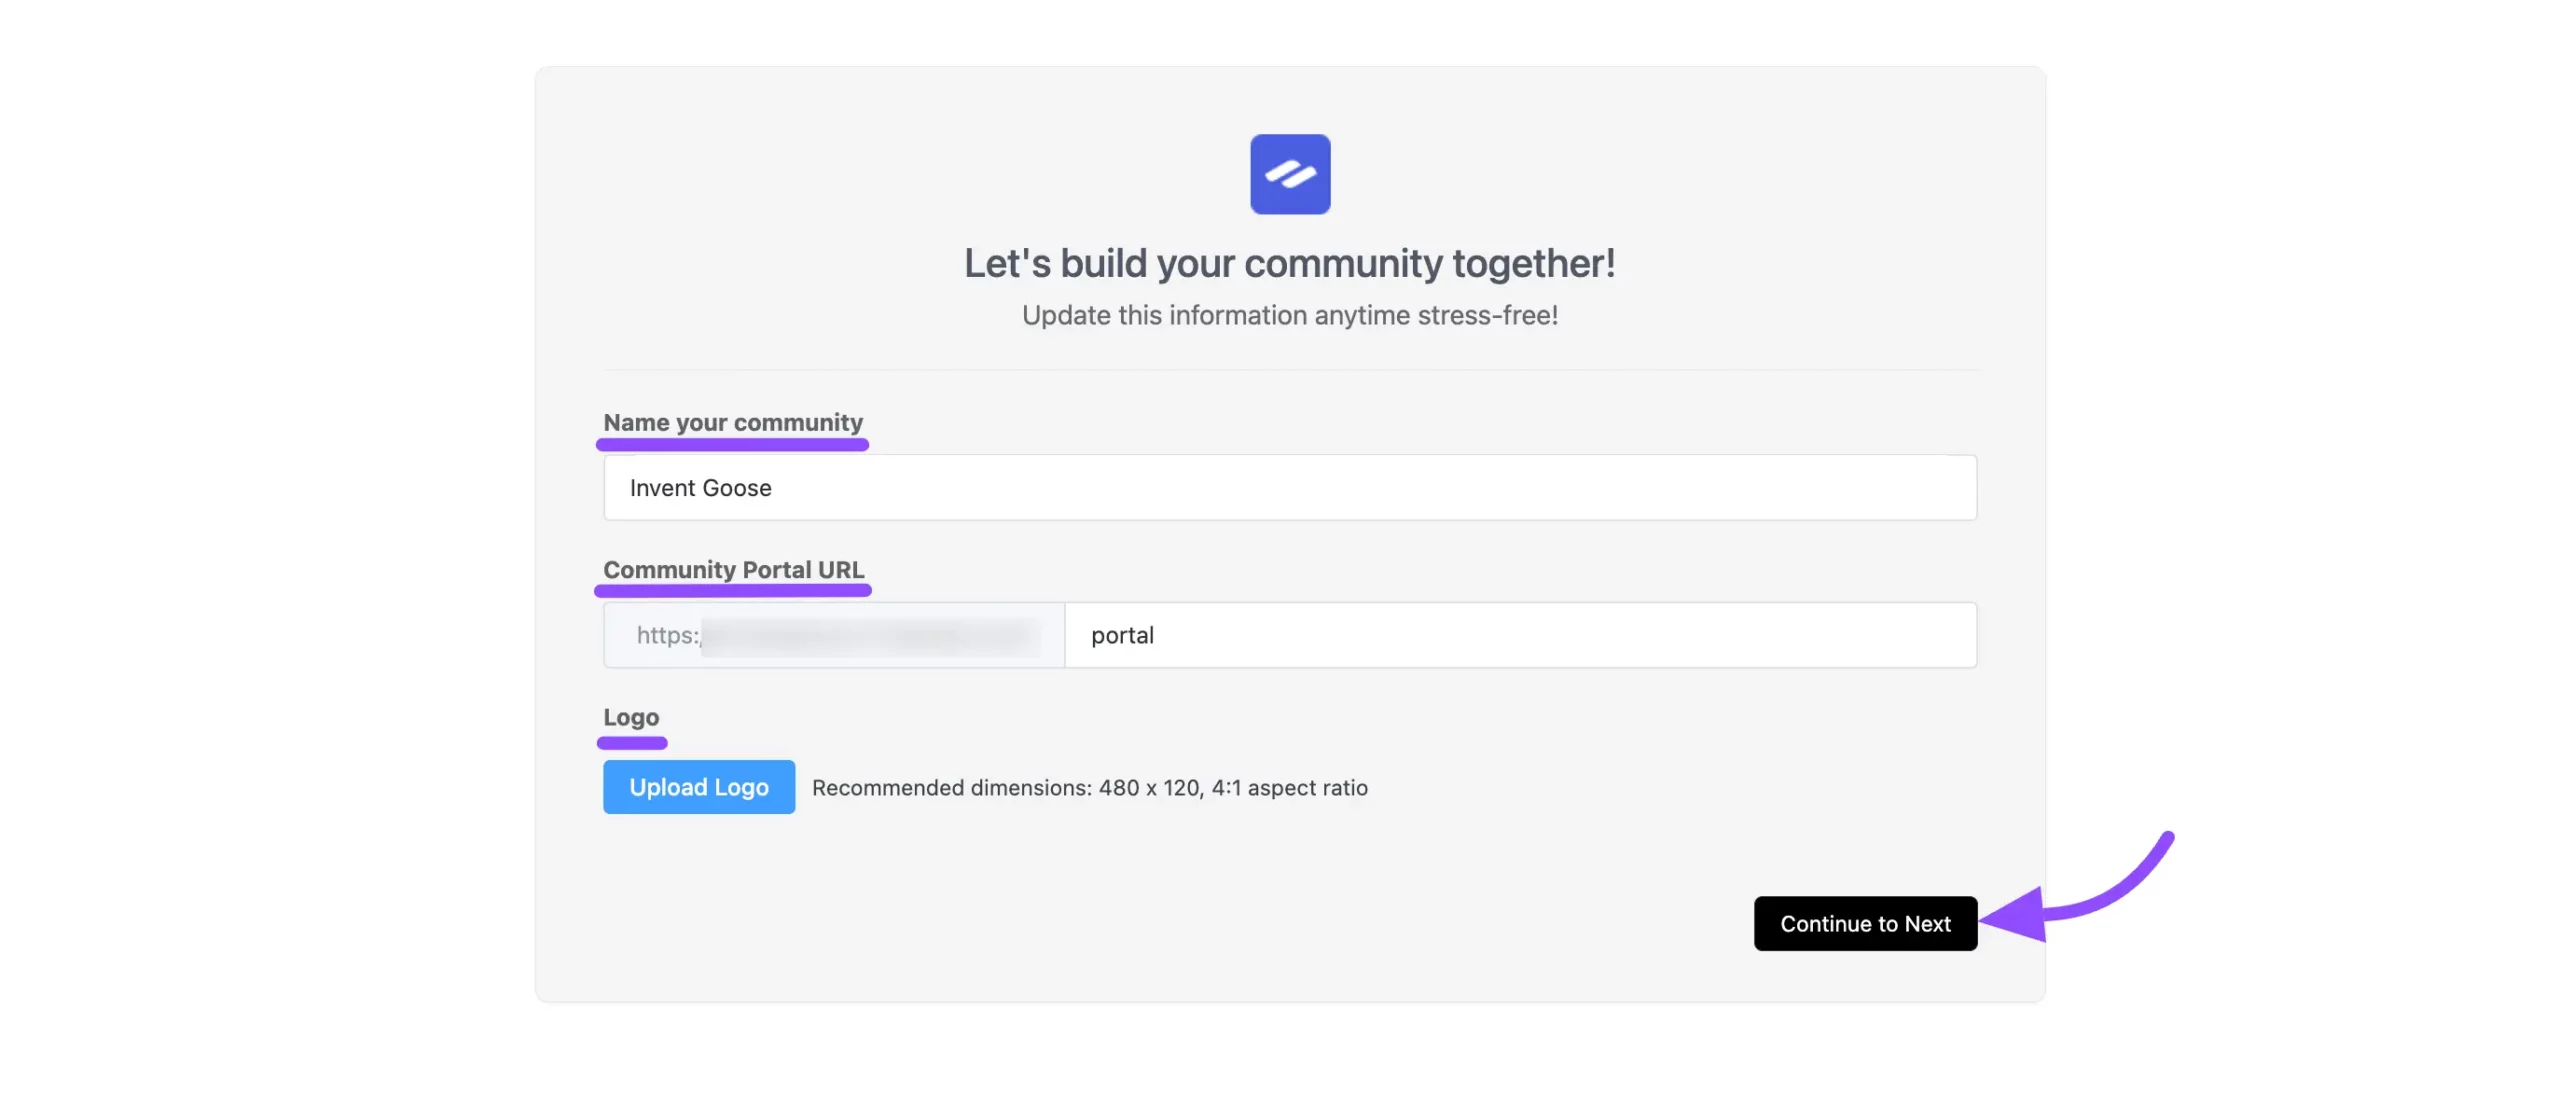
- After installing FluentCommunity, you’ll be prompted to name your community. Enter a name that reflects your community’s purpose.
- Configure your Community Portal URL to define how users will access your FluentCommunity. You can customize the URL to suit your preferences.
- Add a logo for your community by clicking the Update Logo button. Upload your logo from your device to personalize your portal.
- Click Continue to Next to move to the next step.
Choose a Template #
- Select a template for your community. Four options are available:
- Basic
- Course
- Product
- Blank
- Pick the template that best suits your needs, then click Continue to Next to proceed.

Configure Access & Features #
In the next step, you’ll see options to fine-tune access and enable key features:
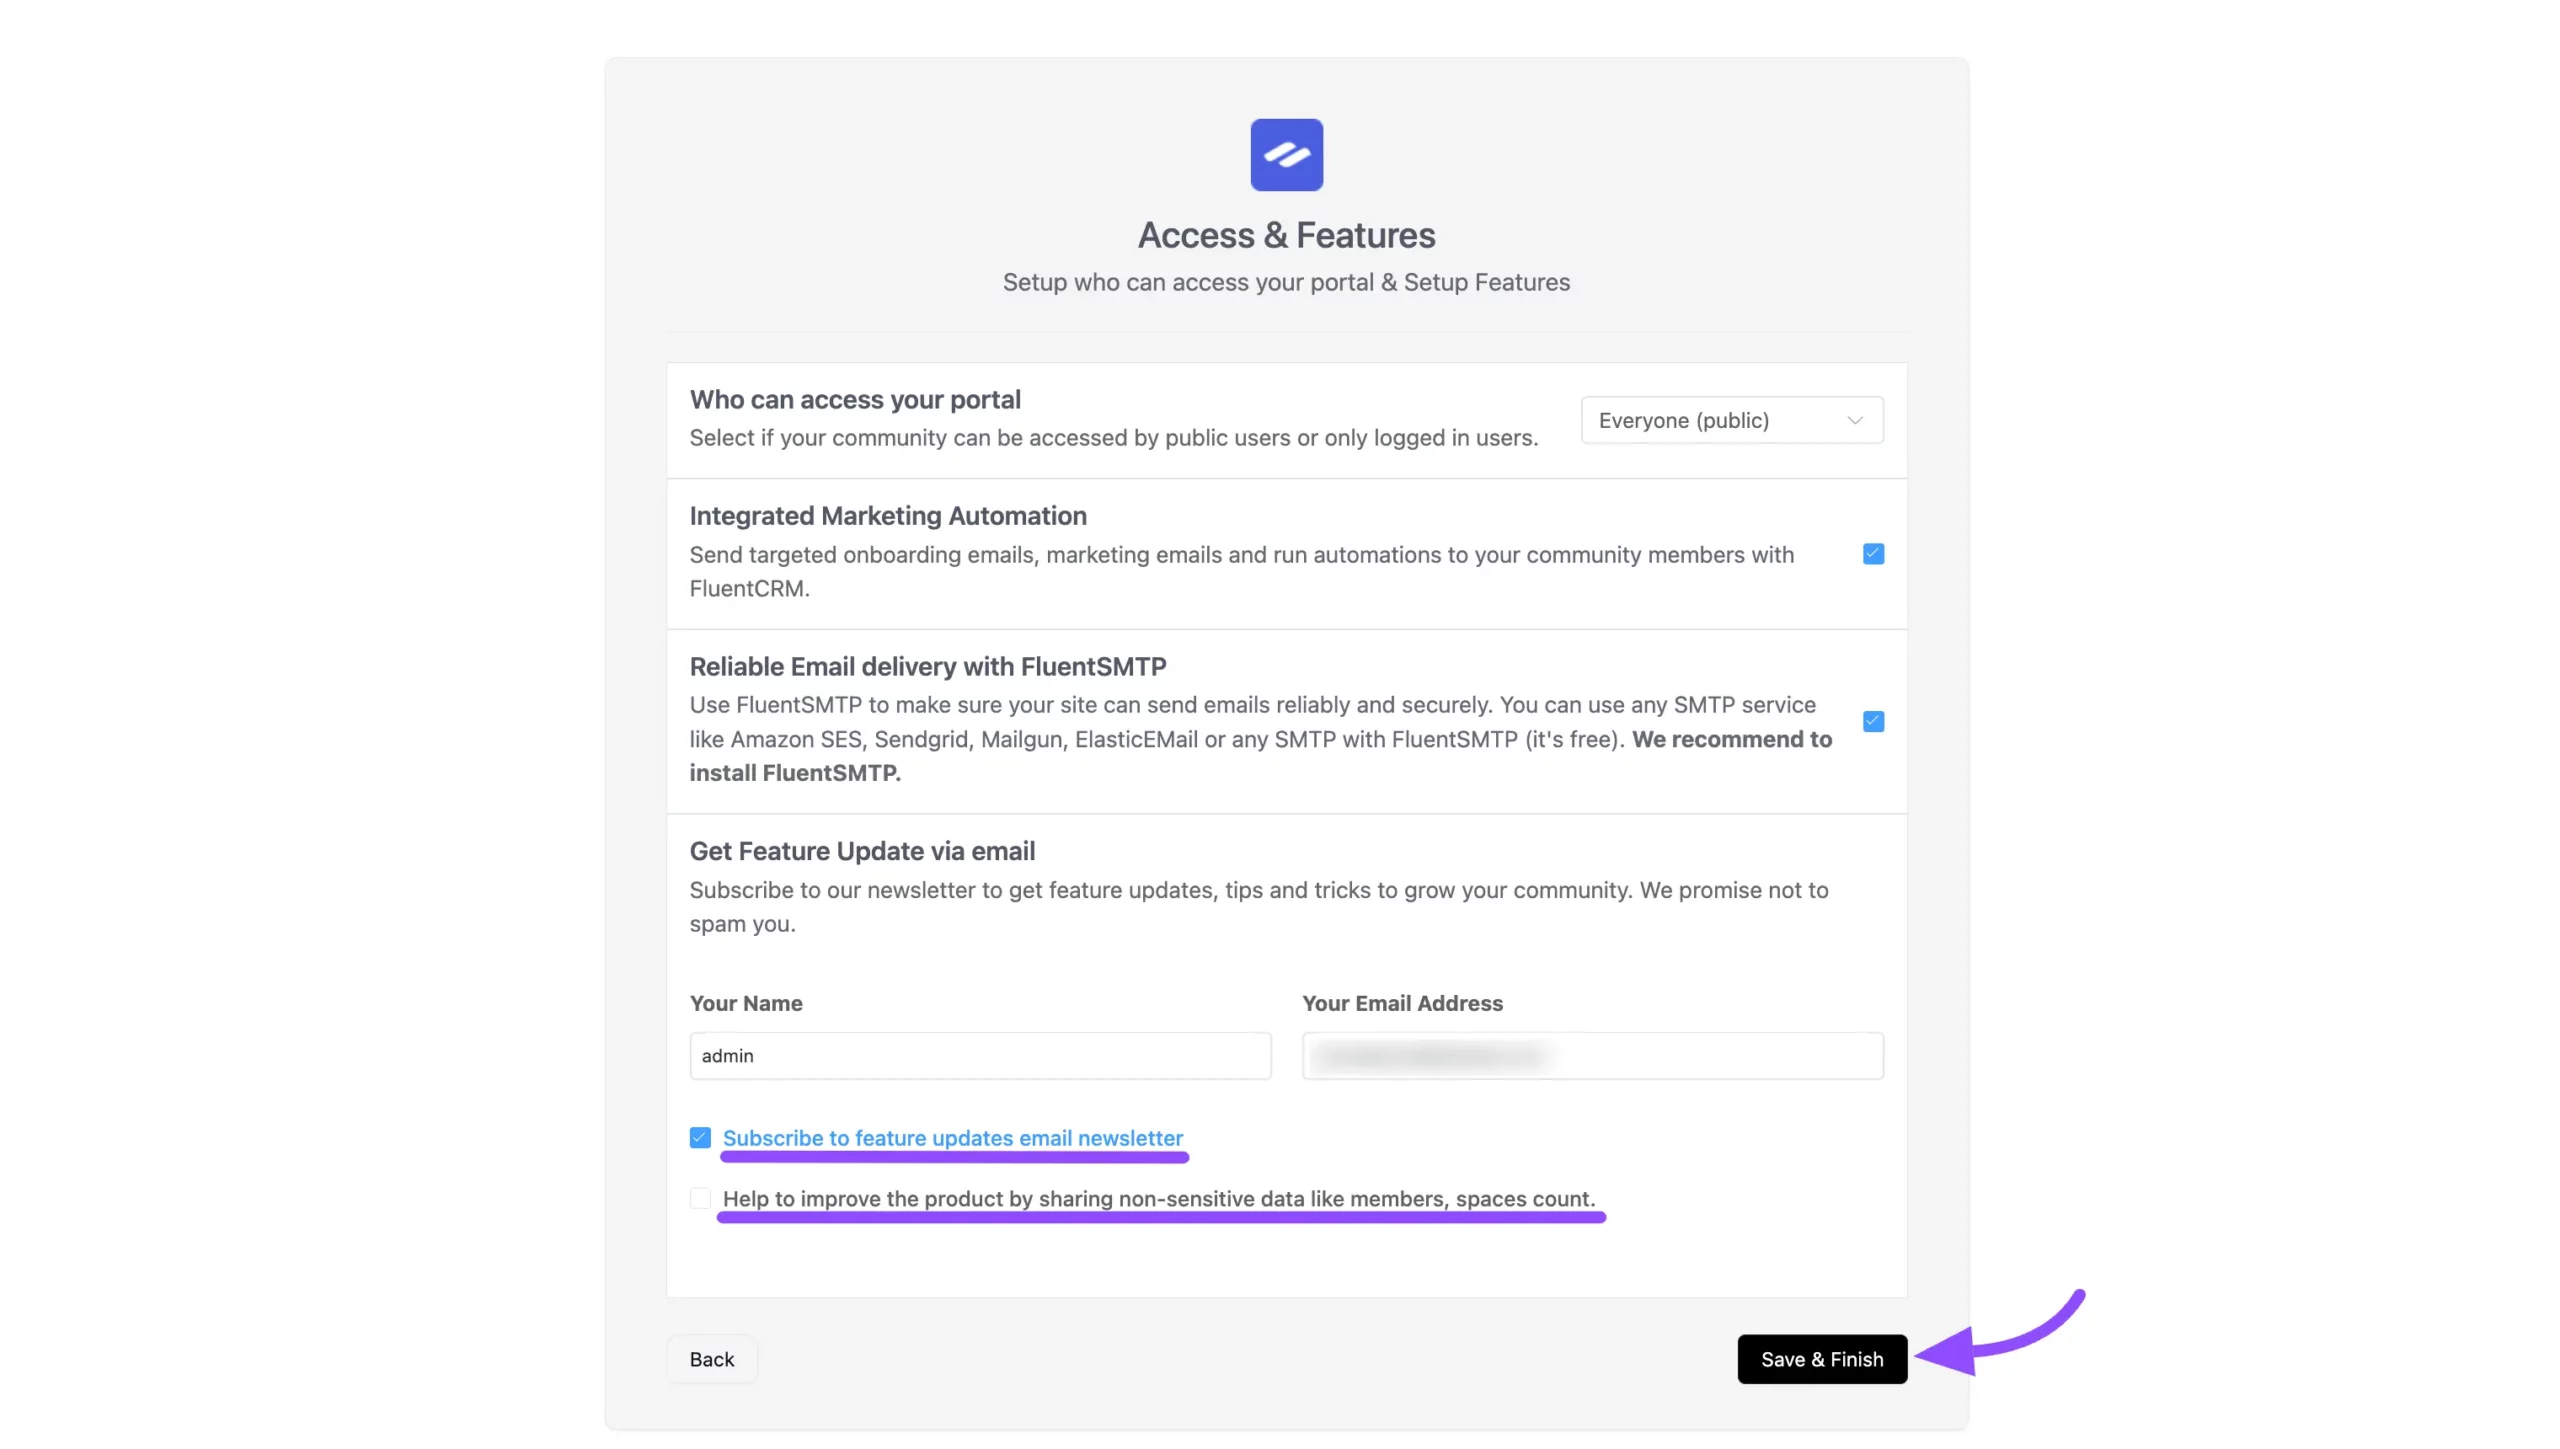
- Who Can Access Your Portal: Choose who can view your community portal by selecting your audience from the dropdown menu.
- Integrated Marketing Automation: If check this checkbox then the FluentCRM plugin will be automatically installed on your site to send targeted onboarding emails, marketing emails and run automation to your community members.
- Reliable Email Delivery with FluentSMTP: If you check this checkbox then FluentSMTP will be installed to ensure smooth email notifications and other email services for your community.
- Feature Updates via Email: Stay informed about the latest features and updates by providing your name and email address.
- Subscribe to Newsletter: Opt into the newsletter to receive regular updates.
- Improve the Product: Help enhance FluentCommunity by sharing non-sensitive data, such as member and space counts.
Once you’ve completed these settings, click Save & Finish to finalize your onboarding.
Access Your Community Portal #
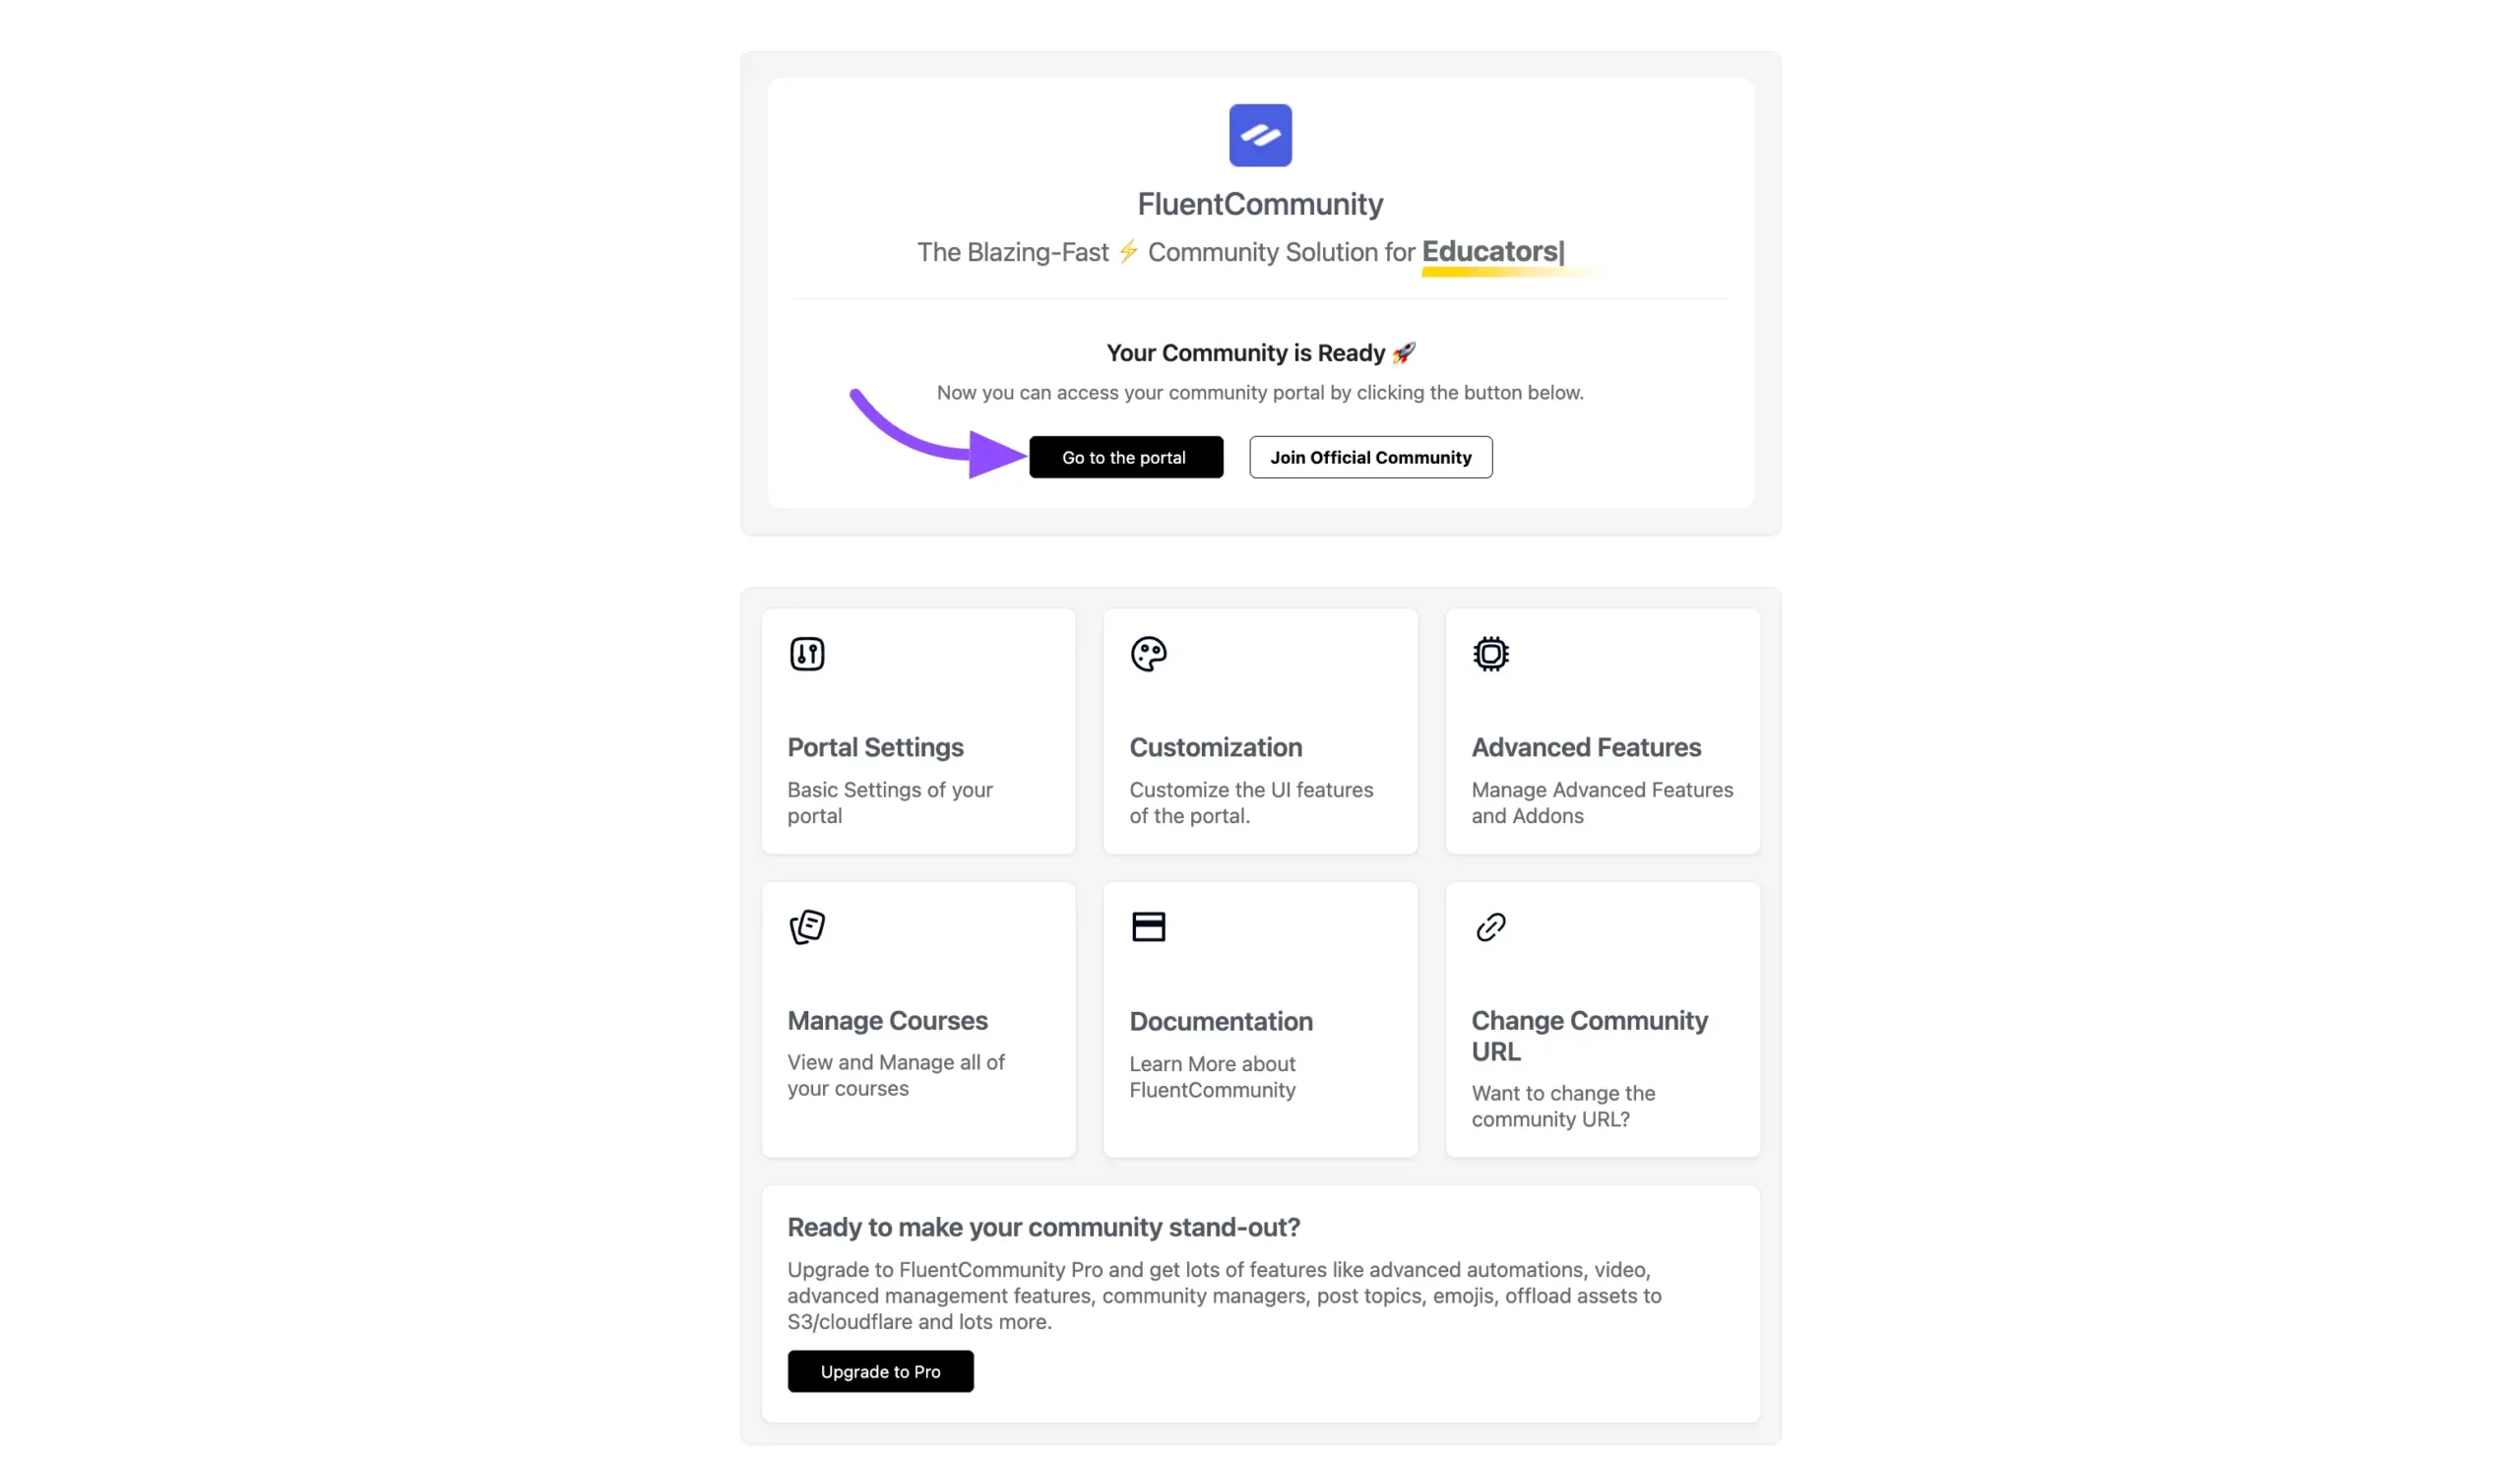
- After completing the onboarding process, you’ll see the FluentCommunity Portal entry page. Click Go to the Portal to access your community.
- Join the Official FluentCommunity by clicking the Join Official Community button to connect with other users and stay informed.
That’s it! Your FluentCommunity onboarding is complete. If you have any questions or need assistance with the onboarding process, feel free to contact our support team.


