
You can customize your FluentCommunity user Login page as you want. To do so simply follow the below simple steps to customize your login page.
Login Page Customization Settings #
Go to FluentCommunity and click on the Settings button. Open the General Settings tab from the left sidebar now scroll down and see the Customize Login/ Signup Form. Click on the Customize button.

Now you will see your Login page and in the left sidebar, Customize Login settings will be available.
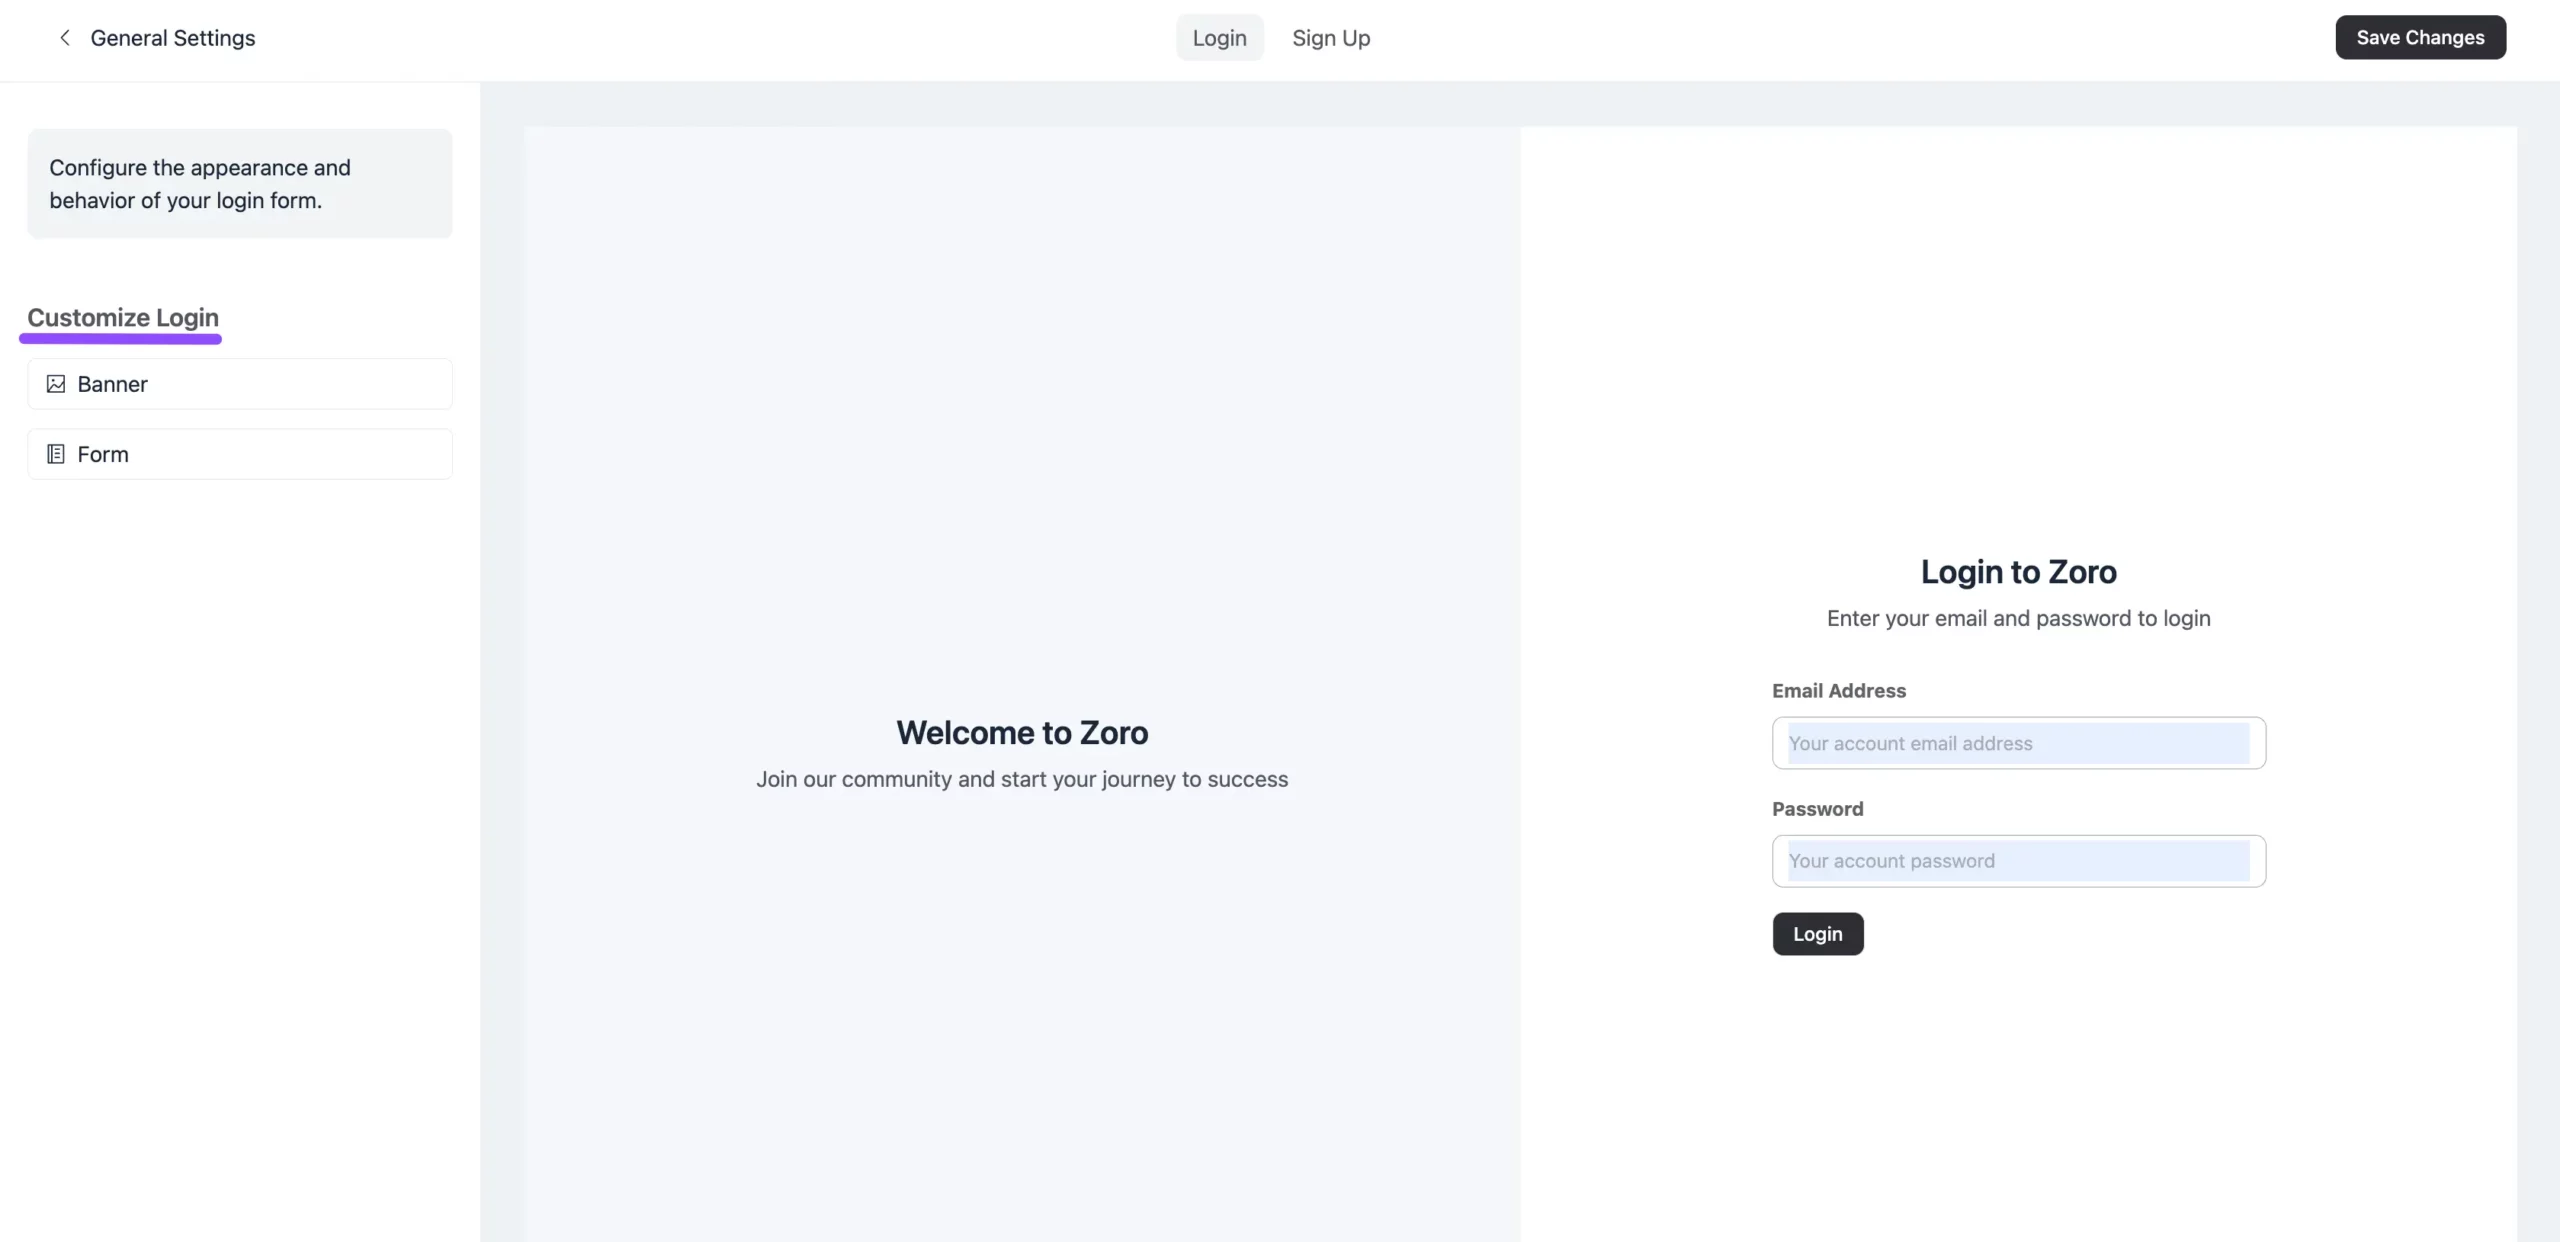
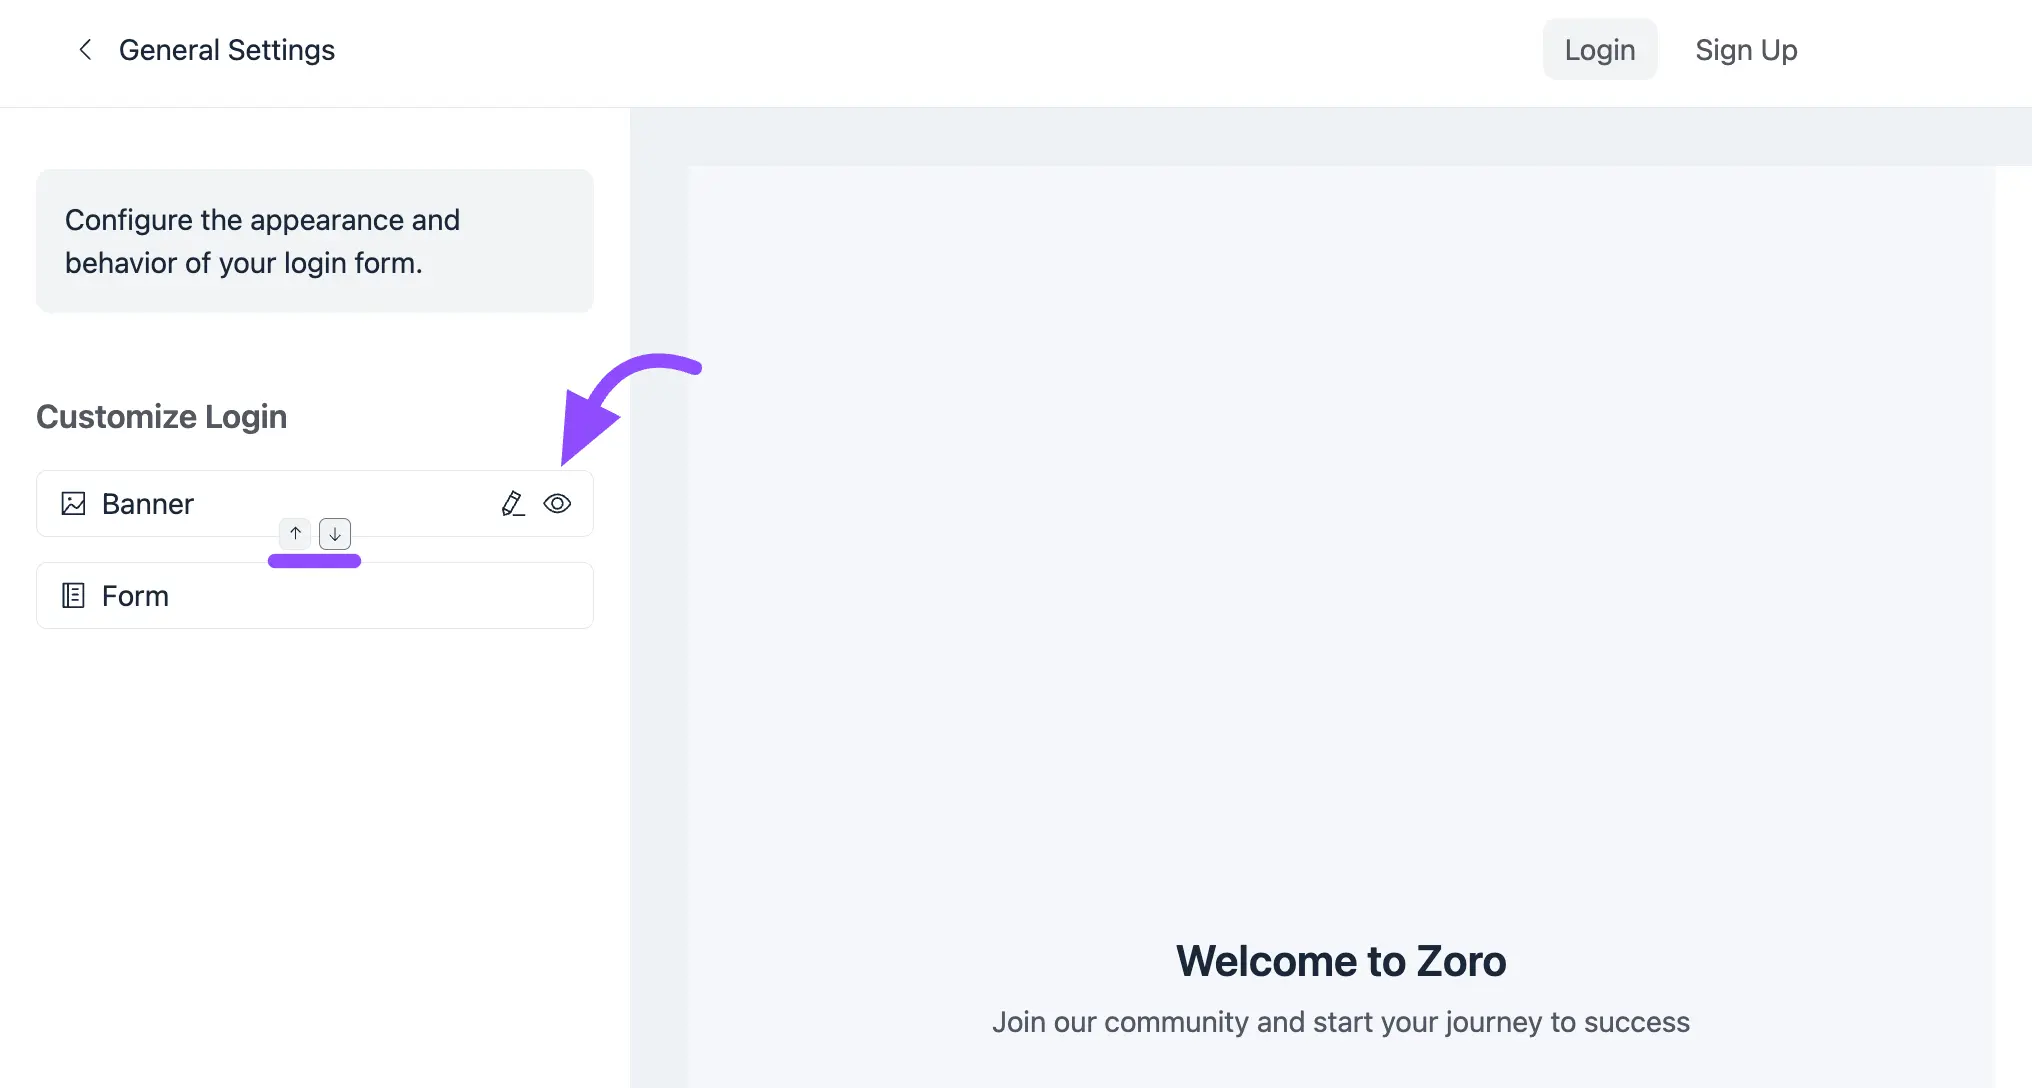
Here you will see two options you can modify them anytime. To change them simply click on the Pencil icon button along with the field. You can only hide the Banner section, if you want to hide it, click on the Eye icon button.
You can also change the position of the Login Form and Banner by clicking on the Up-Down button along with them.
Down here we are explaining both settings options for customizing like your own.
Banner Settings #
After clicking on the Pencil icon button along with the Banner section you will see the options for customizing your Banner section.
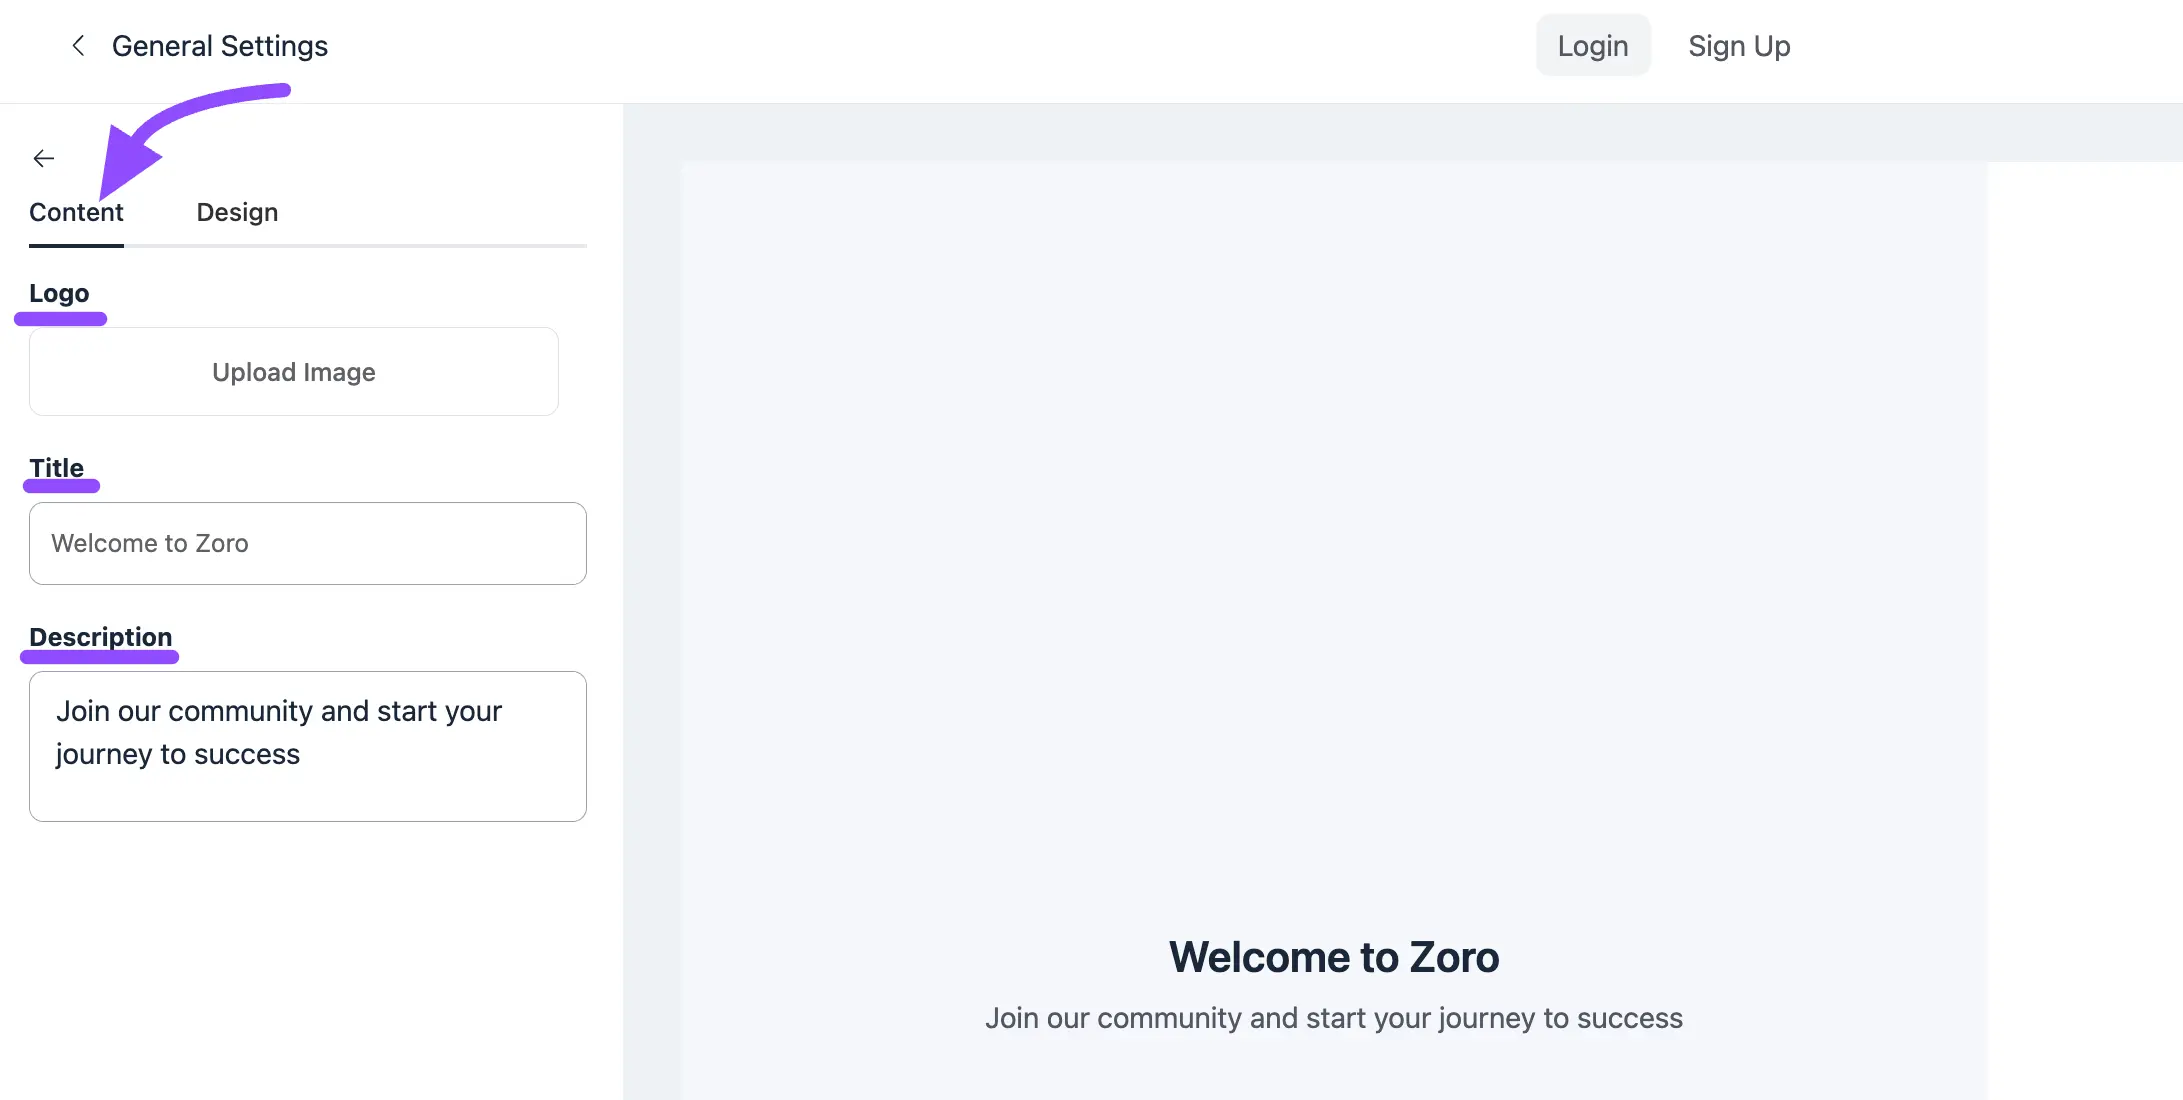
Content
This section is for customizing the content of your banner.
Logo: You can add your logo here. To do so simply click on the Upload Image button and upload your logo from the local storage.
Title: Here you can set the title for your Banner section.
Description: To add any description simply type your description in the description field here.
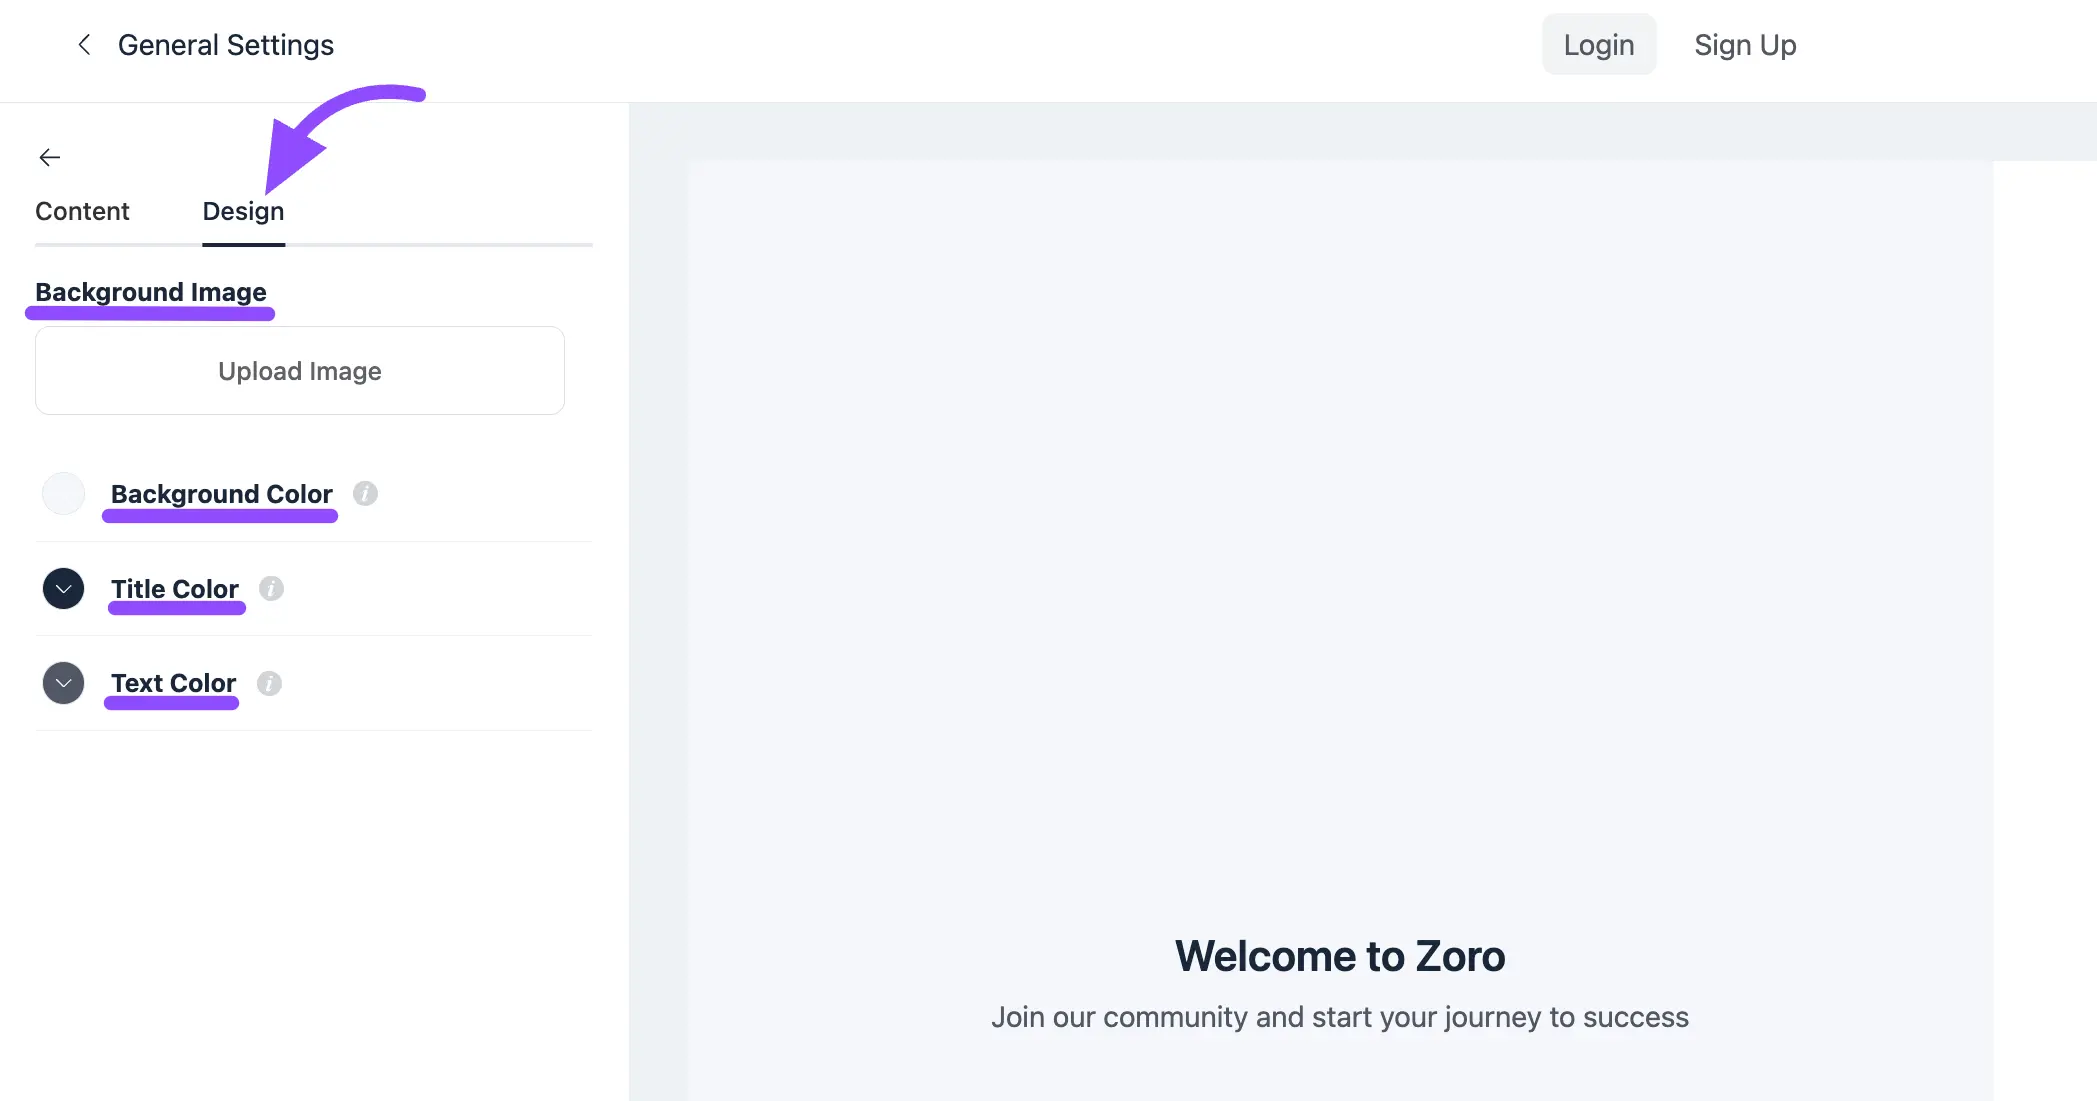
Design
From the Design section, you can customize the design of your Login page banner.
Background Image: To set the background image on your banner click on the Upload Image button then select an image from the local storage.
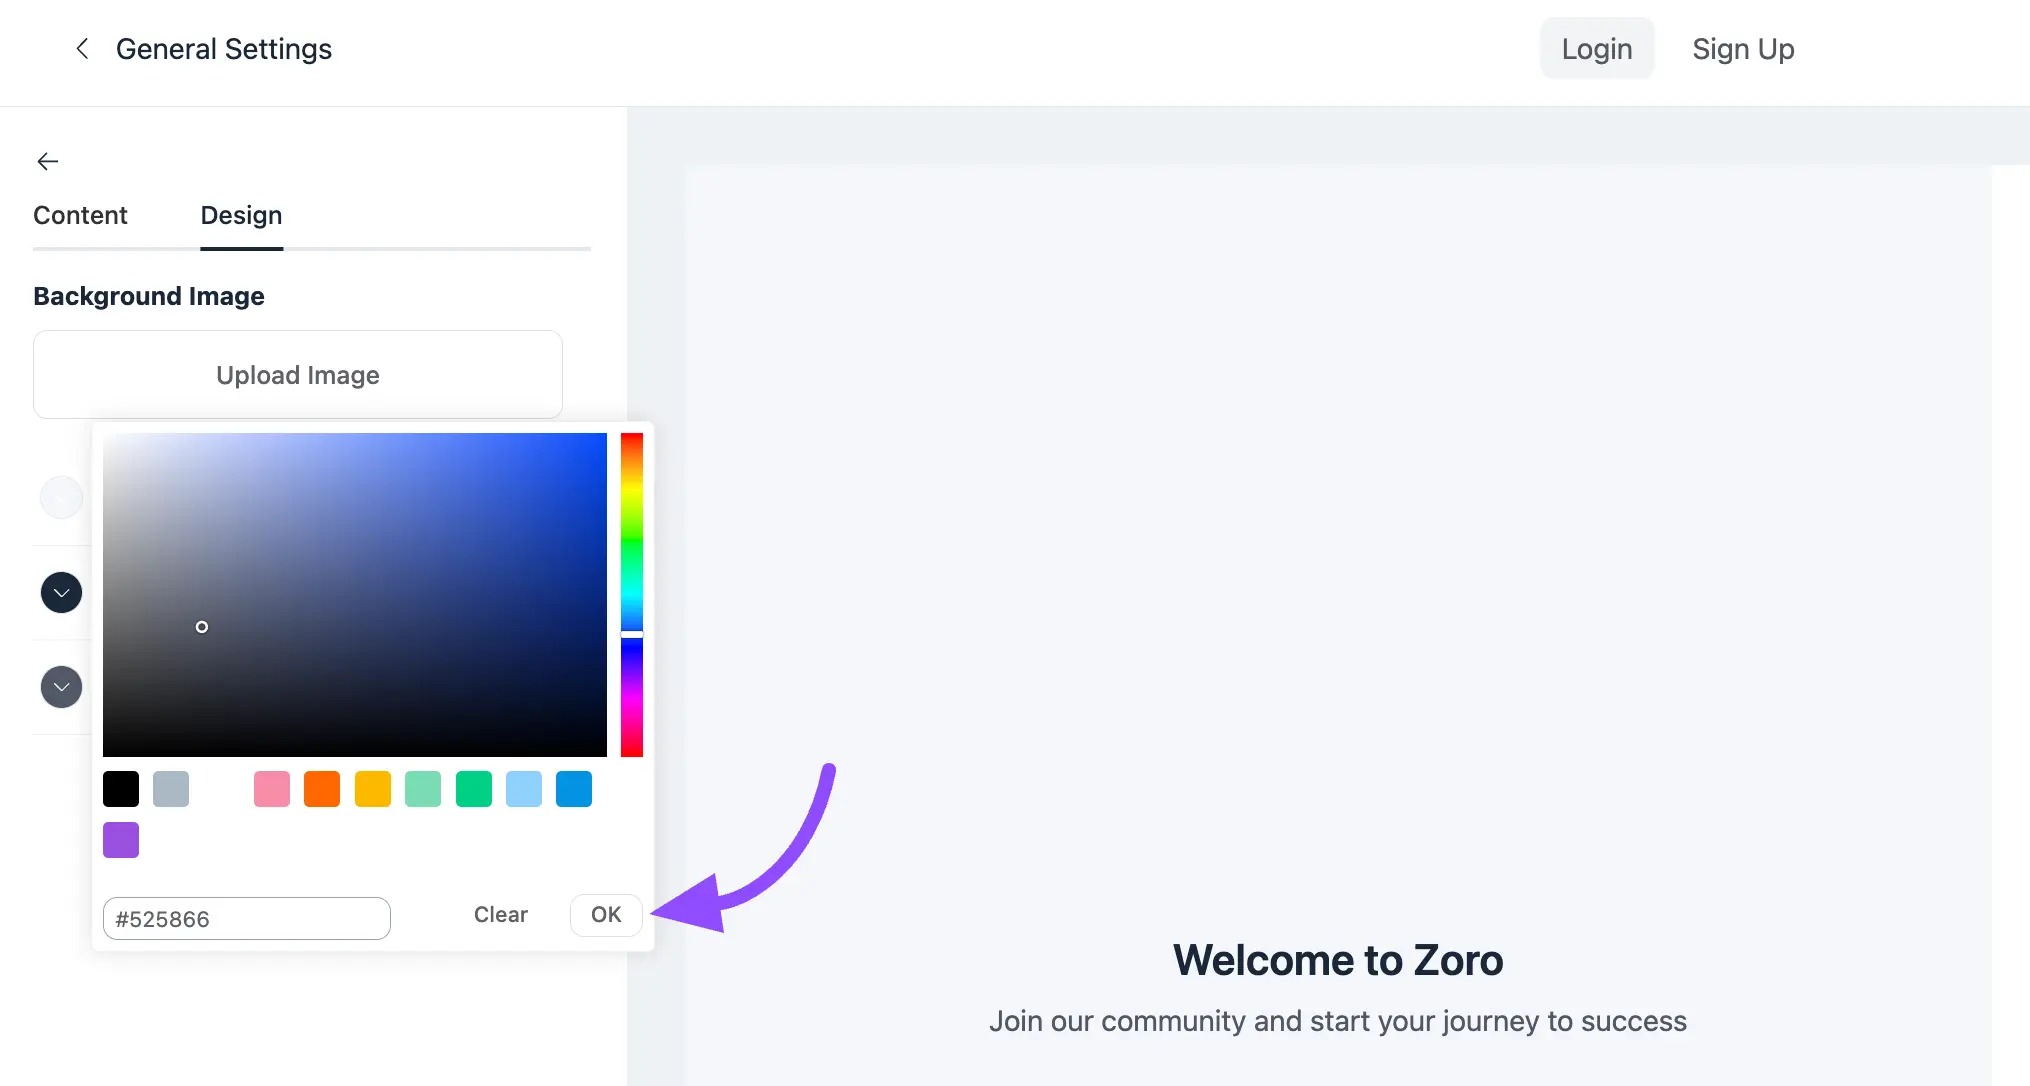
Background Color: If you want to set any background click on the color field and choose the color for your banner background.
Title Color: From here you can choose your title color.
Text Color: Choose your banner text color from here.
By clicking on the color field you will be able to see the color option to choose for your text, title, or background like the below screenshot. Click on the Ok button after choosing the color to save your chosen color.
Login Form Settings #
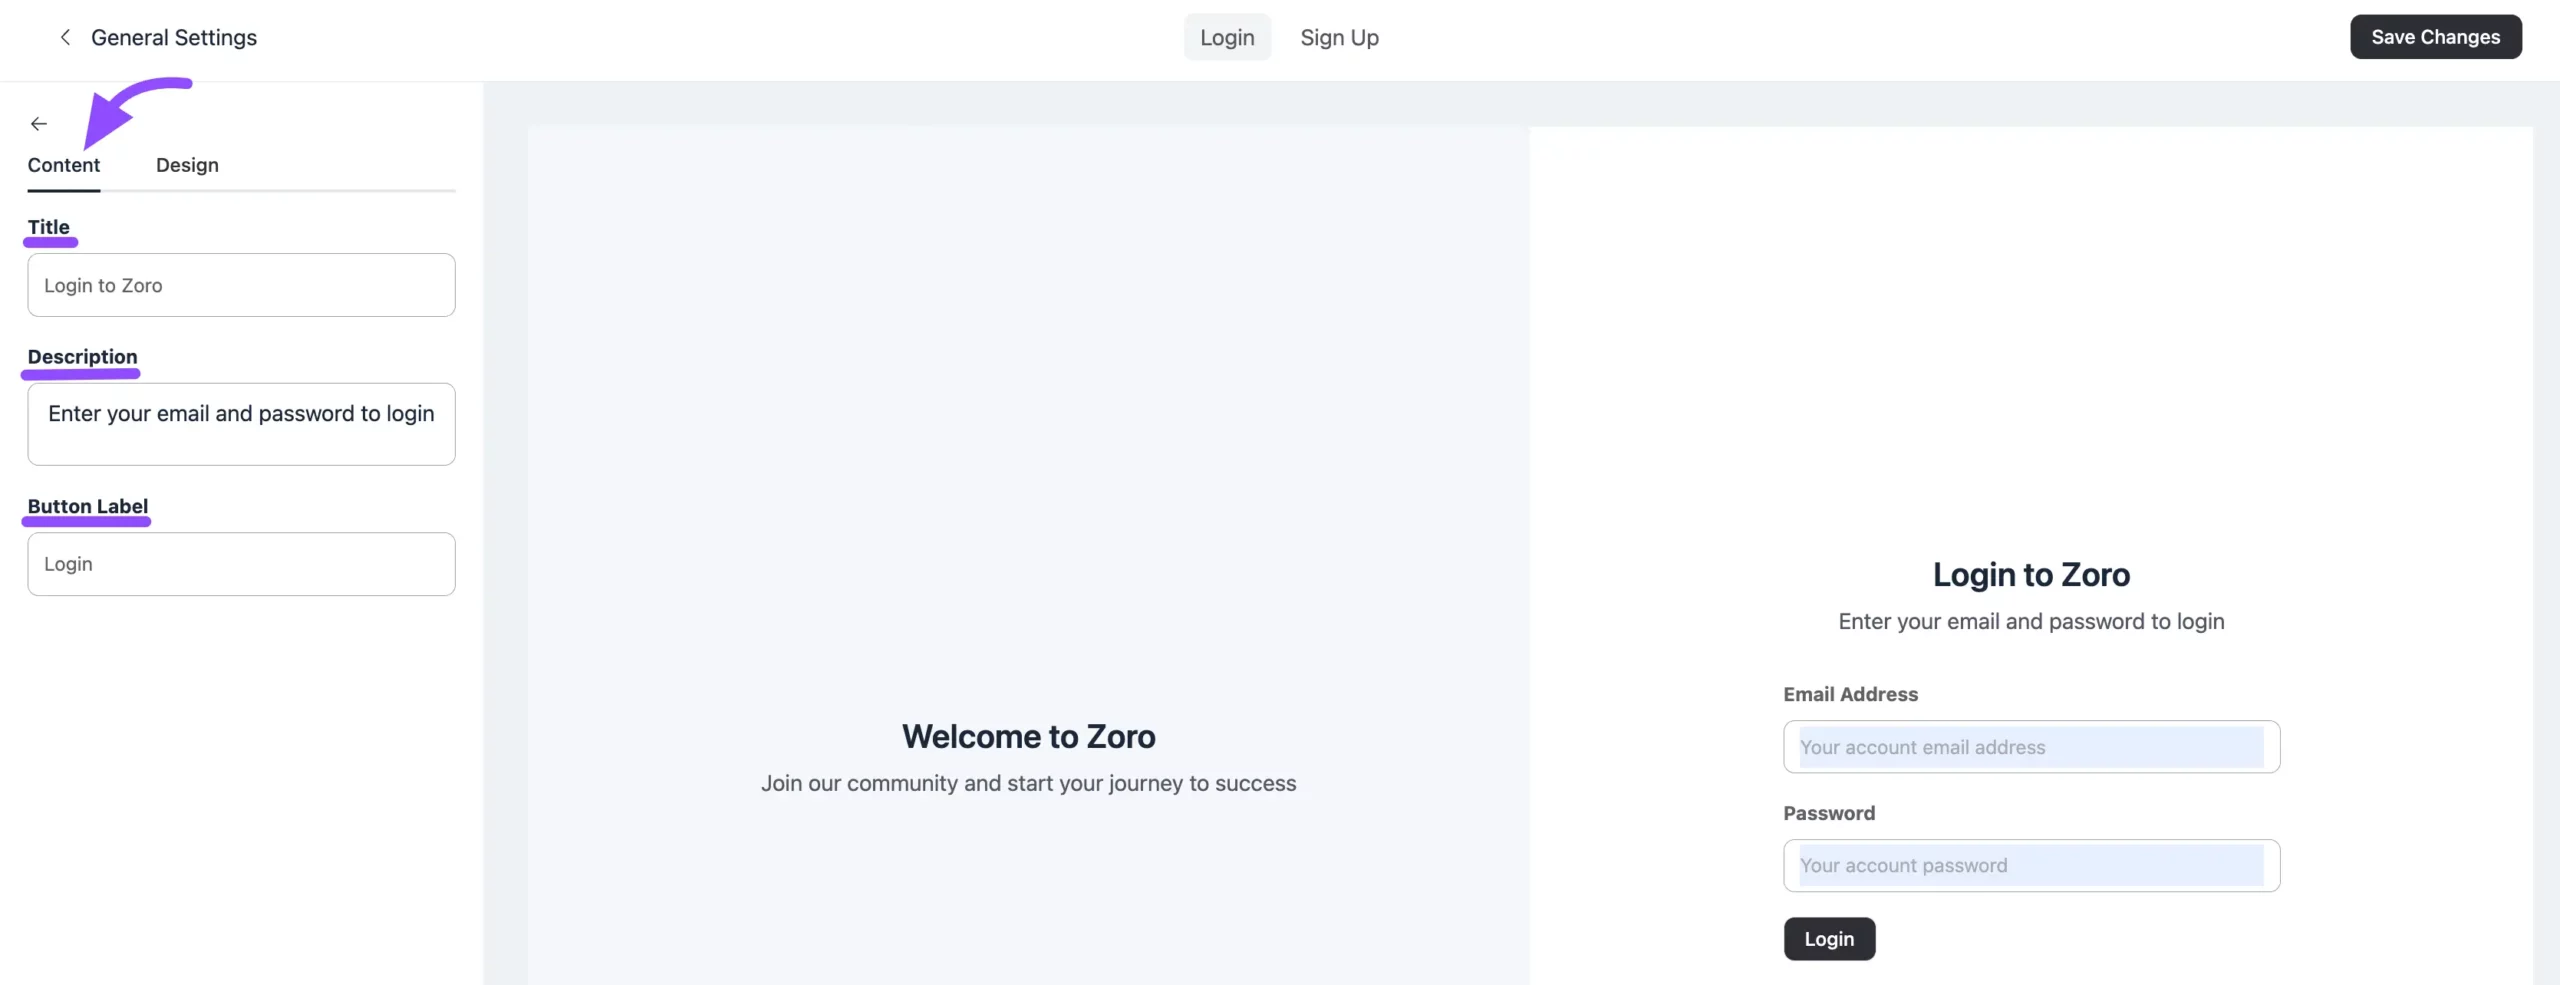
Clicking on the Pencil icon button along with the Form will redirect you to this page. From here you can customize your Login Form section.
Content
Title: You can set your title for the Login Form here.
Description: Set the description for your Login Form from here.
Button Lebel: You can change the button label from this button label field.
Design
Background Image: You can set any background Image by clicking on the Upload Image button.
Background Color: This is to change the color of the Login Form section.
Title: If you want to change the Title Color of the Login Form.
Text Color: Change the Text Color of the login form from here.
Button Text Color: You can also change the button text color if you want to.
Button Background: Button background could be changed from here.

After making all the necessary changes don’t forget to click on the Save Changes button.
That’s how you can customize your User Login page in your FluentCommunity. If you have any further queries please feel free to contact our support team.


