


How to Build a Paid Learning Community in WordPress

Table of Content
Subscribe To Get
WordPress Guides, Tips, and Tutorials


The online learning market is bigger than most people realize. According to Precedence Research, the global e-learning services market was valued at USD 313.65 billion in 2024. And it’s not slowing down. More educators, coaches, and course creators are entering this space every year, and the ones building paid learning communities around their courses are seeing something the others aren’t retention.
A paid learning community is more than a course behind a paywall. It’s a space where students learn together, ask questions, share their progress, and keep coming back because they feel they belong. Learning happens inside the course, but connection happens in the community.
Most people assume you need a separate SaaS platform to pull this off, something like Circle or Skool. But if you’re already on WordPress, you don’t. You can build a fully functional paid learning community in WordPress, with your own domain, your own brand, and without paying a percentage of your revenue to a third-party platform.
This guide shows you how to do that using FluentCommunity, a WordPress community plugin built for exactly this kind of work. You’ll go from a blank WordPress site to a live, paid learning community, step by step.
What is a Paid Learning Community?

A paid learning community is a gated online space where members pay to access courses, discussions, and peer support, all in one place. It combines structured learning (lessons, modules, quizzes) with community features (chat, forums, leaderboards, polls) so members get both the content and the conversation.
The “paid” part means only members who have completed a purchase or subscription can enter. That access control is what makes it a business model, not just a hobby project.
What makes it different from a regular online course? The community layer. When students can talk to each other, ask questions in real time, and see that other people are going through the same journey, they stick around longer and complete more of what they signed up for.
Why Build it on WordPress with FluentCommunity?
Most SaaS community platforms charge monthly fees, take a cut of your revenue, and give you limited control over how things look and work. When you build on WordPress, you own the whole thing.
FluentCommunity is a WordPress plugin that gives you community features, Spaces, courses, real-time chat, leaderboards, member profiles, and polls inside your own WordPress site. There’s no external platform involved. Your members stay on your domain, your data stays in your database, and your revenue goes directly to you.
It also integrates with the rest of the Fluent ecosystem: FluentCart for selling memberships and courses, Paymattic for subscription-based payments, and FluentCRM for automating member emails. You can build a complete paid learning community without stitching together five different tools from different companies.
What Do You Need Before You Start?
To build a paid learning community in WordPress using FluentCommunity, you need three things:
A WordPress site with a reliable host. For community features like real-time chat and active feeds, a VPS or managed WordPress host will serve you better than basic shared hosting. FluentCommunity recommends PHP 8.1+, MySQL 8.0+, and at least 2 CPU cores and 4GB of RAM for a smooth experience.
FluentCommunity Pro. The free version is available on WordPress.org, but the Pro version unlocks courses, advanced access control, and integrations with payment tools. A single-site license starts at $159/year.
A payment plugin. FluentCart and Paymattic are both made by the same team as FluentCommunity and integrate directly. FluentCart is the simpler choice for selling memberships and course access. Paymattic gives you more flexibility for subscriptions and conditional access logic.
Step 1: Install and Activate FluentCommunity
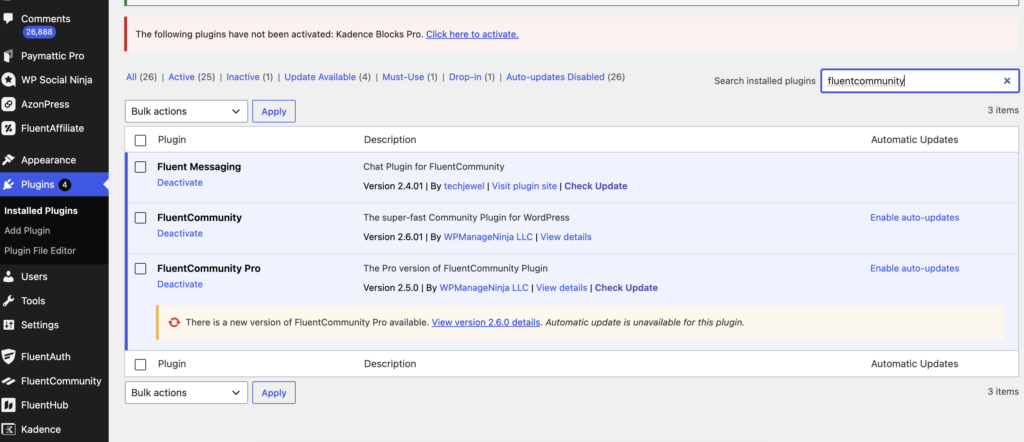
Start by installing FluentCommunity from your WordPress dashboard. Go to Plugins → Add New, search for FluentCommunity, install it, and activate it. Then upload and activate your Pro license from the FluentCommunity settings panel.
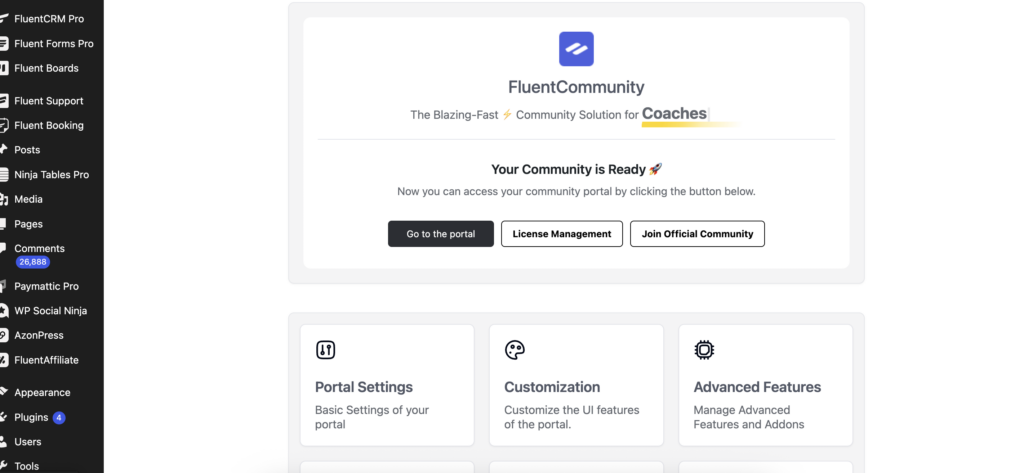
Once it’s active, FluentCommunity creates a community portal on your site. By default, it appears at yoursite.com/portal, but you can change the slug in Settings if you want a different URL.
After the initial setup, you’ll see the FluentCommunity dashboard in your WordPress admin. This is where you manage everything: Spaces, courses, members, and settings.
Step 2: Set Up Your Community Structure with Spaces
Spaces are the core organizing unit in FluentCommunity. Think of them as rooms inside your community; each Space has its own feed, discussions, and members.
For a paid learning community, a clear Space structure makes a real difference. You might set up a general welcome Space for new members, a course-specific Space where students ask questions and share progress, a resource Space for tools and downloads, and an optional Q&A or coaching Space for direct access.
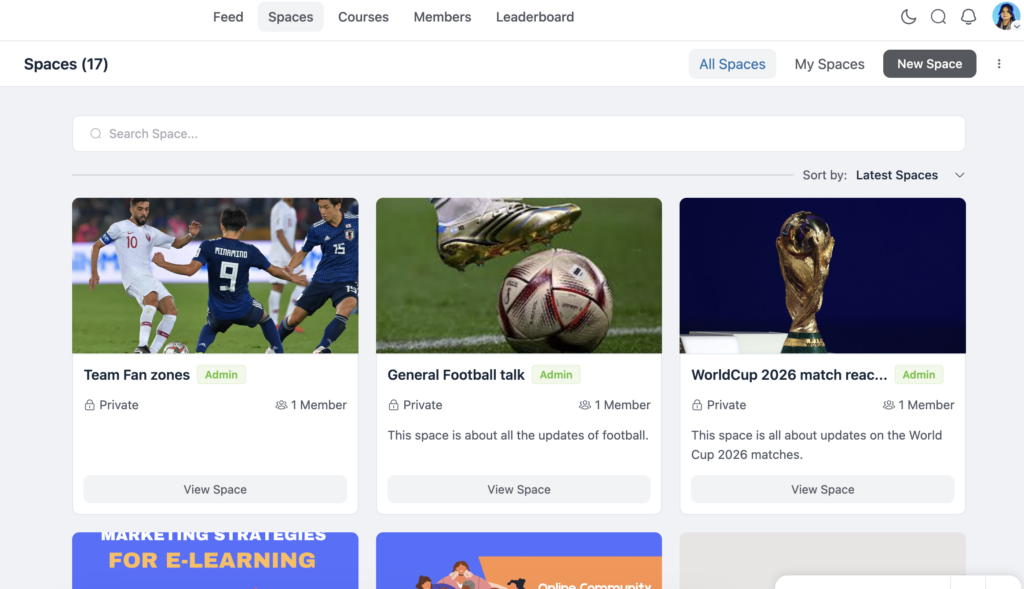
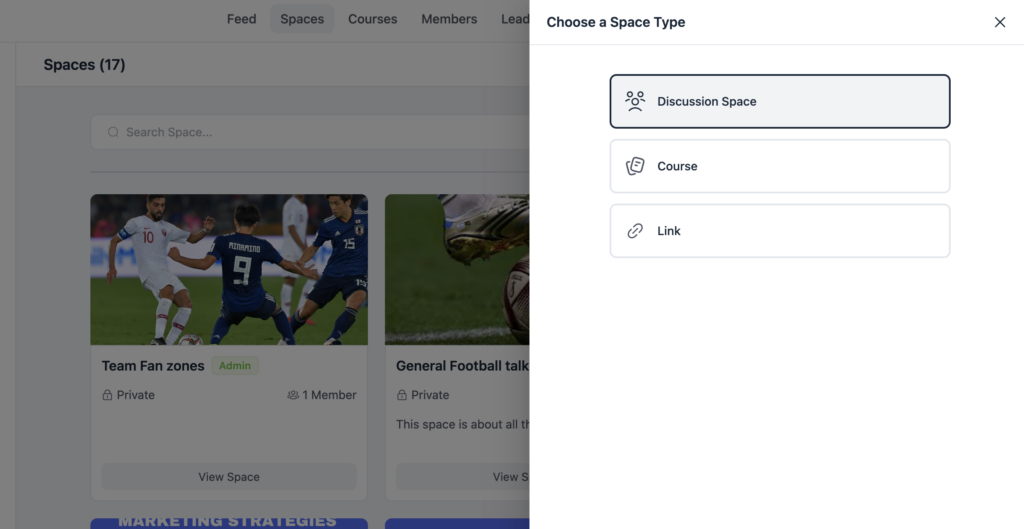
To create a Space, go to Community → Spaces → Add New. Give it a name and description, choose whether it’s public or private, and assign it to a category if you’re running multiple courses.
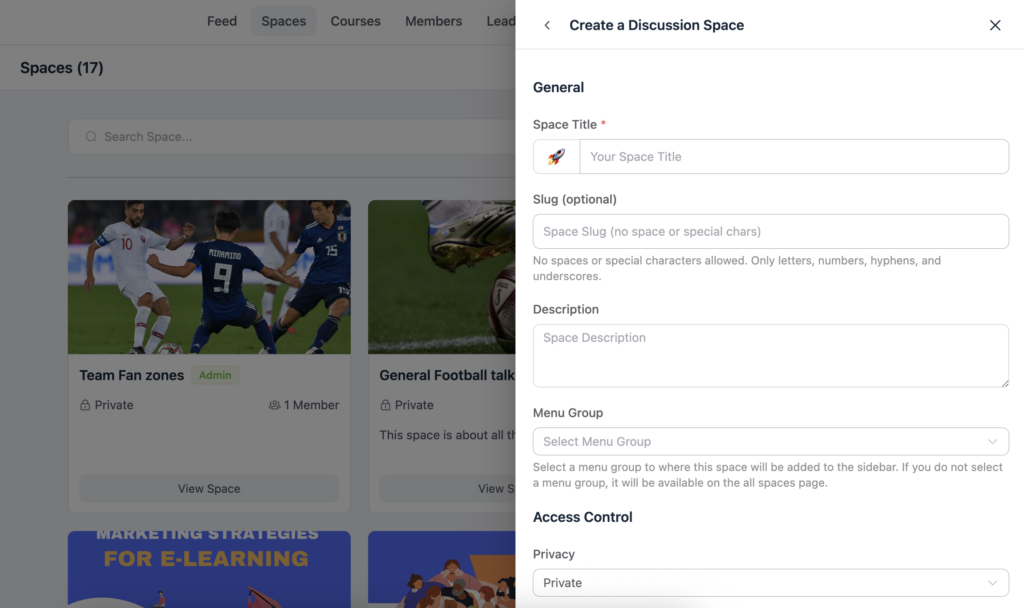
Private Spaces are visible in the directory but require approval or payment to join. Secret Spaces are completely hidden unless you share a direct link.
For a paid community, set your core Spaces to private. Non-paying visitors won’t see the content inside, but they’ll see the Space exists and can be prompted to purchase access.
Step 3: Add Your Courses
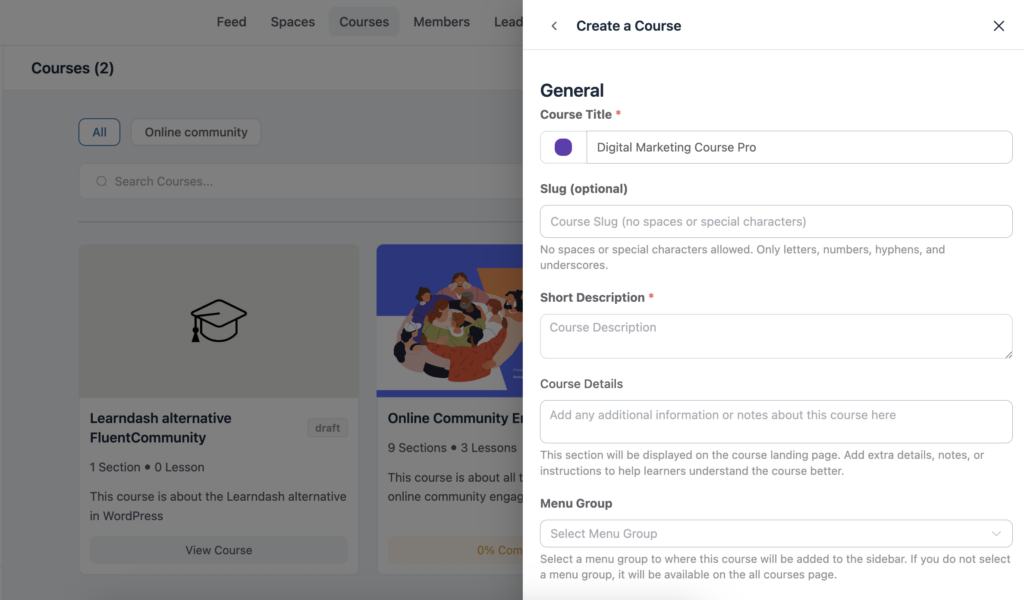
FluentCommunity has a built-in course builder. You don’t need a separate LMS plugin. To create a course, go to Community → Courses → Add New.
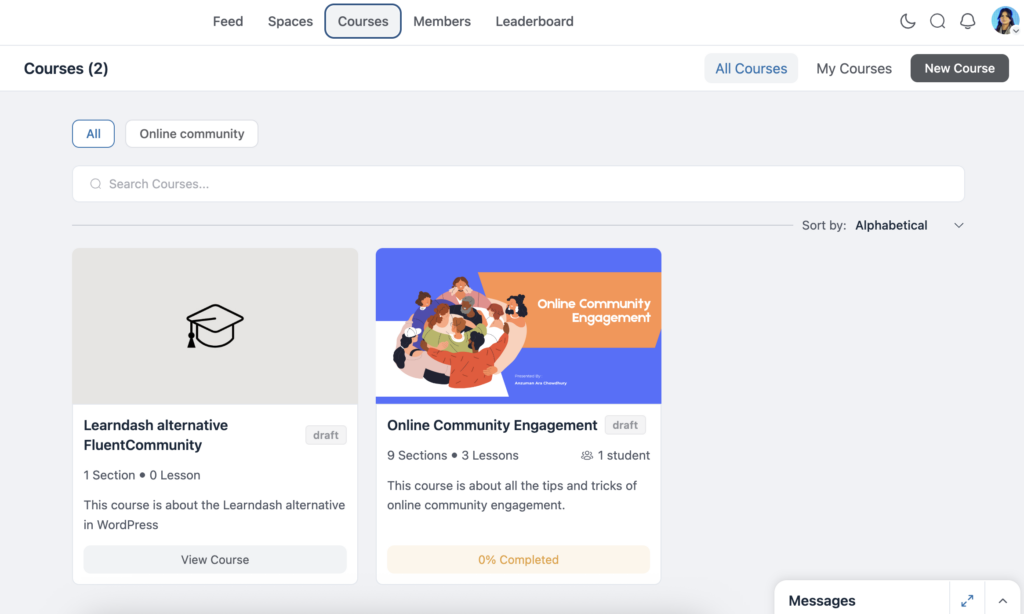
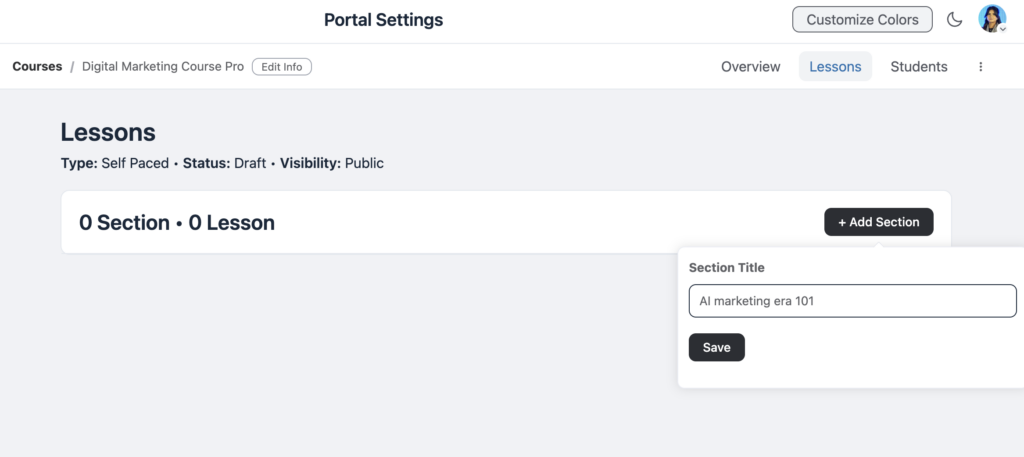
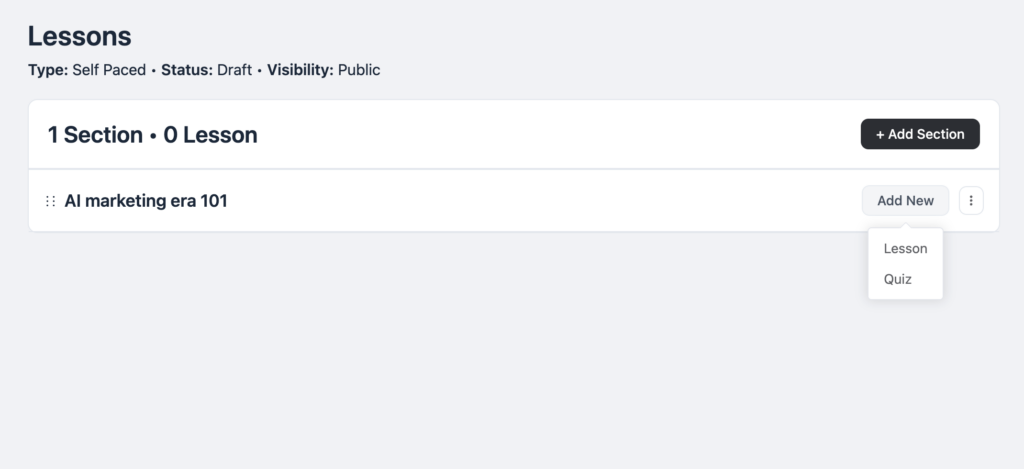
Give the course a title, a description, and a thumbnail. Then start building your curriculum by adding modules and lessons. Lessons support text, video embeds (YouTube, Vimeo, Wistia), and file attachments.
Each lesson has its own discussion section, so students can ask questions directly inside the lesson rather than having to leave and find the right Space to post in. This keeps the learning and the community conversation connected.
You can also link a course to a specific Space, so students who enroll in the course are automatically added to the corresponding community Space. This means enrollment and community access happen together, not as two separate steps you have to manage manually.
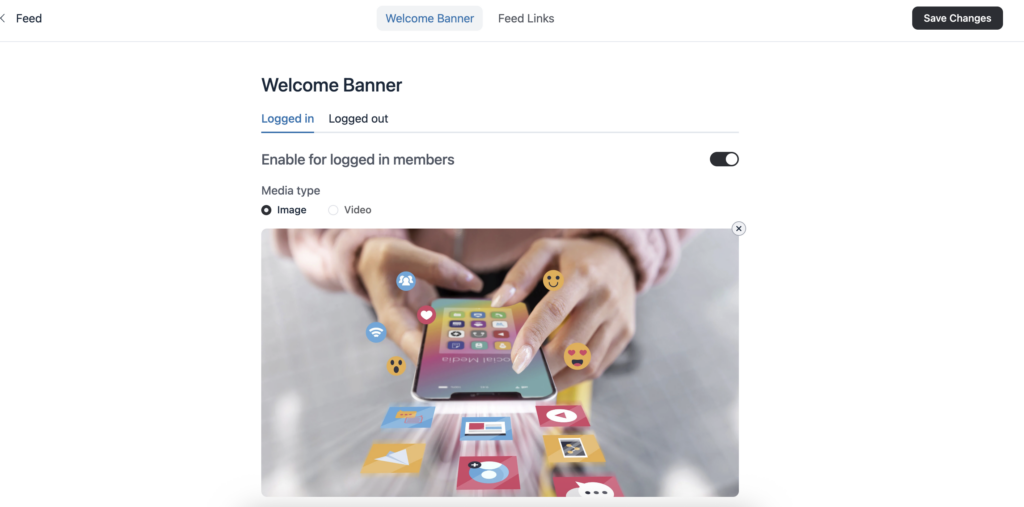
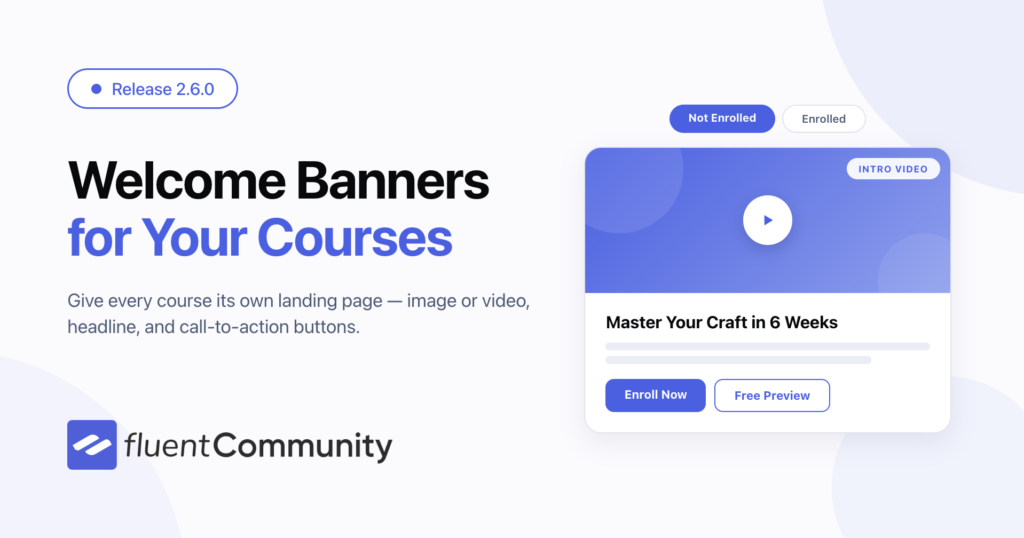
Quiz support is built in, and as of version 2.6.0, each course can have its own Welcome Banner, a custom message or video that greets students when they first enter the course.
Step 4: Set Up Payments and Gate Your Content
This is where your paid learning community becomes an actual business. FluentCommunity doesn’t handle payments on its own; it works with FluentCart or Paymattic to collect money and then automatically enrolls buyers into the right Spaces and courses.

Using FluentCart: FluentCart is the most direct integration. Once you install and activate it, you can create a product inside FluentCart, either a one-time purchase or a subscription, and connect it to a FluentCommunity Space or course. When someone buys the product, they’re automatically enrolled in the connected Space and course.
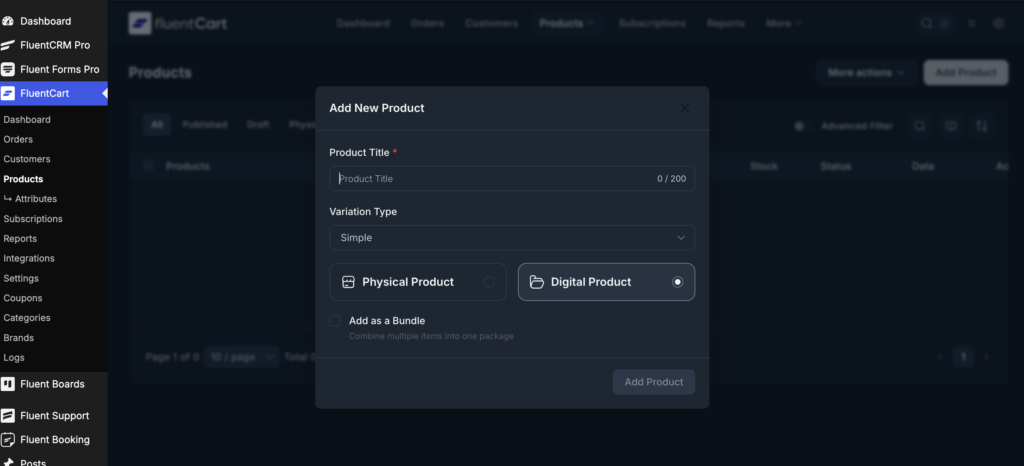
To set this up, go to FluentCart → Products → Add New. Create your membership product, set the price, and in the FluentCommunity section, select which Spaces and courses the buyer should get access to.

That’s it. FluentCart handles checkout, and FluentCommunity handles enrollment.
Using Paymattic: Paymattic gives you more flexibility if you need subscription billing, trials, or conditional access. You build a payment form in Paymattic, connect it to your FluentCommunity Spaces and courses in the form settings, and Paymattic auto-enrolls members when a payment is confirmed.
With the Pro version, you can add conditional logic. For example, enrolling a member in a different Space depending on which plan they purchased.
Either way, once payment is set up, your community is gated. Non-paying visitors can see your landing page and your pricing, but they can’t access the Spaces or courses until they complete a purchase.
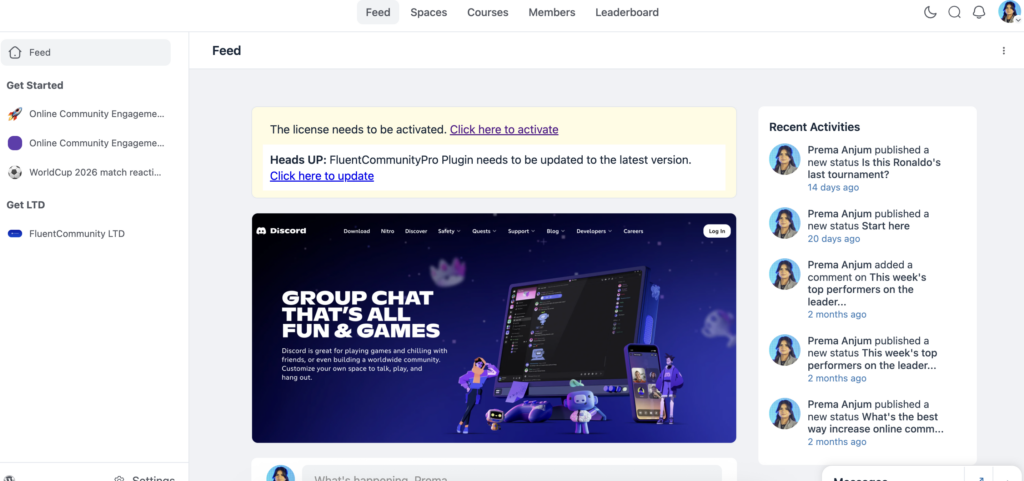
Step 5: Customize Your Community Portal
Before you launch, make your community look like it belongs to you. FluentCommunity lets you customize the colors across your entire portal, navbar, sidebar, feed area, links, and buttons from the Settings page. You can choose from preset color schemes or set your own using hex codes. The customization applies to both light mode and dark mode separately, so members who switch between modes still get a consistent experience.
The Welcome Banner is worth setting up, too. It sits at the top of your main feed and is the first thing new members see when they log in. You can add a short welcome message, a video walkthrough of the community, and a call-to-action button pointing to the first course or Space you want them to explore. For logged-out visitors, use the banner as a preview, show them enough to make them want to join.
These two things, color customization and the welcome banner, take less than an hour to set up and make the community feel intentional rather than generic.
Step 6: Keep Members Engaged After They Join
Getting someone to pay is one thing. Keeping them active is another. FluentCommunity has several features that help with this.
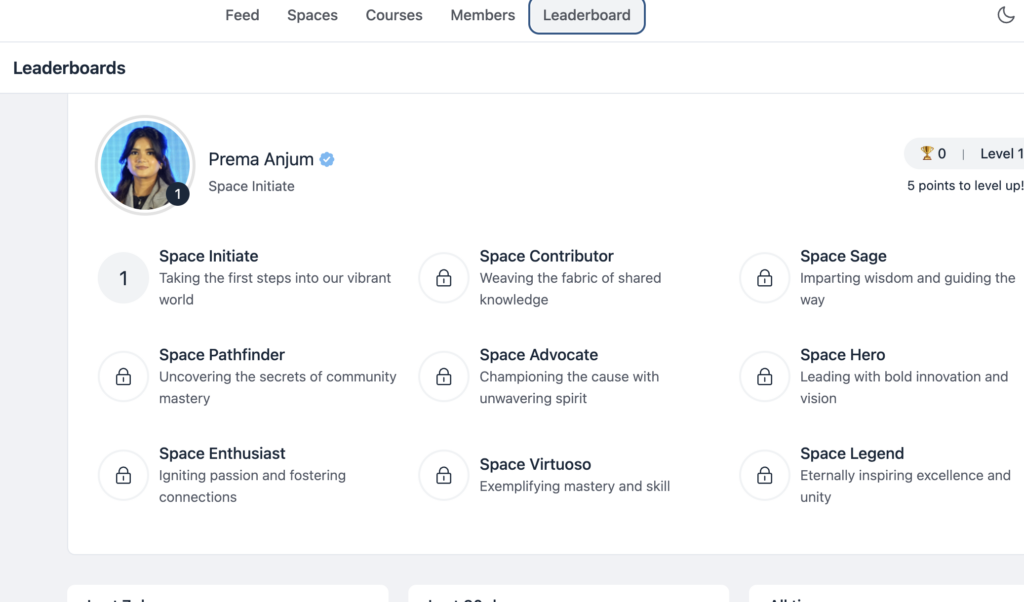
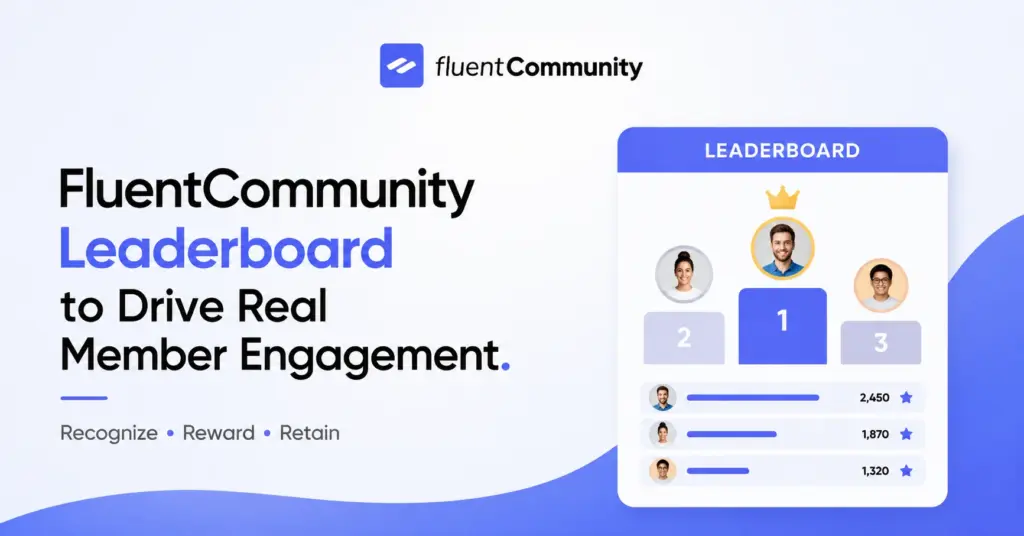
The leaderboard ranks members by their activity posts, comments, reactions, and course completions. Members can see where they stand relative to the rest of the community. For learning communities, this works well because it makes progress visible and gives people a reason to stay consistent.
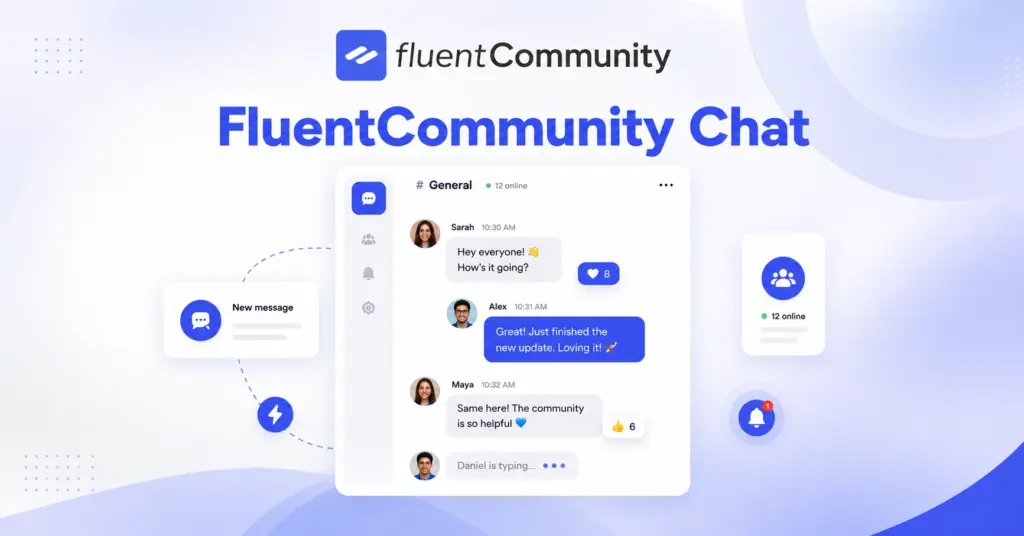
Real-time chat is available for direct messages and Space-level conversations. Members can have quick back-and-forth exchanges without having to post a thread, which is especially useful for study groups and peer accountability.
Polls and surveys let you run quick votes inside your community. Use them to ask members what topic they want covered next, how they’re finding the course, or what format they prefer for the next module. It’s a lightweight way to make members feel heard without adding a lot of work on your end.
FluentCRM integration lets you automate emails based on member activity. When someone joins a Space, you can send them a welcome sequence. When they complete a course, you can follow up with the next step. You can also filter your email recipients by Space membership or course enrollment, so your messages go to the right segment of your community, not everyone at once. These automations run in the background, so you’re not manually tracking who’s done what.
Notifications keep members informed without you having to chase anyone. Members get alerts when someone replies to their post, reacts to their comment, or mentions them by name. That kind of real-time feedback pulls people back into the community organically, without you having to send a broadcast every time something happens.
Wanna create a football fan community in WordPress? Check out the blog anchored with the text.
You’re Ready to Start
Building a paid learning community in WordPress is more straightforward than it sounds. FluentCommunity gives you the community layer, Spaces, courses, chat, leaderboards, and member profiles, and the Fluent ecosystem handles payments and automation. You’re not stitching together unrelated tools. Everything talks to each other.
The setup takes a few hours, not a few weeks. And once it’s live, you own all of it. No monthly platform fees eating into your margins, no third-party restrictions on how you price or structure your community.
If you’re a course creator, coach, or educator who’s been waiting to add a real community to your learning experience, this is a practical way to start

Prema Anjum
My full name is Anzuman Ara Chowdhury. But people know me as Prema Anjum. I’m a Digital Marketer by profession, a WordPress community contributor, and a travel enthusiast by heart.


Leave a Reply