

How to Use Fluent Forms Integration with FluentCommunity

Table of Content
Subscribe To Get
WordPress Guides, Tips, and Tutorials


Managing an online community on WordPress often comes with one common challenge: getting people in the door smoothly. Whether you’re running a membership site, an online course platform, or a private community space, the registration and onboarding process can make or break a member’s first experience. That’s exactly where the Fluent Forms integration with FluentCommunity becomes a powerful asset for community builders.
Fluent Forms is one of the most popular form builder plugins in the WordPress ecosystem, known for its flexibility, clean design, and powerful field options. When you pair it with FluentCommunity, you unlock a seamless way to bring new members into your Spaces and Courses directly through a form submission. No manual enrollment. No extra steps for the member. Just fill in the form, submit, and they’re in.
Beyond simple member registration, this integration also opens the door to accepting payments for your Spaces and Courses. By creating payment forms through Fluent Forms Pro, you can monetize access to your community without relying on third-party platforms. Everything stays within your WordPress site, giving you full control over the experience.
In this guide, we’ll walk you through everything you need to know about setting up and making the most of the Fluent Forms integration with FluentCommunity. From enabling the module to configuring your first integration feed.
What Do You Need Before Getting Started?
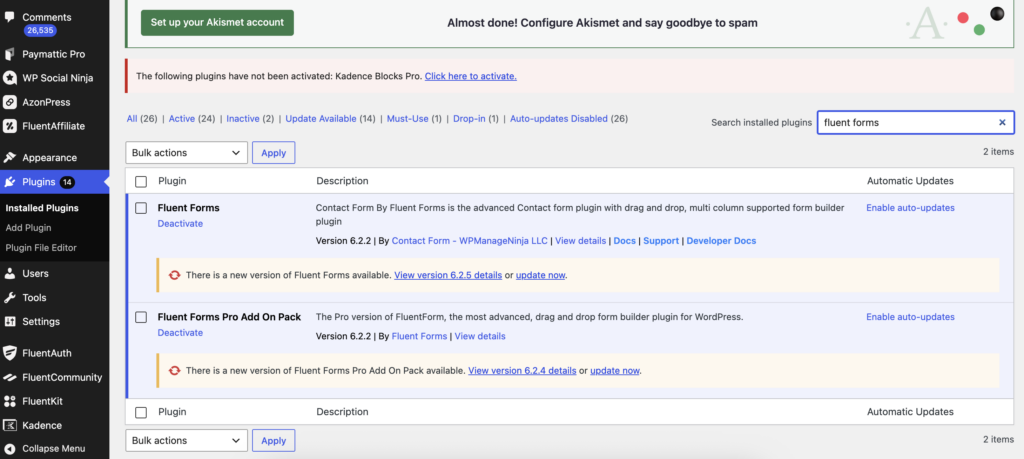
Before diving into the setup, there are a couple of things to have ready. First, you’ll need to have FluentCommunity installed and active on your WordPress site. Second, you’ll need to install the free version of Fluent Forms.
The basic integration, adding members to Spaces and Courses through form submissions, works entirely with the free version. However, if you also want to collect payments through forms, you’ll need to upgrade to Fluent Forms Pro, since payment fields are a Pro-only feature.
Once both plugins are active and running, you’re ready to connect them.
Step 1: Enabling the FluentCommunity Module in Fluent Forms
The first thing you need to do is activate the FluentCommunity module inside Fluent Forms. This is what makes the integration feed available when you’re working on your forms.
To do this, go to your Fluent Forms dashboard and click on Integration in the navigation bar. From there, scroll through the available modules until you find FluentCommunity, then toggle the switch to enable it.
That’s all it takes. Once the module is active, FluentCommunity will appear as an option whenever you’re configuring integrations for any form.
Step 2: Setting Up the FluentCommunity Integration Feed
With the module activated, the next step is to connect a specific form to your community. You can either create a new form or use an existing one. It’s entirely up to you and what fits your workflow.
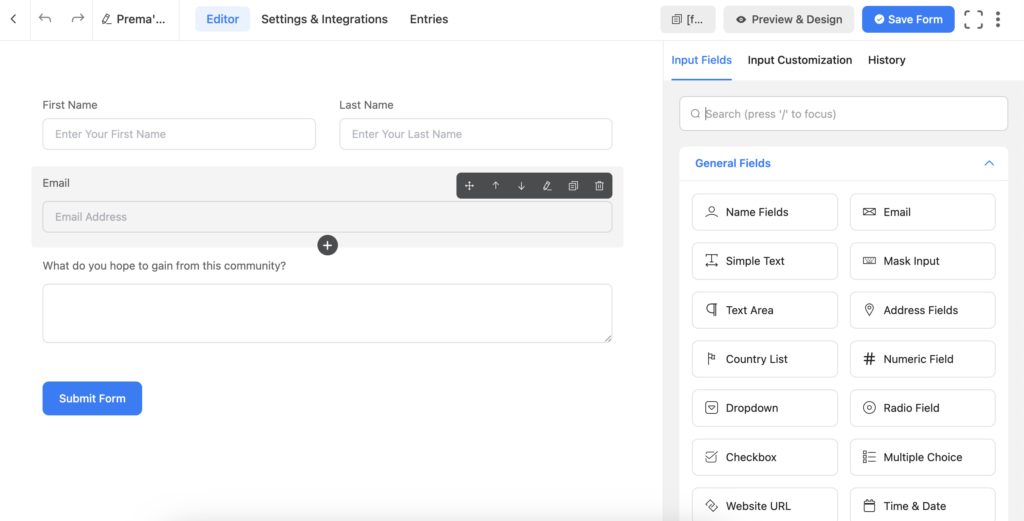
To create a new form, click on the Add New Form button from the Fluent Forms dashboard. From there, add the fields you need. Typically, this would include a name, email, and a password field if you’re onboarding new WordPress users. Once your form is set up the way you want, navigate to Settings and Integrations from the form editor.
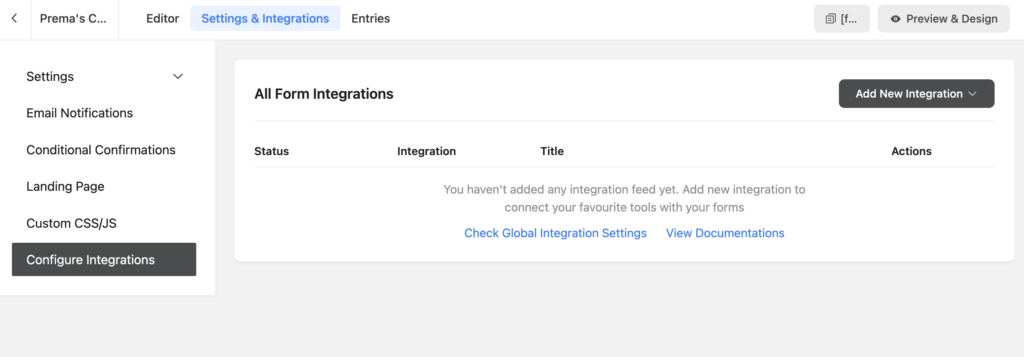
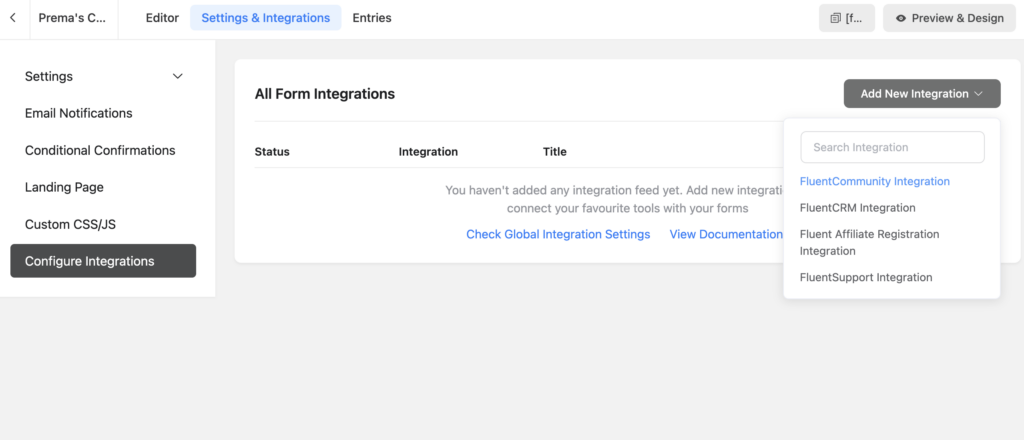
In the left sidebar, click on Configure Integration, then click Add New Integration. A dropdown will appear with all available integration options. Select FluentCommunity Integration Feed from the list, and you’ll see the feed configuration screen open up.
Step 3: Configuring the Integration Feed
This is where the connection between your form and your community actually gets defined. The configuration screen is straightforward, and setting it up correctly ensures that form submissions trigger the right enrollment actions.
Here’s what each option does:
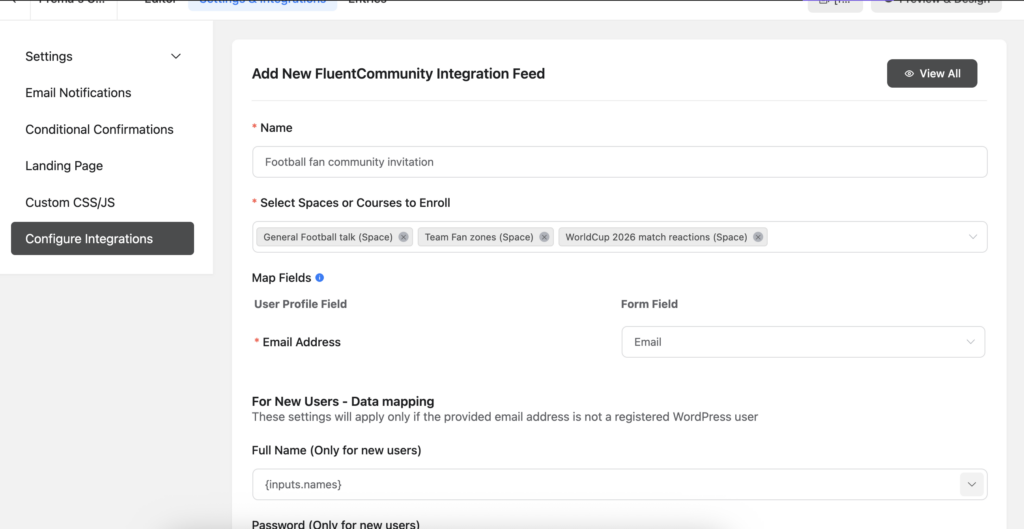
Name: Give your integration feed a clear, recognizable name so you can easily identify it later, especially if you have multiple forms running different feeds.
Select Space or Course to Enroll: Use the dropdown to choose which Space or Course you want members added to upon form submission. Notably, both Secret Spaces and Secret Courses appear in this list, so you can use forms to gate access to your most exclusive community areas as well.
Map Fields: This section maps your form fields to the right data points. Most importantly, you need to map the Email Address field, which is how FluentCommunity identifies and creates users.
For New Users Outside WordPress: If you’re using this form to onboard brand new users who don’t already have a WordPress account, you’ll also need to map the Full Name and Password fields. Both of these support shortcodes, giving you flexibility in how you pass values.
Additional Options: There are two helpful checkboxes here. The first lets you allow users to log in automatically right after submitting the form, a great UX touch that removes an extra step for new members. The second lets you send WordPress’s default welcome email to newly registered users, which can be a simple way to confirm their account creation.
Once everything is configured, click Save Feed and then publish the form on your site. From that point forward, every qualifying form submission will automatically enroll the user in the Space or Course you selected.
Using Fluent Forms to Monetize Your Spaces and Courses
One of the most practical use cases for this integration goes beyond simple registration. By upgrading to Fluent Forms Pro, you can build payment forms that collect membership fees before enrolling someone in a paid Space or Course. This turns Fluent Forms into a lightweight checkout experience, all hosted directly on your WordPress site.
For example, you could create a payment form for a premium community Space, accept payment through one of the supported payment gateways, and then automatically enroll the paying member once the transaction is complete. This is especially useful for creators, coaches, and educators who want a streamlined yet affordable way to monetize their community without needing a full e-commerce plugin.
For more detailed setup instructions, FluentCommunity’s documentation covers both Course Monetization and Space Monetization in dedicated guides.
What’s New: Recent Updates to the Integration
The Fluent Forms integration has seen several improvements through recent FluentCommunity updates, making it more reliable and feature-rich over time.
In version 2.3.0 (March 2026), the team fixed an issue with Fluent Forms activation that was causing problems for some users in specific setups. A fix that improved the reliability of the integration overall.
These updates reflect the ongoing commitment to keeping the integration stable and improving how FluentCommunity and Fluent Forms work together as your community grows.
Why Does This Integration Make Sense for Community Builders?
Managing member access through forms gives community owners a lot of flexibility that a standard registration page simply doesn’t offer. With Fluent Forms, you can control the fields you collect, apply conditional logic, create multi-step forms, and even run form submissions through automation workflows if you’re also using FluentCRM.
Furthermore, because both tools live inside your WordPress dashboard, there’s no reliance on external platforms or third-party services. You own the data, you control the flow, and you’re not paying a per-member fee to a SaaS platform just to accept a new community member.
For community builders who are already using Fluent Forms on their site, enabling this integration is a quick win. And for those just getting started, the free version of Fluent Forms is more than enough to cover the basics, adding members to Spaces and Courses without any manual effort on your part.
Final Thoughts
The Fluent Forms integration with FluentCommunity is one of those features that quietly does a lot of heavy lifting. It handles member enrollment, new user registration, automatic login, and even paid access, all through a form your visitors already know how to use. Whether you’re building a free community or a premium membership site, this integration gives you the tools to manage entry your way.
If you run into any questions while setting things up, the FluentCommunity support team is available through the WPManageNinja support portal.

Prema Anjum
My full name is Anzuman Ara Chowdhury. But people know me as Prema Anjum. I’m a Digital Marketer by profession, a WordPress community contributor, and a travel enthusiast by heart.


Leave a Reply