

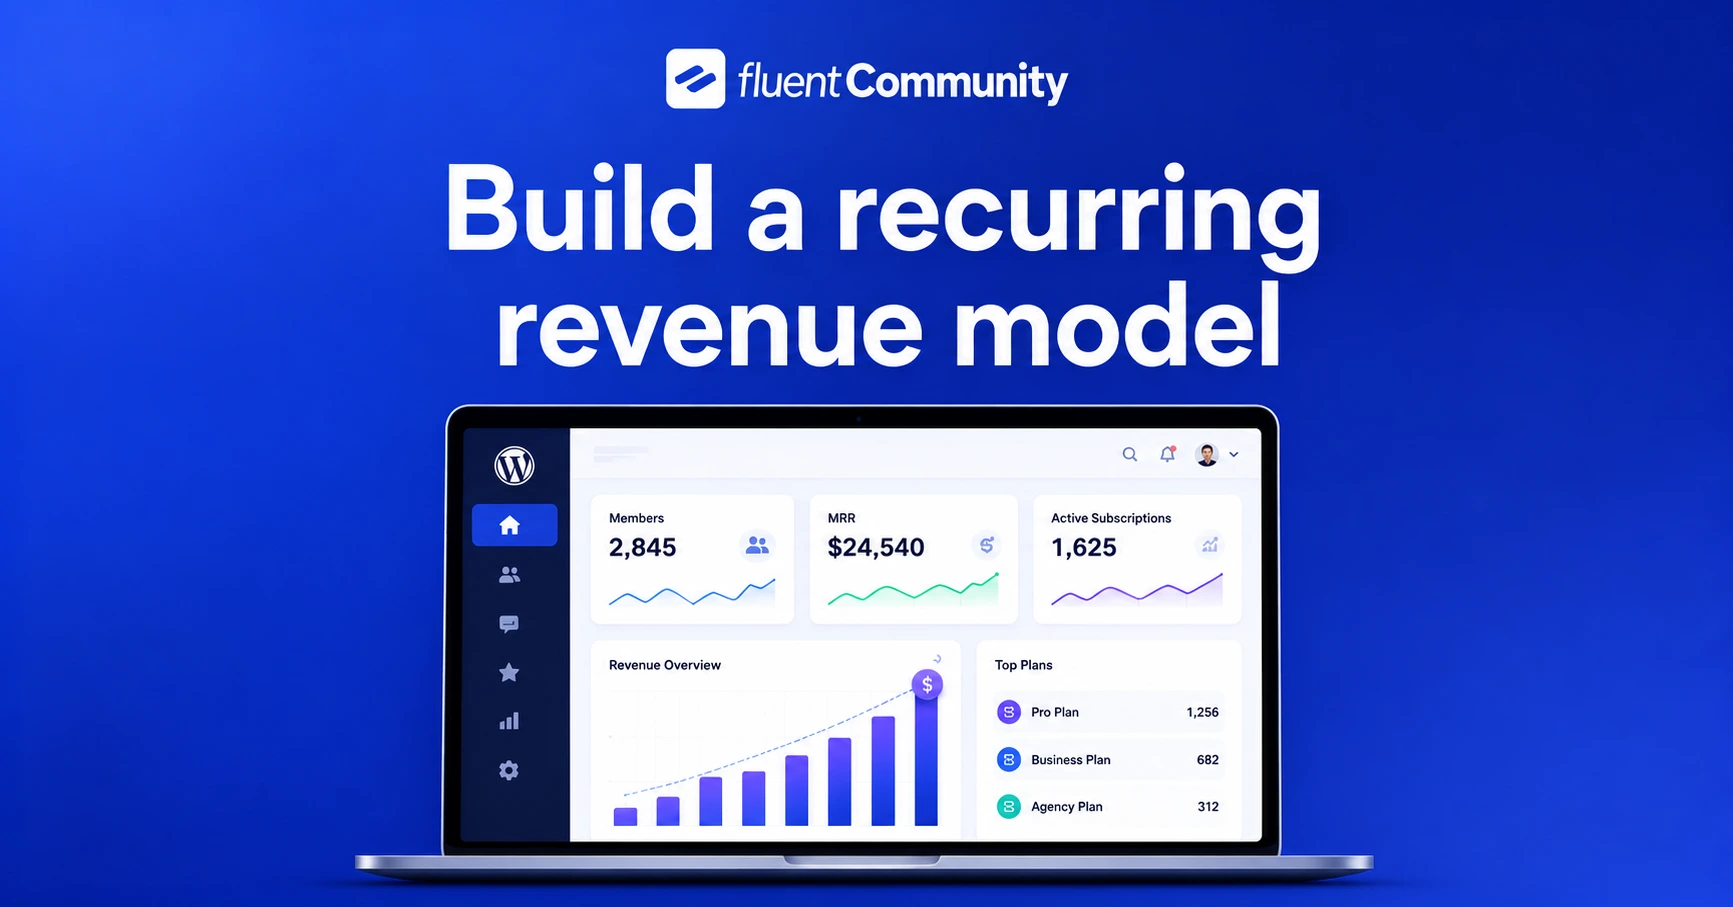
How to Build a Recurring Revenue Model With Memberships & Subscriptions

Table of Content
Subscribe To Get
WordPress Guides, Tips, and Tutorials


A one-time sale pays you once. A membership pays you every month a person stays. That difference is the entire reason course creators, coaches, and community builders keep moving toward subscriptions instead of single purchases. It’s not about charging more; it’s about getting paid for the relationship instead of just the transaction.
The hard part isn’t deciding to do it. It’s setting it up in a way that actually collects recurring payments, gives access automatically, and removes access automatically when someone cancels. Do this manually, and you’ll spend your weekends chasing renewals and revoking access by hand.
This guide walks through building a recurring revenue model using FluentCommunity, a WordPress community plugin, paired with FluentCart for subscription billing. You’ll set up a private Space or course, connect a subscription product, and configure everything to run without you touching it after launch. There’s also a section on Paymattic if you’d rather handle billing through a form instead of a full e-commerce product.
What a Recurring Revenue Model Actually Means Here?
A recurring revenue model means members pay on a schedule weekly, monthly, or yearly- instead of once. In exchange, they keep access to your Space, course, or both for as long as the payment keeps going through.
The moment a payment fails, or a member cancels, their access should be revoked automatically. That automation is what separates a real recurring revenue model from just repeatedly asking people to pay you.
Why This Beats One-Time Sales?
A one-time product gets you a single transaction, and then you have to sell that same person again, or find a new person to earn anything else from them. A subscription keeps the relationship open. As long as a member finds value in staying, they keep paying, and you don’t have to resell them every month.
It also makes your income predictable. Instead of guessing what next month looks like based on how many new people you can convert, you have a baseline of recurring members you can count on, plus whatever new sign-ups come in on top.
What You Need Before You Start?
To set this up, you need three things: a WordPress site, FluentCommunity installed and activated, and FluentCart (or Paymattic) for handling the billing. FluentCommunity itself doesn’t process payments. It works with FluentCart or Paymattic to collect money and manage access.
FluentCart is the more direct route since it’s a full e-commerce plugin with native subscription support built in. Paymattic works through payment forms and is a good option if you’d rather not run a full store.
Step 1: Set Your Space or Course to Private
You can only charge for content that isn’t public, so this is where you start. For a Space, open it, click the three-dot menu, and select Settings. For a Course, open it and click Edit Info. In the General Settings tab, scroll to Access Control, click the Privacy dropdown, and select Private or Secret.
Once you save this, two new tabs appear at the top of the settings window: Paywalls and Lock Screen. These are what you’ll use next.
Step 2: Create a Subscription Product in FluentCart
Go to FluentCart → Products → Add Product. Give it a title and description. Something clear, like “Monthly Community Access” or “Community + Course Membership.”
Scroll to the Pricing section. You can choose Simple for one price point or Simple Variations if you want to offer more than one plan (monthly and yearly, for example). For each variation, toggle Subscription to ON. This reveals the recurring billing settings.
Set the Billing Interval to Daily, Weekly, Monthly, Quarterly, Half Yearly, or Yearly. If you want to offer a free trial before the first charge, set the number of Trial Days. Leave it at 0 if you don’t want a trial.
If you’re offering two plans, like monthly and yearly, create a second variation with a different interval and price. This is also where you’d price an annual plan at a discount to encourage members to commit longer.
Step 3: Link the Product and Set Up the Lock Screen
Back in your Space or Course settings, open the Paywalls tab and click Add Paywall. Search for the subscription product you just created and select it. If you didn’t create it yet, you can also click + New here, enter a title and price, and FluentCart will create the product for you on the spot.
Next, go to the General Settings tab and find Lock Screen Type. The Default option adds a “Buy Now” section to the standard private-content screen. Check the box for Show Paywalls in the default lock screen, and you’re done.
If you want more control over how the sales page looks, set Lock Screen Type to Custom, then open the Lock Screen tab. This opens a visual builder where you can add the Paywalls block, edit the description, change the button label (from “Buy Now” to “Join” or “Subscribe,” for example), and adjust the colors. Save changes when you’re finished.
Step 4: Automate What Happens When a Subscription Changes
This is the part that actually makes it a recurring revenue model instead of a manual chore.
Go back to the Paywalls tab, click the three-dot menu next to your product, and select Edit Product. This opens the product inside FluentCart. Click the Integrations tab, find the
FluentCommunity Integration, and click the pencil icon to edit it. Here you can set rules for what happens automatically: remove the member from the Space or course if their subscription expires or gets refunded, add them to other Spaces or courses on purchase, and mark their profile as verified once they’re a paying member. Set these once, and you never have to manually track who paid and who didn’t.
Step 5: Add Membership Tiers to Grow Revenue
Once the basic setup works, tiers are the fastest way to increase recurring revenue without finding new members. Create a second private Space, say, a “VIP” or “Inner Circle” Space with extra content, direct access to you, or live sessions, and link it to a higher-priced subscription product using the same steps above.
Members who want more can upgrade without leaving your community. You’re not building a second product line from scratch; you’re layering a new price point onto the same system.
Alternative: Collecting Recurring Payments With Paymattic
If you’d rather not run a full FluentCart store, Paymattic handles recurring payments through forms instead.
First, monetize your Space or course through Paymattic by following FluentCommunity’s Paymattic monetization setup. Then open your Paymattic dashboard, go to All Forms, and open a Subscription Form (or create one). Add the FluentCommunity Integration from the Add New Integration dropdown on the Integrations tab.
In the integration settings, select the Spaces or courses the buyer should get access to, and turn on Join/Enroll space/course on payment success only so access is only granted after payment clears. Also enable Remove from space/course if payment refunded and Remove from space/course if subscription canceled; these two checkboxes are what keep access in sync with billing automatically.
Publish the form and add its link to your Space or course. When someone tries to access it, they’ll see the lock screen with a button pointing to the payment form.
Keep Members Renewing, Not Just Joining
Getting someone to subscribe is the easy part. Getting them to still be subscribed six months later depends on whether the community is worth staying in.
A few things help with this directly. Real-time chat gives members a reason to check in regularly instead of just scrolling a feed. The leaderboard makes activity visible, which nudges people to stay engaged instead of going quiet. And FluentCRM integration lets you email members based on what they’ve done, a welcome sequence when they join, a check-in if they’ve gone quiet, a heads-up before a renewal.
None of this replaces good content. But a community that feels alive is a community people keep paying to stay in.
You’re Ready to Start
Building a recurring revenue model isn’t about picking a higher price; it’s about setting up the plumbing so payments, access, and cancellations all happen automatically. Once your Space or course is private, your subscription product is linked, and the automation rules are set, the system runs itself. Your job shifts from chasing payments to keeping the community worth renewing for.

Prema Anjum
My full name is Anzuman Ara Chowdhury. But people know me as Prema Anjum. I’m a Digital Marketer by profession, a WordPress community contributor, and a travel enthusiast by heart.
![SEO Title: 5 Best Community Portal Software [WordPress + SaaS Options]](https://fluentcommunity.co/wp-content/uploads/2026/10/community-portal-software-featured-1-1024x536.webp)
Add your first comment to this post