

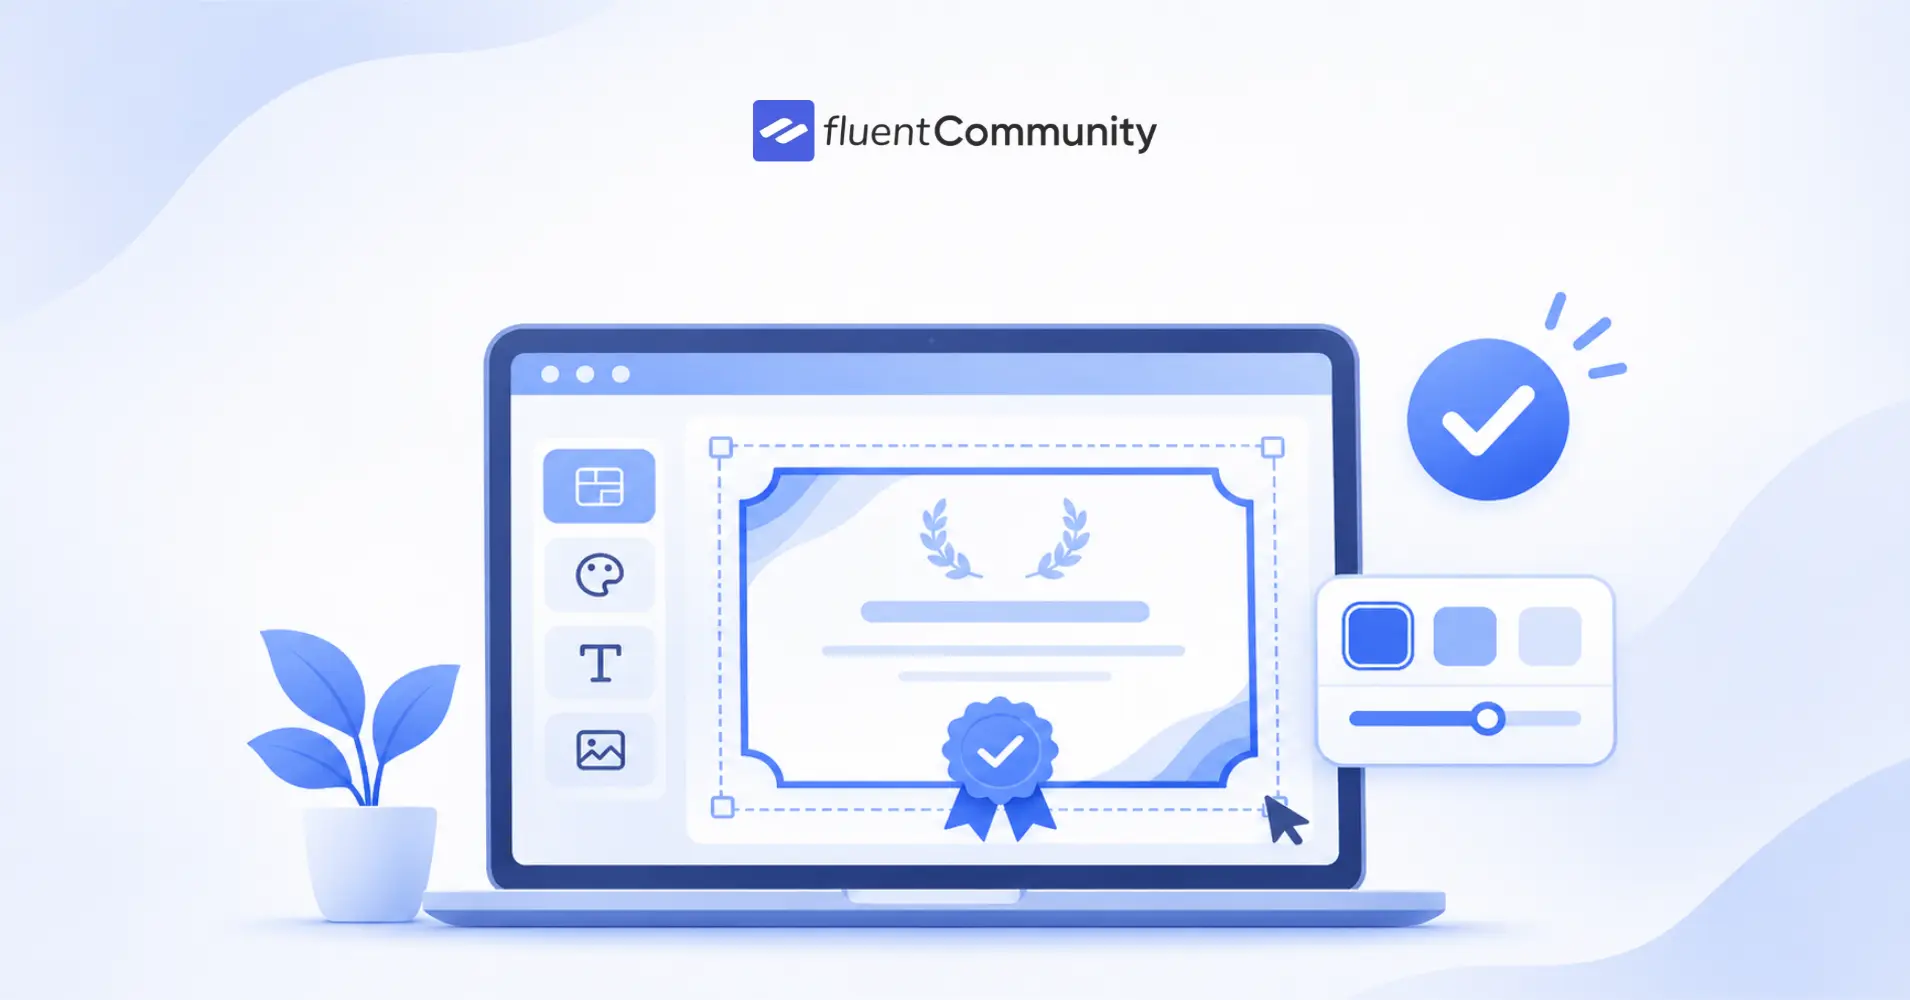
FluentCommunity Certificates: A Built-In Online Certificate Maker

Table of Content
Subscribe To Get
WordPress Guides, Tips, and Tutorials


A student finishes your course. They watched every lesson, worked through every quiz, and stayed with it while plenty of others dropped off. Then nothing happens. There’s no moment that marks the finish, nothing to show for the effort, and nothing they can put in front of an employer or a client.
Most course creators patch this with a separate online certificate maker. They design a template in a graphics tool, type each student’s name by hand, export a PDF, and email it out. That works for ten students. At a hundred, it becomes a weekly chore. And even then, the result is just an image file. Anyone can edit it, and nobody receiving it can tell whether it’s real.
FluentCommunity’s Certificates feature builds the certificate maker into the place where your courses already live. When a student completes a course, a certificate is issued automatically, designed by you, delivered to the student, and verifiable by anyone they show it to.
This post covers what the feature does, how designing and issuing work, and why verification is the part that matters most. Note upfront: Certificates run on top of the Course module and come with FluentCommunity Pro.
What the Certificate Feature Actually Does?
You design a certificate template once. From then on, every time a student completes a course with certificates turned on, FluentCommunity fills in that student’s details, issues the certificate, and delivers it to them in the community, by email, and on their profile. Each certificate gets its own public verification page and QR code, so the person holding it can prove it’s genuine.
Beyond courses, you can also issue certificates by hand to anyone, a workshop attendee, a speaker, a volunteer, even if they don’t have an account in your community.
Design It Once, Use It Everywhere
The certificate builder starts with the basics. Pick A4 or Letter, choose portrait or landscape, and drop in your background. From there, you place text, images, lines, and a QR code wherever you want them on the canvas.
The text is where the time savings come in. Instead of typing names one by one, you add dynamic fields that fill themselves in as each certificate is issued: the student’s name, the course title, the instructor, the completion date, and a unique credential ID. If you need a field that isn’t on the list, such as a cohort number, a CPD hours value, or a program name, you can name your own.
Because the template is separate from the course, one well-designed certificate can serve every course you run. If you want different looks for different programs, build a few templates and assign each one where it fits.
Turning Certificates On for a Course
Certificates are switched on per course, so you decide which courses award one. For each course, choose the template you want to use, and if the credential should only be valid for a set period, add an optional expiry. That’s useful for compliance training, safety certifications, or any skill that needs renewing.
One detail that saves a lot of awkward follow-up: students who finished a course before you turned certificates on are not left out. A backfill issues certificates to them too, dated to when they actually completed the course, not to the day you enabled the feature. Your earliest students get the same recognition as your newest ones.
What Students Get
The moment a student finishes a course, a congratulations dialog shows them their certificate. It’s a small thing, but it turns the end of a course into an actual moment instead of a quiet final lesson.
The certificate is also emailed to them, so it doesn’t vanish when they close the tab. From there, they can download it as a PNG or PDF, print it, or send it straight to LinkedIn’s “Add license or certification” form. That last option matters more than it looks, because a certificate on a LinkedIn profile keeps pointing people back to your course long after the student finished it.
Every certificate also lives on a Certificates tab on the member’s profile. Students choose whether each one is public or private. As the community owner, you decide who can see that tab on someone else’s profile: only the member, any logged-in member, or anyone.
Why Verification Is the Part That Matters
A certificate nobody can verify is just a picture. This is where most online certificate makers stop short, and where FluentCommunity goes further.
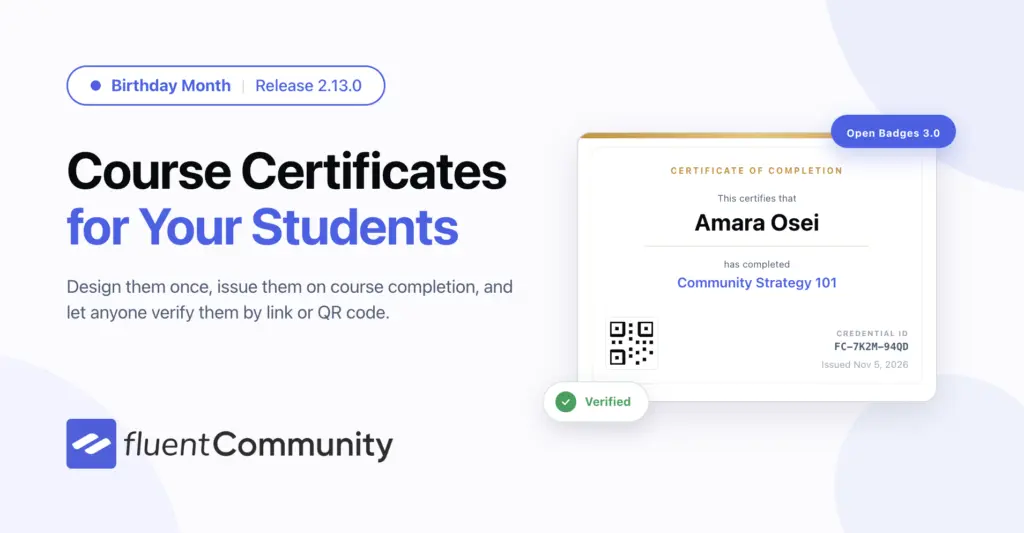
Each certificate gets a public verification page and a QR code pointing to it. An employer can open the link, or scan the code off a printed copy, and see whether the certificate is valid, who holds it, and what they completed.
That page works even if your community is private, because verification sits outside your login. Nobody needs an account to check a certificate. It also reads the live status from your site, never from the downloaded file. So if you suspend or revoke a certificate, the verification link says so straight away, even if the student still has the old PDF saved on their laptop. For certificates marked private, the page gives away nothing except the answer: valid, or not.
On your side, you keep a full list of every certificate issued. Suspend, reinstate, revoke, and reissue are each one click away, so correcting a mistake or handling a problem case doesn’t mean digging through files or emails.
Built on Open Badges 3.0
Certificates are also issued as Open Badges 3.0 credentials, the open standard built on W3C Verifiable Credentials. In practice, that means your certificates aren’t locked inside your site.
Students can download a badge-baked image and import it into a badge wallet or Credly, where it stays verifiable, status changes included. If you revoke a certificate in FluentCommunity, that change carries through. For students building a professional record, a recognized standard gives your certificate far more weight than a standalone image.
Certificates for Anything, Not Just Courses
Not every achievement happens inside a course. You might run a live workshop, host speakers at an event, or rely on volunteers who deserve recognition. For those, you can issue a certificate by hand to anyone, on any published template, typing in the values yourself.
They don’t even need an account. Issue it to a name and an email, and they receive a holder link to their certificate. If they already have an account in your community, link the certificate to it. If you’d like them to have one, create the account as you issue the certificate.
Manual certificates can be edited later if something needs correcting, and every change is recorded, so you always have a clear history of what was issued and what was updated.
Final Thoughts
An online certificate maker that only produces a nice-looking file solves half the problem. FluentCommunity’s Certificates feature handles the whole thing: design once, issue automatically, deliver everywhere students need it, and back every certificate with a verification page that reflects its real status. Your students finish with something they’re proud to show, and the people they show it to can trust what they’re seeing. To know more about this feature, check out the latest FluentCommunity 2.13

Prema Anjum
My full name is Anzuman Ara Chowdhury. But people know me as Prema Anjum. I’m a Digital Marketer by profession, a WordPress community contributor, and a travel enthusiast by heart.
Add your first comment to this post