

How to Build an Online Community with FluentCommunity: A Complete Guide

Table of Content
Subscribe To Get
WordPress Guides, Tips, and Tutorials


Creating an online community is important for connecting with your audience, supporting your users, and driving long-term engagement. Whether you run a niche blog, manage a customer base, or want to build a platform where like-minded individuals can connect, FluentCommunity gives you the tools you need to develop and manage a vibrant online space.
In this guide, we’ll explain how to build an online community using FluentCommunity and its powerful features. First, let’s see some more benefits of an online community.
Getting started with FluentCommunity
FluentCommunity is a powerful WordPress plugin designed to help you build, grow, and manage your own branded online community, all within your website. From activity feeds and private chats to spaces, polls, and leaderboards, it offers everything you need to build a strong community that drives growth.
It is designed to make community-building simple yet powerful. Whether you’re a beginner or an experienced community manager, the platform provides features that help you create an engaging environment for your audience.
An overview of FluentCommunity’s core features
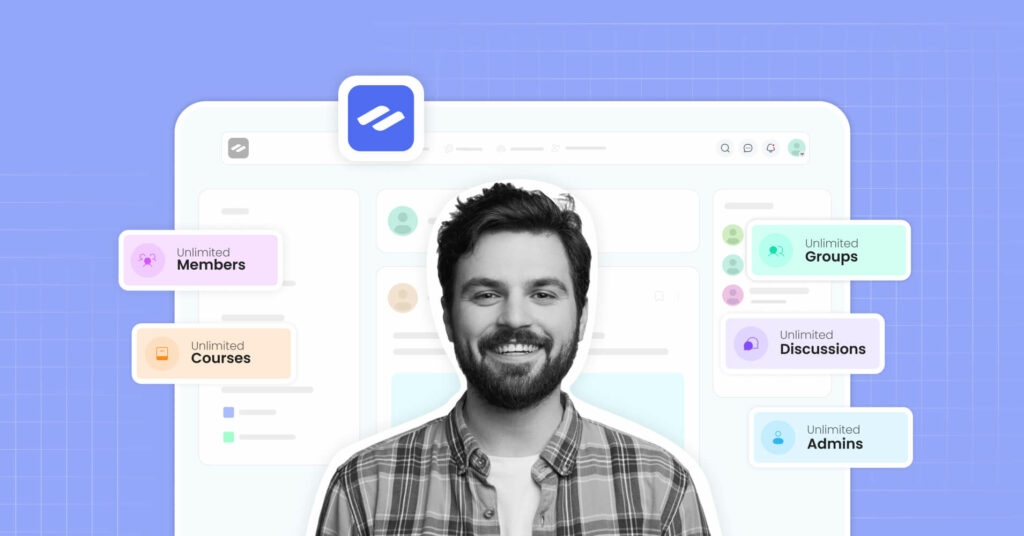
FluentCommunity is packed with powerful features to help you build a vibrant, self-sustaining community right inside your WordPress site. Here’s a quick overview of what makes it stand out from others:
Community Dashboard: Give members a bird’s-eye view of everything happening in your community, spaces, updates, activity, and more, all in one clean, user-friendly dashboard.
Spaces: Organize discussions into different Spaces based on interests, topics, or courses. Each space can have its own posts, chats, and privacy rules.
Activity Feeds: Keep the community alive with real-time updates. Members can see who posted, commented, or joined a discussion, just like a social media feed.
User Profiles: Each member gets a customizable profile to showcase their activity, interests, and badges. It helps everyone get to know each other better.
Posts: Members can create rich, engaging posts to share ideas, updates, or questions. It’s your community’s main way to communicate.
Chats: FluentCommunity supports real-time private and group chats, so members can connect instantly without needing a third-party tool.
Comments & Reactions: Boost engagement with comments and emoji reactions. It encourages feedback and keeps conversations flowing.
Leaderboard: Gamify your community with a leaderboard that highlights the most active members. It’s a great way to motivate participation.
Mentions: Members can tag others using @mentions and group topics with #hashtags, making conversations more organized and interactive.
Search Functionality: Quickly find posts, users, or discussions with a built-in search bar. Perfect for growing communities with lots of content.
Privacy Settings: Admins have full control over space visibility, user roles, and who can post or comment. So you can keep things safe and focused.
Polls & Surveys: Gather feedback or spark conversations with built-in polls and surveys. This is important for improving content or community decisions.
Dark/Light Mode: Choose between a light or dark interface to match your brand, or your audience’s preference.
User Badges: Reward members with badges based on their contributions, helping recognize and celebrate active users.
Theme Compatibility: FluentCommunity works seamlessly with most WordPress themes for a smooth visual experience. It’s officially compatible, Blocksy, Astra, Kadence, GeneratePress, OceanWP, Neve, Hello Elementor, and Bricks.
Media Module: You can upload images, videos, and documents inside posts or comments.
Course Builder: Create and manage online courses directly within your community.
Lesson & Module Management: Easily structure your courses with modules and lessons.
Lesson Discussions: Activate focused discussions under each lesson to confirm interactive learning among the students.
Student Management & Progress Tracking: Track student progress, manage enrollments, and keep learners engaged from start to finish.
With these features, you can create an active and sustainable online community.
FluentCommunity is a complete community platform designed for businesses. Download now to create and manage your community.
How to build your online community with FluentCommunity
Building an online community may sound challenging, but with FluentCommunity, it’s simple and fun. Whether you’re starting from scratch or growing an existing audience, this WordPress plugin gives you all the tools to connect, engage, and manage your members.
Let’s make a community for a makeup brand named “X Beauty”, and a course guide to use the brand’s products.
Set up FluentCommunity on your WordPress site
Go to your WordPress dashboard. Navigate to Plugins > Add New and search for FluentCommunity. Install and activate the plugin.
Click on FluentCommunity, and customize your community’s name, appearance, and functionality. For example, I’m naming my community as X Beauty Community, setting the portal URL as beauty-portal, and uploading the logo as given size requirements.

Then, pick a template from the available options. I’m going for the Product template.

After that, I’m setting the privacy for my portal. My portal is accessible to everyone.

Now, I’m accessing the portal by clicking on the “Go to the Portal” button.

There are some other options, such as Portal Settings, Customization, Advanced features, Manage Courses, Documentation, and Change URL community.
Now, after clicking on the Go to the Portal button, here’s the view of my community. As I’m using the free version, I’m seeing a license key reminder at the top.

If you want to customize your portal to your personal preferences, then click on the Settings form bottom left corner, and personalize the portal as you want.

Part 1: Create Spaces for X Beauty
Now, let’s create some Spaces for my brand X Beauty, where I want to discuss foundation tips, concealer hacks, blush look, contour & highlighting, general beauty chat, sharing looks, and more.
To do that, go to the Spaces option on the top bar, and then click on the New Space Button.

Then, choosing a space type, and going for the Discussion Spaces, as I want to discuss and collect people’s opinions about beauty tips, hacks, and all.

Then, setting up the space’s specifications.

Uploading a profile photo for the space to distinguish it from others at a first glance on the main board.

Boom, the space is created.

And here’s a preview of my other spaces.

Each space lets users post questions, share photos, comment, and chat.
Now, if you want to personalize the spaces more, click on the three dots in the top right corner, and tap on the Space Settings option.

Invite members to the community
Now, I’m selecting a space that I have created just now. For example, I’m going for the Concealer Tips one.

From there, click on the Members option, and you’ll see the Invitations button there. Tap on it.

There are three options available. Invitations, New Invite, and New Invitation Link. I’m going for the New Invitation Link option.
This tab will give you the option to invite members to join the space through the invitation link.

Invitation Link Title: Here, set a title for your Invitation Link as per your requirements.
Limit the number of uses: Here, you can set the limit on the number of users who can join the space through this link. For example, I set a limit of 10, i.e., the link will expire after 10 users have joined the space.
Expiration Date: Here, you can also set a specific date for the expiration of this link. Keep it empty if you don’t want your link to ever.
Once you are done, click the Create Invitation Link button, and the Invitation Link will be created.

Now, copy the link and send it to the users you want to add to the space. They can join by clicking this link by accepting the invitation.
In this case, if they are already logged-in community users, they will be directly redirected to the space after clicking the link. If not, they will see the Login/Registration Form for Login or Signup to join the space.
Part 2: Create a full makeup course for X Beauty
At first, from the Portal Settings, you need to confirm that the Courses Module is Enabled.

Now, go to the Courses section from the top bar.

Then tap on the“Create a Course” button. A pop-up will appear. Here, give the information for your course, such as Course Title, Slug, Short Description, Privacy, and more. For example, I’m naming it as “Full face glow Challenge”.
Now, I’m setting up the Sections for Lessons. To add the Sections, click on the Add Section button, and add one by one. Here, I’ve added two sections, Foundation Basics and Concealer Tips.

Now, I’m going to structure the lessons under the sections. To do that, let’s click on the Add Lesson button for each section. For Foundation Basics, I’m adding 3 modules or lessons, such as Choosing the right foundation, Application Methods, and Common mistakes to avoid.

Now, to add the details about the course, click on the Edit Lesson button from each module.

You can also do that from scratch when creating a module. After that, add the necessary information about the course.

You can even embed a video tutorial for the modules, set a featured image, and more. When done, don’t forget to click on the Save button in the top right corner. And publish your Modules one by one from the Lessons editor.

In this way, you can create your courses, lessons, and modules.
What more?
To improve the learning experience and engagement within your community, you can enable certificates of completion to reward users for finishing courses.
When the course is enrolled, learners can check their progress through the progress tracking to easily monitor their journey.

You can also use leaderboards to highlight top contributors and foster healthy competition.

Additionally, pinning the course in your Community Dashboard ensures it stays visible and easily accessible for all members.
To use more advanced features of FluentCommunity, you need to buy the pro version.
Integrate FluentCommunity with other tools
For a smooth experience, you can integrate FluentCommunity with other Fluent plugins:
- FluentCRM: Manage member communication and automate email sequences.
- Fluent Forms: Create custom registration forms and surveys.
- Paymattic: Collect subscription payments, and more.
- FluentSMTP: Send emails to your community members completely free.
These integrations help streamline interactions and boost user experience.
Benefits of running online communities

People crave connection, especially with the brands, creators, and communities they support. That’s where online communities come in. Communities create a space where your audience isn’t just passive consumers, they become active participants in your ecosystem. Let’s take a look at some of the most powerful benefits:
Strengthen customer relationships
An online community gives you direct access to your audience. Instead of depending on surveys or email feedback only, you get real-time conversations that help you find out your users’ interests. This helps you understand their needs better, respond faster, and build meaningful relationships.
Encourage peer-to-peer support
When people come together in a community, they naturally start helping each other. Someone might post a question, and another member might answer it before your support team even sees it. This kind of peer-to-peer support can reduce your support workload while empowering your users to share their knowledge and feel valued.
Increase engagement
A well-run community keeps users coming back. With engaging discussions, polls, events, and content, your members stay involved and interested. This kind of interaction builds momentum and keeps your audience connected.
Build brand loyalty
When people feel like they belong to something bigger than a product or service, they stick around. A strong online community promotes a sense of belonging and trust, turning one-time customers into loyal supporters who will recommend your brand to others.
Valuable feedback and insights
Online communities give you direct access to your audience’s thoughts. Members share their needs, struggles, and suggestions in real time. This helps you understand what works, what doesn’t, and what to improve. So you can make smarter decisions for your content, product, or overall business strategy.
Word of mouth marketing
When people enjoy your community, they naturally tell others. This word-of-mouth promotion helps your community grow without extra marketing. Engaged members often become loyal supporters who share your brand, invite friends, and defend your values. Turning your everyday users into your most trusted advocates.
Content and product ideas
Your community is full of questions, conversations, and feedback. These can inspire blog posts, videos, product features, or even new services. You can create exactly what they need by listening to what members are asking or struggling with.
But building an online community requires more than setting up a platform, it requires the right tools to manage users, content, and conversations effectively. That’s where FluentCommunity comes in.
Conclusion
Building an online community takes time, effort, and the right tools. With FluentCommunity, you can create an engaging space where members connect, share ideas, and grow together. Whether you’re building a membership site, customer forum, or networking hub, FluentCommunity provides everything you need to succeed.

Prema Anjum
My full name is Anzuman Ara Chowdhury. But people know me as Prema Anjum. I’m a Digital Marketer by profession, a WordPress community contributor, and a travel enthusiast by heart.


Leave a Reply